| Series |
|---|
As an experiment, this series is being cross-posted to Mixing Light’s YouTube channel – these Insights will appear there one to two weeks after being first released into the Insights Color Library. Our goal is to publish a new episode regularly, until we reach the end of this series.
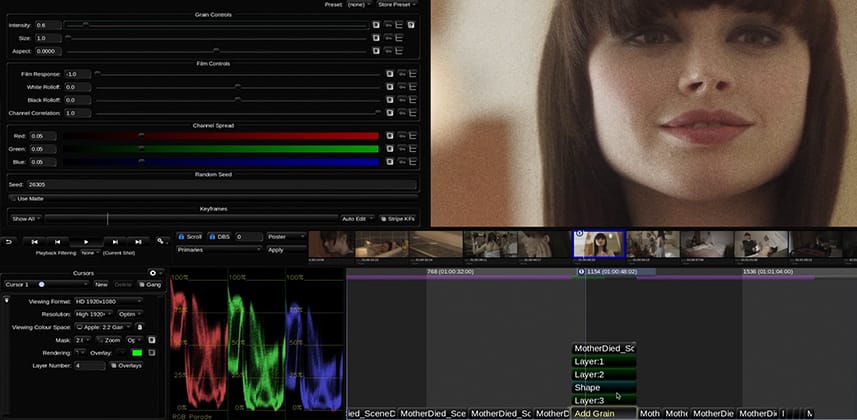
Part 11: How to stylize your image with LUT, DGrain, and DFuse Layers
With our foundational understanding of the Baselight user interface and basic color grading operations behind us, it’s time to get creative!
We begin by understanding how to add a LUT and then move on to the ‘DFuse’ and ‘Add Grain’ operators. We add a few shapes to help with the stylization and give you a more complete sense of what a grading stack looks like in Baselight.
Learning goals for this Insight
We cover quite a bit in this Insight. If you get lost in the User Interface, be sure to watch earlier Insights in this series that lay the foundation for this Insight:
- How to apply a LUT within the Baselight grade stack.
- How to apply diffusion/glow using the ‘DFuse’ operator
- How to apply film grain using the ‘AddGrain’ operator
- Navigate around the image display using the mouse and shortcut keys
- Continue familiarizing yourself with how a grade stack is built and organized
Comments or Questions?
I’m still recording this series, so if you have specific questions or need clarification, let me know! And all you DaVinci Resolve users out there, what do you think about what you’re seeing in Baselight so far?
-Luke
Related Insights
Member Content
Sorry... the rest of this content is for members only. You'll need to login or Join Now to continue (we hope you do!).
Need more information about our memberships? Click to learn more.
Membership optionsMember Login


