Moving To Baselight: Jumping In At The Deep End
As you probably noticed I’ve been a little quieter here on Mixing Light over the last month.
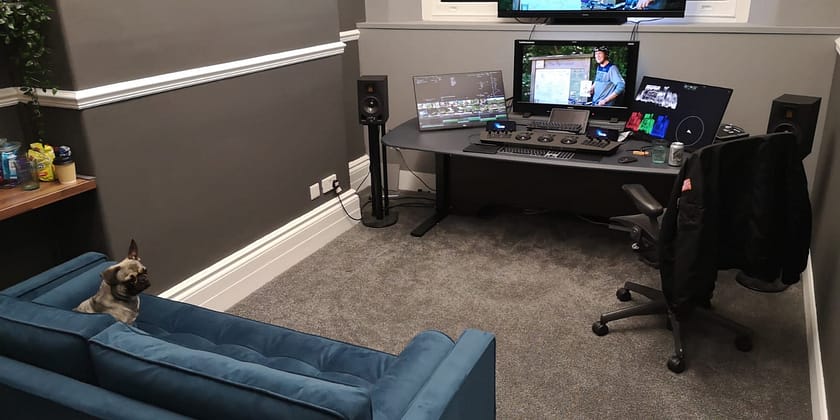
I (stupidly) thought lockdown was the perfect time to move into a new studio! It has faster internet, more space, and a second assist/machine room how could it go wrong?!
Moving was exciting but turned out to be 100x more work than I ever imagined. Painting, building furniture, running cables, installing new machines and countless cables I forgot to plan ahead for.
Saying goodbye to an old friend added an extra layer of complexity to the move
Long time Mixing Light members know me as a Resolve guy though and through, which all started with me demoing around the world at NAB, CABSAT, IBC and other random letters we’ve come to associate with trade shows in your area.
You may even remember my baby face on the Resolve home page back introducing Resolve 8.
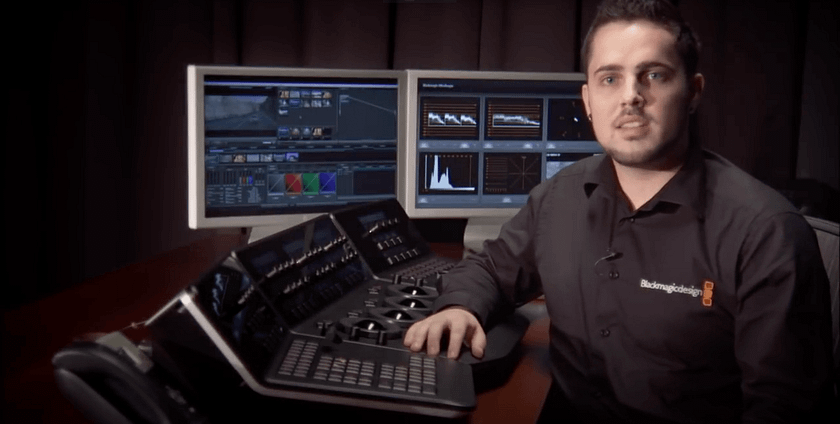
After 10 glorious years of color grading day to day on Resolve (since Resolve 6.5), I made the huge decision to build my new grading suite while moving to Baselight full time.
Why Change Now?
The decision was a long and difficult one as I love Resolve and my whole professional grading career has been based on it. We’ve had so many good, bad, and ugly moments but at the end of the day, I’ve always delivered and had happy clients.
The decision to move probably began about a year ago when I worked on my first HDR Netflix Originals show over at Films @ 59 in Bristol.
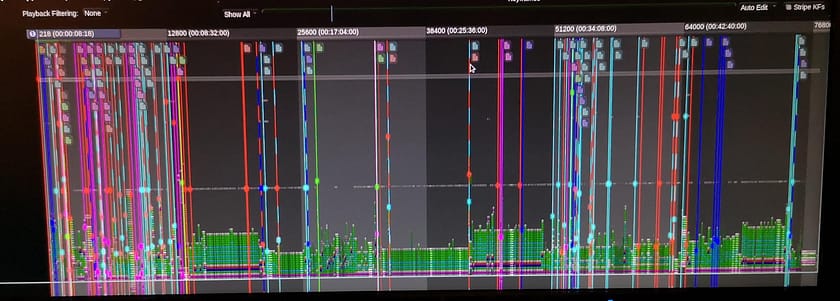
Sat on a Blackboard 2, blasting through grades with Base Grade’s intuitive controls and just enjoying grading from a totally fresh perspective.
A single balance control that naturally lined up shots and the new dim/dark light/bright zonal controls meant hardly any keying to get a great HDR image.
From that moment on I found that I actually changed how I worked in Resolve..to try and make it more Baselight-ish.
I found I was mainly trying to emulate tools like Texture Highlights, Texture Equaliser and Base Grade especially.
The second part of my tough decision to move was I have a VFX heavy Netflix Original coming up in November April 2021 (thanks COVID!) on Baselight in this fabulous grading theater.
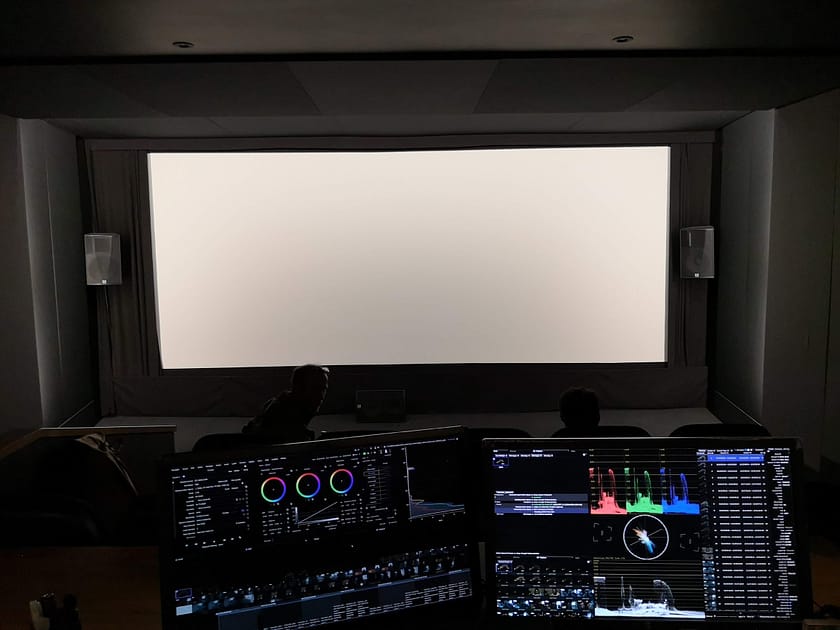
Grading for HDR/SDR/Theatrical with a lot of VFX elements constantly arriving. I felt like to get as fluent on Baselight as possible I really needed to be using it day to day.
I see this job as my one in a million chance to break into bigger narrative projects. It’s with a BSC cinematographer on a project for the big N so I have to make sure I can give it 100% and make it as beautiful as possible…and also as smooth as possible with hundreds of VFX shots.
It’s a pretty dam big financial commitment to buy a system just to make sure you can kick ass on one job but I also thought it was a great opportunity to learn Baselight inside out and share my knowledge here on Mixing Light.
I’ve always been more of a “here are some cool/dumb things I’ve found out grading this month” rather than teaching the more technical aspects of a system. With that in mind moving over to Baselight full time gives me a load of ammunition for Insights.
The quietness over the last month was me throwing my self at my work 100% on a new system and facing all challenges head-on. I kept a notebook with all the details of my bad decisions/good decisions and general adventures so I can share my Baselight knowledge.
So What Changed?
Only two parts of my existing grading suite made it to the new room.
My FSI 311k and my Adam a5x monitors.
Everything else was new.
My new additions included:
- Baselight One Grading System
- Aka Design ProView Desk with Custom Walnut Vanity Panel
- Filmlight Slate Panel (soon to be replaced with a Blackboard Classic)
- LG 27UL650 UHD GUI Monitors x2
- Panasonic GZ1500 55″ Client Monitor
- iPad for email/frame.io with Bluetooth keyboard
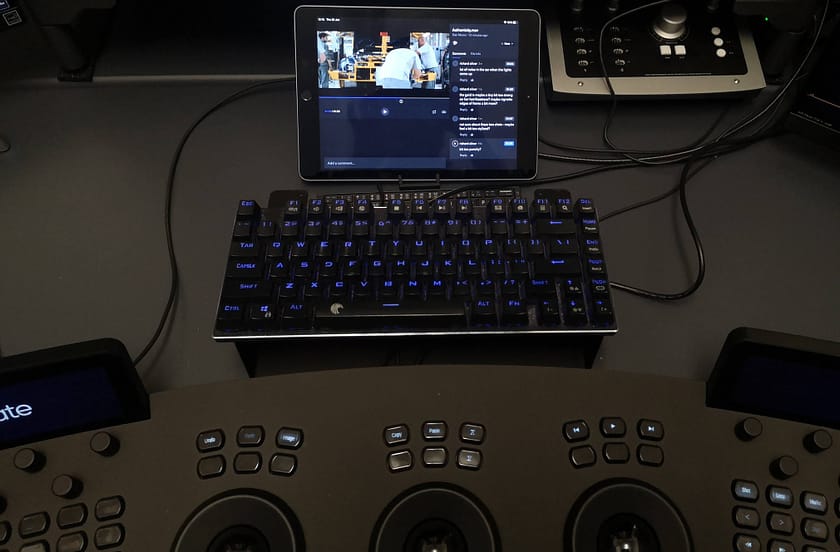
Moving on to a Linux based system again was easy for me as I spent most of my life on Resolve Linux systems.
Essentially the box is just used for Grading and EVERYTHING else from conforming to Spotify happens on an assist machine.
I boiled down the main need at my grading desk is to read emails and Frame.io feedback. For anything heavier, I have a dedicated Mac Mini with an E-GPU at a dedicated desk in another room.

I’ve been using LG OLEDs for so many years that initially I was reluctant to try the Panasonic but then this model had a rediculous discount and with Stefan on the box how could it not be great for grading!
It was actually incredibly close out of the box to rec709. It drifted quite a bit since it was first powered on but calibrates brilliantly. If you find one of these on sale I would wholeheartedly say go for it!
Going Cold Turkey
My first bit of Baselight advice in a professional situation as a previously Resolve based colourist is STOP THINKING ABOUT RESOLVE!
The biggest issues I’ve struggled with so far are caused by me trying to apply previous workflows/thinking to this totally different system.
Let’s take an example of a client requesting 75 frames handles on a grade after it was complete.
I had been religiously cramming the manuals and tutorials about creative things and colour related technical issues…but not so much thinking about something simple like rendering with Handles (mainly as it should be incredibly easy!).
In Resolve I would normally use the show handles option to check any windows are tracking into the handles and then add on the 75 frame handles on the render page and check out how everything looked.
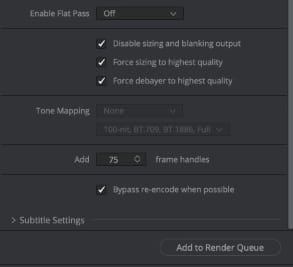
I’ve only ever used handles on short commercials so pretty easy to make sure everything was working nicely!
So of course when the client announced we need 75 frame handles (and me having not previously thought about it) I immediately start thinking that dangerous thought
“Well In Resolve I would have done this”
Forcing A Square peg in a round hole
I started checking out the render page looking the options for handles, then moving on to the shots view where you can do lots of filtering and see all your timeline information. Eventually, I resorted to the amazing Baselight Users group on Facebook and found someone had posted exactly how they did handles and it saved the day!
My problem was I was trying to add the handles automatically on the render page…which is how Resolve would have done it.
The secret is that you should actually duplicate your timeline and then use the expose handles function.
Here is my existing timeline. Nice and easy one as I was still getting my confidence up on the new system!

As this was the first time I was adding handles I was terrified of murdering my own finished grade. To be extra EXTRA safe I actually duplicated my scene before I added handles. This was just me being careful you don’t need to do this normally.
I called this new version “For Handles”

So now we have our For Handles timeline it’s time to add those handles!
I can honestly say I probably would never have thought about the Timeline Sort window for something like this but it’s actually incredibly useful.
Resolve was great at doing a lot of functions on the render page so for example, if you rendered in Individual Clips mode it would automatically render things without timewarps but when you were checking things on the timeline pre-render you’d still be looking at your conformed edit.
The Timeline Sort essentially gives you a new timeline ready to render minus the timewarps, and with the “handles expand by” function below I can add on the required handles.
Another honorable feature mention is the Remove Stips Of Category
I’ll be doing dedicated Insights on Categories but essentially think of them as tags.
Timeline repositions are auto-tagged as Editorial so for example if we want to render full original frame I tick Editorial in this section and it’ll remove all those resizes before the render.
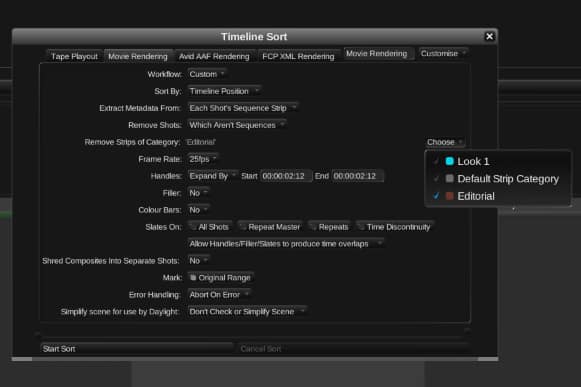
Now that we have our options ready hit Start Sort and let the magic happen.

As you can see our new timeline has removed all the timewarps and our new timeline is around 7mins long and ready to render!
After this point, it’s smooth sailing to render out graded files.
Start Thinking Baselight
A simple problem that would have taken about 5 seconds to understand if I was learning a grading system for the first time…except with my overconfidence I tried to apply previous thoughts (square peg) to a new system (round hole)
After 10 years of working on the same system and building and building upon those workflows and knowledge, I have to accept that it’s time to forget about that past and embrace the future.
The funniest part of the handles creating adventure is I know actually prefer the way Baselight handles (see what I did there!) the final render.
It’s true what you see is what you get whereas I had gotten used to just hitting render on a fully conformed 30-second commercial and let Resolve do all the figuring out in the back end.
Excited To Share My Experiences
I’ve been sprinkling some mainly creative Baselight knowledge so far here on Mixing Light but expect it to step up a notch now that I’m doing every job all day every day on the system.
If you have any questions, thoughts or something you’d like me to cover next in Baselight, please use the comments below.
-Dan


