Managing Media in DaVinci Resolve

December 26, 2016

Part of a larger series, we finish conforming a timeline and start managing media off a client hard drive onto our RAID, in DaVinci Resolve.


Series

Conforming ‘Giants’ Part 7

Finishing the Conforming and Managing Media (with problems)

In the classic World War II movie, The Great Escape, Allied prisoners spend months building a tunnel to escape a prison camp. During this process, there are many complications that threaten the entire enterprise. At this point in this series, I’m pretty much feeling the same (although the stakes are much much lower). It seems that at every turn, I run into a tedious problem that needs to be overcome. And then another. And then another. From resizing to managing media, the stumbling blocks keep on coming.

In this Insight, you’ll see me hand-matching a resize

Lucky for you, I edit out most of the tedium of hand-matching all the resizes done in Premiere Pro (in a later Insight I’ll explore how you can avoid this problem with Premiere). But let me tell you, it took forever (two hours) and it was… tedious.

You ‘ll also see my alternative method for bringing two clips into sync

I run into this problem with many of the 59.94 shots being forced into 23.976. They slip out of sync a few frames. And sometimes the Trim tool just doesn’t cut it when you’re referencing a rendered movie from your client. I have a workaround that tends to be useful in a pinch.

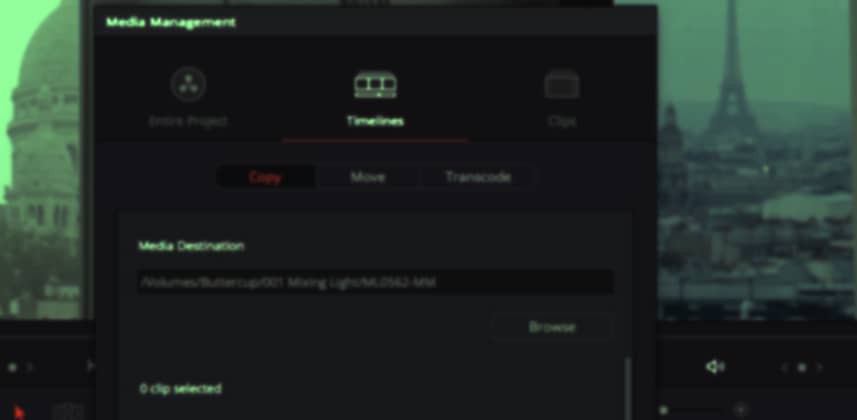
We also Media Manage the footage off our client hard drive!

Yes! This is what I’ve been striving to do: Conform our timeline to match our client’s reference movie frame-for-frame, edit-by-edit. With the Conform completed, we can move on and get the footage onto my RAID.

But wait… there’s another problem!

Of course, there is… and this time, it’s a problem Resolve had with the 59.94 footage that we forced Resolve to treat as 23.976 (this footage is killing me). The problem is with Media Managing that footage. You’ll see me take a stab at my first work-around.

Coming Up in Part 8: Three Media Management Workflows

At the end of this Insight, I’m frustrated and wrap up the Insight. But after turning off the camera and cooling off a bit, I came up with three different workflows to solve the problem I’ve run up against. In Part 8 of this series, I’ll share those workflows before moving on the conclusion where I answer the questions you’ve been asking me in the Comments.

-pi

Member Content

Sorry... the rest of this content is for members only. You'll need to login or Join Now to continue (we hope you do!).

Need more information about our memberships? Click to learn more.

Membership options
Member Login

Are you using our app? For the best experience, please login using the app's launch screen


Comments

Homepage Forums Managing Media in DaVinci Resolve


  • Jan Klier
    Member

    After watching this I went on to media manage one recently completed job to get rid of lots of wasted disk space.

    I ran into two issues that are relevant to this episode:

    In my first attempt I did a copy and trim with 20 frame handles. It completed but failed to relink the media. The checkbox was greyed out but unchecked (I guess a bug in UI). So I manually attempted to relink media thinking it wouldn’t a big deal. Well, one very long take which had multiple clips in the timeline got split into 30 separate files for the trim (I had not checked ‘consolidate’). Together with the extra handles that means force conforming 30 clips to new files and fixing the 20 frame skew. Not pretty.

    In my second attempt I used transcode instead of copy, thinking this may be more stable especially since it was a mixed camera job (some prores, some h264, different camera prores). But I ran into two more critical issues:

    a) Media manage (at least in transcode mode) does copy footage clips but does not copy audio only clips. So beware of deleting any audio-only clips you may have.
    b) And more serious, the project had a large number of lower third graphics that were encoded in ProRes 4444. During the transcode the alpha channel gets lost making the resulting timeline unusable. (clarification: it would be possible to transcode to ProRes 4444, but not on a select basis, only whole project, which might not be space saving?).

    I thought using transcode would be a good idea because it automatically generates optimized media in multi-camera projects, avoiding a separate media optimization render. But apparently it comes with major caveats.

    So I’ll have to stay with copy rather than transcode, and prevent the splitting of multi-use clips just in case media needs to be relinked.

    This is where Premiere has the handy feature to search for unused clips and makes it easy to delete them rather than having to copy or move everything through the media manager.

  • This series is crazy informative! Thanks very much, Patrick, for going through all of this with us!

  • Hi Patrick I was going through this series for the second time, it’s so useful and I want to be sure not to miss anything of that.
    A question: when you imported the first time the xml of the conforming TL into the new conformed giants color grading TL you experienced issues with all the 59 fps pink clips.
    Why does transcoding, in the conforming project, from h264 to prores, have improved the new try on the conformed giants color grading TL? Wasn’t it only a problem related with the 59 Frame Rate or was it also something occurring with the H264 codec?


  • Patrick Inhofer
    Guest

    It’s solely related to the 59.94 frame rate. When rendering out as individual clips, Resolve will only render at the original frame rate of the source material (apparently, Resolve ignores that I changed the TC playback rate of the clip when it renders out individual clips).

    Did I answer your question?

  • Thanks for the quick answer Patrick. Yes, now it’s much more clear why you tried to do that.

  • It also doesn’t media manage the external mattes. So be aware of that!

  • Pat, in Part 3 of the series you’ve chosen to transcode the H264 clips to lower the CPU charge/move the transcoded files to a faster drive (for the time you would be working on the client’s drive).
    Wouldn’t have been better to simply use the Render Cache feature? That way Resolve will transcode any source footage that is heavy for the computer (in Smart mode Resolve applies Source Cache level on any H264 files or RAW image sequences like the cinema DNGs).
    In other words almost all the clips will be transcoded and copied to your fast caching drive, in the codec you have previously set in the Project Settings. It might take a while, but it is easy as turning On the Smart Cache in Playback Menu at the end of the previous day, and then let Resolve do its thing over the night. Kind of a ‘on-the-fly proxy generation’ with the Smart option. But User option can work too if you want to tell Resolve which clip to ‘proxy’.


  • Patrick Inhofer
    Guest

    You are correct – but I just don’t trust the Render Cache 100%. I still find that it can be a bit untrustworthy and sometimes loses the connection to the cached renders forcing re-renders. Also – if you want to give the client those rendered files or move them to another machine, it’s way easier with pre-rendered media than with cached media (and Resolve’s machine-language naming of cache renders).

    If I were to take your approach, I’d probably do the Proxy route – but that often eats up excessive drive space since the Proxy is created of the entire clip (rather than just the short portion that’s in the timeline).

    These are all valid workflows but each has its tradeoff and only you can decide for yourself what the proper tradeoff is (and that answer often changes depending on the needs of the specific project).

    Make sense?

  • It’s interesting to read about all these options in Resolve (Proxy, Optimized Media, and Caching), all of them share the same purpose of “getting a smooth playback” but each one of them has a different approach, it can be confusing sometimes to choose which one to go with. If everything works fine I usually don’t use any, however, I think that Proxy or Optimized Media would work best for Editing and Caching would be best for Grading..

    Thanks Patrick for the insights..


  • Patrick Inhofer
    Guest

    I agree with your take-away.


  • Serj Kasparoff
    Guest

    Hi! Is there any way to continue the copying with trimming media in the “media management” after Resove crushes?


  • Patrick Inhofer
    Guest

    If Resolve crashes during Media Management… Nope. Not that I’ve found. BUT – you should be able to figure out where in the timeline or bin Resolve stopped trimming (it always seems to go in the order of clips in the timeline). Then you just have Resolve pick up from where it left off.


  • Serj Kasparoff
    Guest

    Thanks, Patrick : )


  • David
    Guest

    This one also seems to be offline.

Log in to reply.

1,000+ Tutorials to Explore

Get full access to our entire library of over 1,100+ color tutorials for an entire week!


Start Your Test Drive!
Loading...