| Series |
|---|
Taking An SDR Grade To HDR
One of the best uses for color-managed grading is the flexibility it offers for final deliverables. Making the creative grade inside a wide gamut intermediate space, then transforming into the desired display space allows for easier changes from one output format to another.

Notice I said easier, not easy. Taking a project from an original SDR only grade into HDR still requires both creative and technical work. The advantage color management provides is re-using as much of your original work as possible.
A Solid Foundation
I’ve often said that good post-production workflow is like painting a car. No, I’m not just a crazy gearhead! The idea is that the more detailed prep work you do before painting – the easier and better the final product will be.

The same applies to grading. Building, testing, and utilizing a good workflow can save you a lot of effort, all while increasing the quality of your end product. This is especially true when you get into more advanced color management – such as moving an SDR grade into HDR.
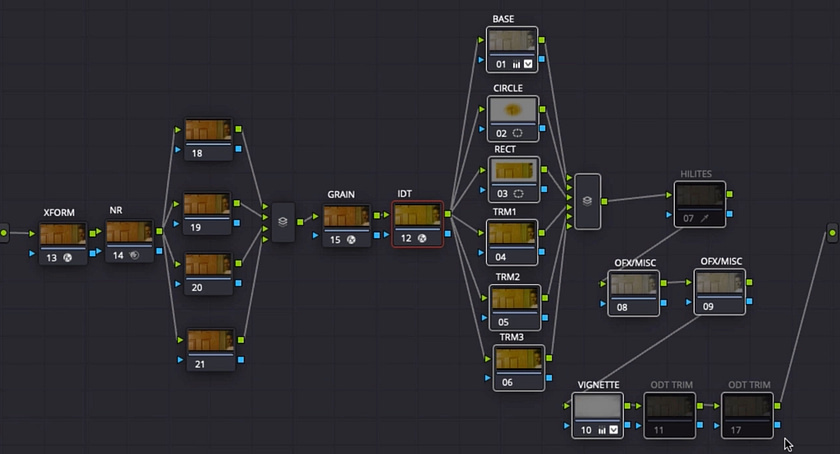
It isn’t just color management that makes this possible. The advantages of a fixed node structure and Resolve’s ripple tools make trimming up to HDR a lot easier. If you’ve never used ripple – it’s worth checking out my fixed node structure Insights before this one.
The Process – From SDR Grade To Dolby Vision Master
In this Insight I’m going to start a bit of a series within a series. I’ll take a short film I graded using the Custom ACES Workflow that I’ve shown in previous Insights, and move it into HDR. I’ll explain the problems, pitfalls, and process. Later, I’ll finish it in Dolby Vision – utilizing the original, SDR grade as a creative reference. In this first part, I’ll walk you through:
- Changing ODTs and setting up node caching for smoother playback.
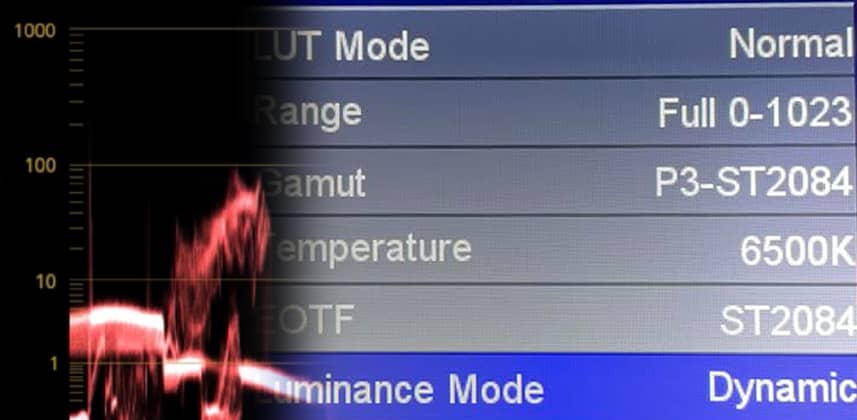
- Setting up separate monitoring parameters per-timeline
- Watching the HDR version with an eye for the work that needs to be done
- Making both technical and creative adjustments to shots and scenes
Next time, I’ll talk about dealing with graphics and preparing the timeline for Dolby Vision. In the meantime, leave me any comments or questions below.
-Joey
Member Content
Sorry... the rest of this content is for members only. You'll need to login or Join Now to continue (we hope you do!).
Need more information about our memberships? Click to learn more.
Membership optionsMember Login


