| Series |
|---|
Part 2: Managing Graphics When Moving From SDR to HDR
In the first part of this series – I walked you through my process for moving an SDR grade into HDR in a custom ACES workflow. Node-based color management helps make the process a lot easier, and in part one we finished with an HDR graded version of our film.
One thing I didn’t discuss is graphics. Almost all projects will have graphics of some kind – whether they be keyable overlays, open/closing titles, or credits – they are sure to be an important consideration.
The challenge is that most graphics are not originated in HDR. This means we need to lean on color management to make sure they look correct in our new HDR version. That’s what this Insight is all about.
How Bright Is Too Bright?
One of the most common questions when it comes to HDR grading is “How bright should graphics be?”. Like most creative choices – I don’t think there is a right or wrong answer to this question. It completely depends on the footage they are being combined with, and the creative intent of the piece.

What makes this more difficult in HDR is that there is really no such thing as “100% white”. It’s possible (even likely) that the footage may be brighter than the peak white of your graphics. With this in mind – I like to build color management for graphics that allows me the flexibility to get all the graphics into HDR easily but also leaves me creative room to brighten or darken those graphics as needed on a shot-by-shot basis.
Node Based Color Management For Graphics
Problems like this are exactly the kind of thing a node-based color management setup is great for. In this Insight – I’ll walk you through my process of building color management for graphics, including:
- Grouping graphic clips
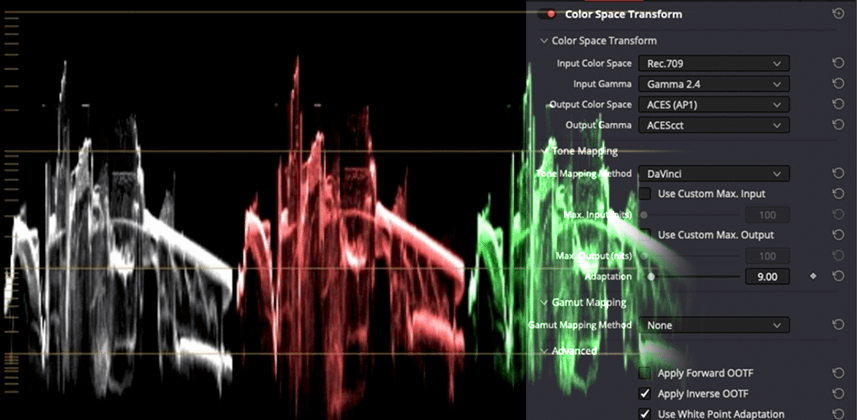
- Differences between ACES transforms and Color Space Transforms
- New Color Space Transform options
- Order of operations for transforms/grades on graphic clips
- Grading individual graphics with their context in mind
At the end of this Insight, our HDR grade is done and the graphics are all looking great – this film is ready for HDR output. In part three of this series, we’ll move the timeline into Dolby Vision and add trim metadata using the original SDR grade as a reference. Until then, leave me any comments or questions below.
Joey
Member Content
Sorry... the rest of this content is for members only. You'll need to login or Join Now to continue (we hope you do!).
Need more information about our memberships? Click to learn more.
Membership optionsMember Login


