| Series |
|---|
Visual Math Part 6 – Rebuilding (rather than extracting) contrast for more creative control
Throughout this series, we’ve explored different methods for isolating, extracting, and modifying the individual behaviors of a LUT. These exercises encourage us to think more deeply about what we find appealing or problematic in our grades. These techniques also equip us with the ability to exert greater control over the final image.
One of the signatures of any creative LUT is its contrast curve. If you learn to rebuild, tweak, and use a LUT’s contrast curve independently of its other transforms, then this opens up a whole new dimension of creative possibilities.
In today’s Insight, we’ll explore my technique for doing this in a precise yet intuitive fashion through blending modes.
About This Insight
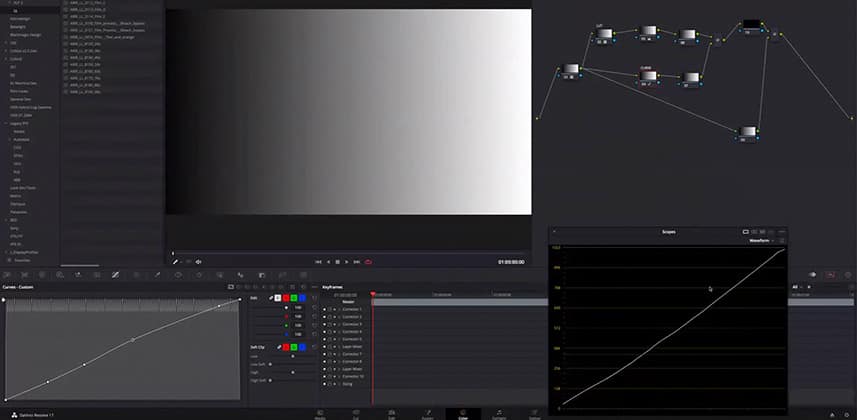
Today, we’re trying a bit of a twist on our previous LUT-centric installments in the series: rather than extracting a particular component, we’re going to rebuild it from scratch, but with the benefit of objective feedback from our scopes that tells us how well we’re doing. It’s a great example of using math and image science in service of a more intuitive process: essentially, we’re “tracing” the original curve like you might have done in art class as a kid.
We will also use the fruits of my previous Insight in this series about split-tone extraction to further ‘trace’ a LUT’s individual RGB channel contrast curves.
Learning Goals
In this Insight, you learn how to:
- Deploy the Grayscale Ramp DCTL as a quick way of analyzing the net 1D effects of a particular LUT or other process
- Creatively apply blend modes to give ourselves an easier, more intuitive development/viewing context
- Understand the difference between modeling precise details versus capturing the essence of a curve or transform
- Recombine our decoupled LUT elements and exert modular control over each element
Member Content
Sorry... the rest of this content is for members only. You'll need to login or Join Now to continue (we hope you do!).
Need more information about our memberships? Click to learn more.
Membership optionsMember Login


