| Series |
|---|
Part 3: Comparing and Contrasting Multiple Calibration Workflows
Does Using CalMAN’s ‘Lightning LUT’ Compromise Your Results?
Do you know how you start your day with the goal of completing 3 specific tasks? And then the first task takes over your day and you never get to anything else? Display calibration is one of those tasks that can take over your day – and not because a 6,000 patch profile takes a few hours to perform… but because there are multiple options for you to test as you start optimizing your workflow to get the best results you can with the equipment you have.
For me, the decision to master display calibration feels a lot like this Alice in Wonderland quote:
“Be what you would seem to be – or, if you’d like it put more simply – never imagine yourself not to be otherwise than what it might appear to others that what you were or might have been was not otherwise than what you had been would have appeared to them to be otherwise.”
– Lewis Carrol, ‘Alice in Wonderland’
YES!
In this Insight we’re following Alice down her rabbit hole to imagine your reference display to be what it otherwise would be not as others imagine but as you would have it appear to be otherwise. Or to put more precisely, we’re picking up where we left off in Part 2…
Comparing the Lightning LUT to a 6,000 Color patch LUT
At the end of Part 2 we exported, uploaded to the display, and verified a Lightning LUT we created in just a few minutes. At the start of this Insight you see the 6,000 patch LUT I created overnight. We answer the question: Is the Lightning LUT a good idea or bad idea if you want to maximize your results? Or do you really need to invest 2-6 hours (depending on the speed of your colorimeter) and go the 6000 color patch route?
Once you digest those results, the Flanders Scientific reference display has a feature that allows us improve our results by adding a 1D LUT into the mix.
Does a 1D + 3D LUT calibration improve your results?
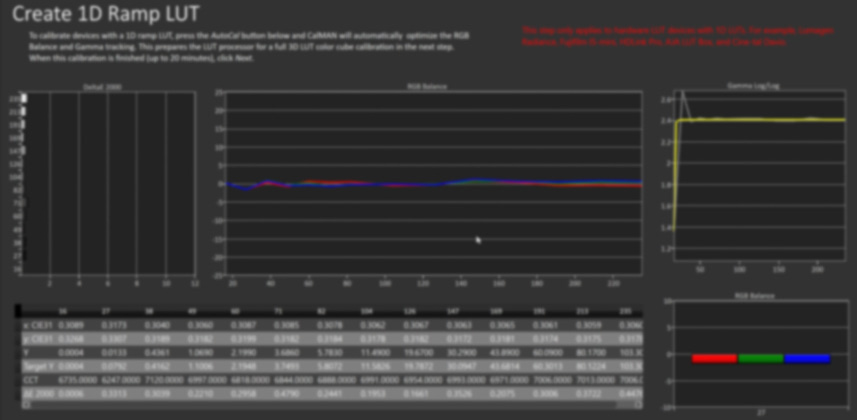
There’s another concept in display calibration that’s worth exploring: After putting your reference display into Wide Gamut mode, you do a grayscale-only 1D LUT characterization of your display. Uploading and enabling this 1D LUT optimizes grayscale tracking of your display’s native response. THEN, you do the 3D LUT characterization (with the 1D LUT active). In theory, the 3D LUT doesn’t have to manage grayscale RGB response and can focus solely on mapping your reference display’s native color gamut to your target gamut. We execute this workflow in CalMAN Studio.
What if you use an external LUT box to calibrate your reference display? If so, it may also support 1D + 3D LUT chaining and you can explore this workflow for your setup as well.
But does this theory work out in practice? And if so, does it improve the results enough to warrant the extra step?
Watch this Insight for the answers.
Enjoy!
-pi
Member Content
Sorry... the rest of this content is for members only. You'll need to login or Join Now to continue (we hope you do!).
Need more information about our memberships? Click to learn more.
Membership optionsMember Login


