| Series |
|---|
Day 23: 24 Insights in 24 Days – 2018 New Year Marathon
Using CalMAN Part 7 – Doing a 2-Point Grayscale Calibration
In Part 6 of this series we performed a series of pre-calibration steps. That step ensured our digital image pipeline is accurate. Here in Part 7 we move to the actual calibration, ensuring our display is accurate. And we do it without using LUTs.
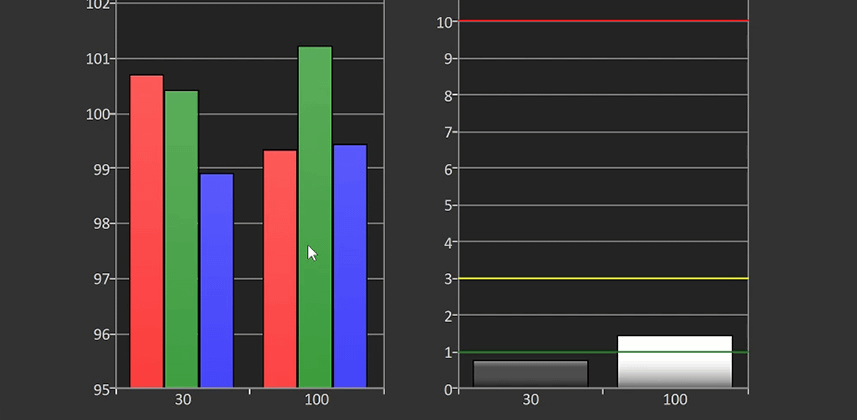
Generally speaking, the type of calibration we perform (a 2-Point Grayscale Calibration) is super simple. We are merely calibrating the white point of the display using two test patches: Pure white (or near pure white) and near pure black.
IF your display tracks accurately then adjusting those two patches will bring your display into alignment. In this workflow it is essential that you run the CalMAN series of post-calibration test patches. These will give you the feedback you need to understand if this 2-point calibration is sufficient for your display.
This display is calibrated twice
The first time we calibrate we use the Rec. 709 standard whitepoint of D65. This is the white point you select for non-top emissive RGB OLEDs. Then, to test the Sony’s D65 default setting, we reset the A170 back to default and recalibrate to the OLED Judd Offset. The differences between the two calibrations are obvious and tell us a lot about how Sony sets the ‘D65’ default setting on its OLEDs.
Special Thanks
I want to thank two people for loaning me the Sony OLED we use in this Insight:
- Tyler Pruit, Portrait Displays – Not only is Tyler instrumental in keeping my CalMAN Studio license up-and-running so I can learn, use, and teach CalMAN… but he put me in touch with Sony so I could learn how to calibrate a Sony OLED. Thanks Tyler!
- Gary Mandle, Sony Electronics – Gary is a Senior Product Manager and shipped me the OLED used in this Insight. He’s been very patient as I’ve held onto it for about 2 months longer than planned as the ‘stars aligned’ for me to finally record these Insights featuring his display. Many thanks Gary!
About the Sony PVM-A170 used in this Insight
As a colorist, the A170 is too small for my daily needs. But if I practiced my craft on-set – and needed a reference display on a small mobile DIT cart, this display is certainly up to that task. And for the purposes of learning how to calibrate any Sony OLED – it definitely serves its purpose.
As you’ll see in this Insight, this particular A170 calibrates remarkably well. One thing to keep in mind (which I discovered after recording this Insight): This 4-year-old OLED has about 1200 operating hours. If you average those hours across 4 years, this display is running about 6 weeks/year. In other words, it’s fairly young in its lifecycle.
This particular display is a good example of calibrating a display a year into its life. If, instead, it had been seeing 1200 duty hours per year then we can expect it to suffer from the same aging problems of all displays. Keep that in mind as you watch this Insight.
If you want to learn more about the PVM-A170, here’s Sony’s product page and here’s how much the 25″ version will set you back on B&H’s website. And if you’re wondering how much it’ll cost to step up to the high-end version of Sony’s 25″ OLED, price out the BVM-E250A on B&H.
Enjoy!
-pi


