| Series |
|---|
Intro to Calibration: Part 9
Digging into the ContrastCal and BrightnessCal images from Light Illusion
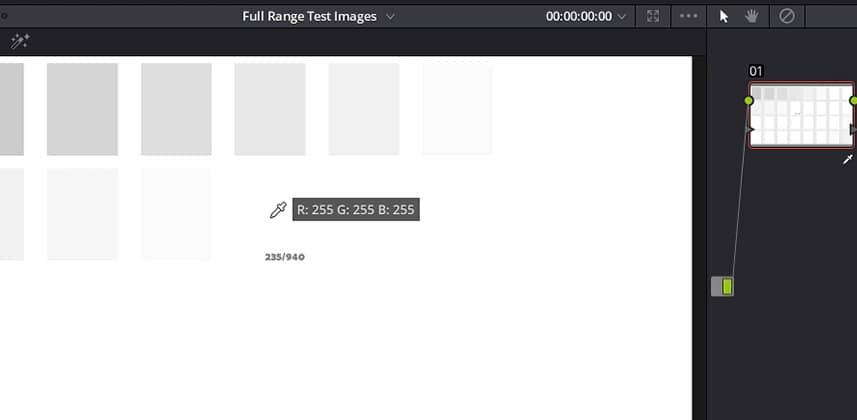
I expect this is the last Insight where we’ll be specifically exploring the calibration test images you can download from Light Illusion’s website (for now, at least). As with our previous Insight, we’re exploring these images in the context of external reference display calibration. In this Insight, we’re taking a deeper look at the ContrastCal and the BrightnessCal test images – and the 16/64 and 235/940 designated boxes.
What do the ContrastCal and BrightnessCal numbers mean, for calibration?
I’ve been told that these numerical designations cause lots of confusion. In this Insight, we will explore how you use these numbered boxes to assist you in understanding if your software is reading these calibration test images at ‘video level’ or ‘data level’? After all, if you don’t know what your software is doing, you may think there’s a problem in your pipeline – when there isn’t.
DaVinci Resolve, the software we’re using in this Insight, offers you granular control of Video Level and Data Level at several different stages of the pipeline:
- Monitoring: Resolve gives you explicit Video or Data Level control when outputting through Decklink or Ultrastudio hardware. We explored those options in Part 8 of this series.
- Clip Level Interpretation: You can explicitly set (and override) Resolve to assume the footage in your Media Pool is recorded at Video or Data levels.
- Rendering: At render, you can explicitly set Resolve to write to the codec at Video or Data Levels.
This Insight deals specifically with clip-level interpretation of video/data levels. You learn to determine if your software properly interprets these test images. And if not, you learn where the software sets your 0 IRE (black) and 100 IRE (white) levels. Once you know what your software is doing, you can confidently use these test images, knowing which patches you can ignore and which are significant when pre-calibrating your display.
Next: Precalibrating using Premiere Pro
I tend to use Davinci Resolve in these Insights because it allows granular control of how our images are interpreted, displayed, and rendered. But what if you’re using other software (maybe you’re freelancing where they don’t have Resolve installed on a machine)? How do we use these calibration test images to pre-calibrate – especially if they’re not being interpreted correctly? That’s coming up in Part 10 of this series.
You can download the test patterns I’m using in this Insight from Light Illusion’s website
- Light Illusion’s Test Pattern Download Page: You can purchase these test images for a low price from this page: https://www.lightillusion.com/general_downloads.html


