| Series |
|---|
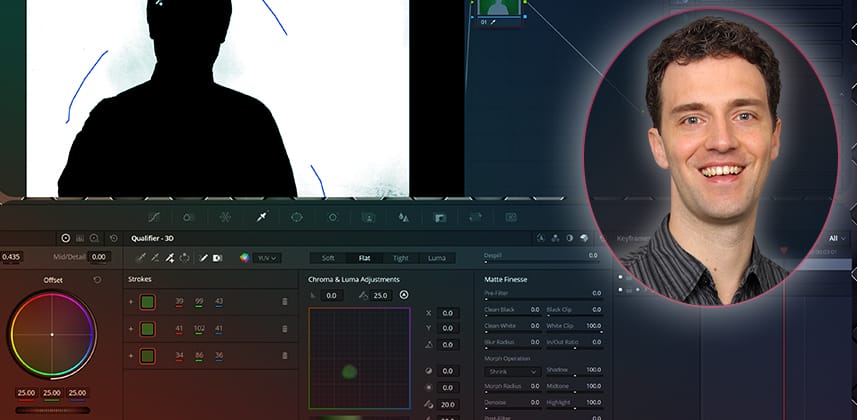
Chroma Keying Part 1: Learn the basics of Chroma Keying in Resolve to pull simple keys, quickly
If you’ve never used the 3D Keyer in DaVinci Resolve, this Insight will teach you how to quickly and efficiently pull a simple chroma key. This Insight builds an ideal foundation for this 7-part Chroma Keying in Resolve series.
The Key to a Successful Composite
This is the first of seven Insights on Chroma Keying in DaVinci Resolve and teaches the basics of keying using the 3D Keyer directly from the Edit page.
Delivering Hollywood-level keying results for the toughest shots often requires hours of work with advanced compositing tools and expertise. But that’s not our focus in this Insight. Instead, we will master the basics of using the 3D keyer. We’ll create a quick preview of a shot and give us the necessary skills for those fast-turnaround situations – where compositing the shot with sufficient accuracy directly from the Edit page is the best move.
Key takeaways from this Insight
By the end of this Insight, you will understand how to:
A Chroma Keying Methodology
We will build our composite from two layers on the Edit Page: the chroma key and background shot layers.
To “pull the green screen,” we select ranges of background greens via the 3D Keyer’s stroke selection. We can refine the initial result with the Matte Finesse section of the keyer to clean up the black-and-white areas or to refine edges with blur/erode tools.
Dealing with green spill
Green (or blue, in the case of a blue screen) spill commonly occurs because the screen’s light reflects onto the subject’s clothes, skin, and through their hair. The Despill slider of the 3D keyer attempts to remove this unwanted coloration.
Learning where to tune the key and where to exclude
For every keying tool, it is important to tune it for the areas where it is most needed – typically hair. Areas far away from the subject, like the corners of the screen, can easily be excluded with a simple garbage matte.
A quick look at Fusion’s Delta Keyer
While the 3D keyer is easy to use, it is not necessarily the best tool for more complex situations that require an advanced solution. In this Insight you’ll see this by comparing our 3D Keyer results with the Fusion page’s Delta Keyer.
The Delta Keyer often delivers softer and more detailed results, and while it may require additional refinement, it ultimately produces a better final composite.
Jargon Alert
In this series, I use the following terms interchangeably – to mean the same thing:
- Alpha channel
- Matte
- Mask
- Key
While these terms have different origins from different disciplines, they are interchangeable for our purposes. There’s no need to get confused as I switch between them, as all of these terms refer to our process of building a black-and-white channel to ‘cut out’ a foreground element that needs to be placed over a background.
Coming In Part 2 – Advanced Keying Methods
As we progress through this Insight series, we’ll dive deeper into Fusion, exploring some advanced keying methods and techniques needed to achieve professional-level results on complex composites. Our focus will shift away from the 3D Keyer and to Fusion’s extremely powerful Delta Keyer.
Let me know if you have questions you’d like me to answer! When this series wraps, we may hold a dedicated call to answer your questions live!
Follow along with this Chroma Keying Series
If you’d like to follow along with me or practice on the same footage to compare your work, here is a link to the royalty-free Blender Tears of Steel footage we’re using in this series:
Member Content
Sorry... the rest of this content is for members only. You'll need to login or Join Now to continue (we hope you do!).
Need more information about our memberships? Click to learn more.
Membership optionsMember Login
Related Mixing Light Insights
Questions or Comments? Leave a comment!
As this series rolls out, I’ll answer your questions in the comments. If there is enough interest, I’ll also hold a member-only call and answer your chroma-keying questions live.
– Bernd
Member Content
Sorry... the rest of this content is for members only. You'll need to login or Join Now to continue (we hope you do!).
Need more information about our memberships? Click to learn more.
Membership optionsMember Login


