Step-By-Step: Mastering the Delta Keyer in Resolve Fusion

August 20, 2024

Learn how to set up Fusion for effective chroma keying workflows and understand the features of the delta keyer step by step.


Series

Chroma Keying Part 3: From preprocessing to matte refinement and despill

At this Insight’s start, learn how to set up a Fusion workspace for an effective keying workflow. It’s taken me a few years to refine my workspace, and I share it with you.

Viewer setup

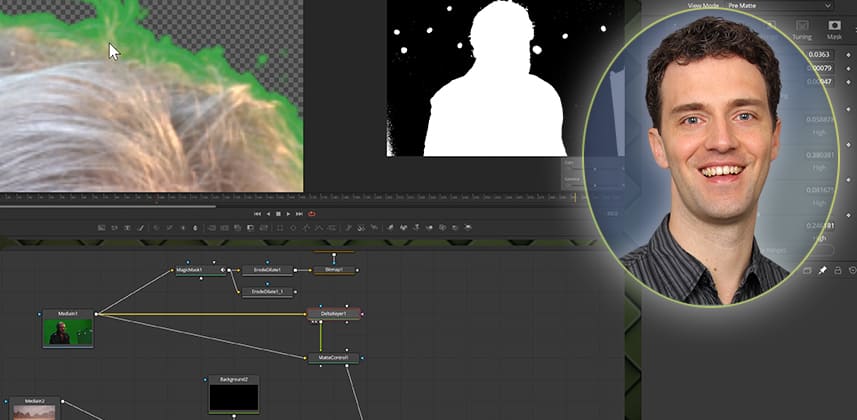
For chroma keying, it is useful to work with two viewers to evaluate the alpha channel and final result side by side. The gain/gamma sliders in the viewer can help to search for holes in the matte or undesired noise in the black areas. A false-color background can help identify additional issues along the edges.

Delta Keyer breakdown

The Delta Keyer has multiple tabs that you can work through in the left-right order that they are presented.

For best results, tackle the Delta Keyer tabs in order, from left to right.

Delta Keyer: Order of operations

  • Key Tab – The initial matte creation happens in the first tab, where you sample the main background color and can influence the key through internal pre-blur, gain, and a balance sliders.
  • Pre Matte Tab – This internal Pre-Matte corrects uneven backgrounds. Be sure not to overdue it and set the tab’s View Mode to ‘Pre Matte’.
  • Matte Tab – This is where you refine the key. Here, you can clip black-and-white values and use foreground and background clean-up features to extend or shrink the matte.
  • Finally, we tackle the delta keyer’s despill and color replacement features.

There are essentially three different ways in which the matte is influenced within the keyer:

  • The initial matte creation
  • The refinement of that matte
  • The addition of solid mattes.

Each feature has options to tweak the despill and color replacement. However, you may find it useful to bypass those and conduct a separate despill outside of the keyer – which we do in this Insight.

Key takeaways from this Insight

By the end of this Insight, you should understand how to:

  • Optimize your workspace setup for efficient keying
  • Tune the main parameters of the Delta Keyer in the order of operations
  • Use color replacement operations within the delta keyer or bypass them through external despill operations for independent control

Download the footage and follow along

In Part 1 of this series, I shared the download link for the footage I’m using so you can follow along and practice. After logging in, any active Mixing Light member has access to the download.

Questions or Comments?

How am I doing in this Series? Let me know! I’m curious if you found this helpful, have something to add, or need more questions answered.

– Bernd


Member Content

Sorry... the rest of this content is for members only. You'll need to login or Join Now to continue (we hope you do!).

Need more information about our memberships? Click to learn more.

Membership options
Member Login

Are you using our app? For the best experience, please login using the app's launch screen


1,200+ Tutorials, Articles, and Webinars To Explore

Get 7-day access to our library of over 1,200+ tutorials - for $5!
Do you like what you see? Maintain access for less than $5 per month.


Start Your Test Drive!
Loading...