Series |
---|
Fusion Chroma Keying Part 6: Advanced Techniques for Seamless Edge Integration
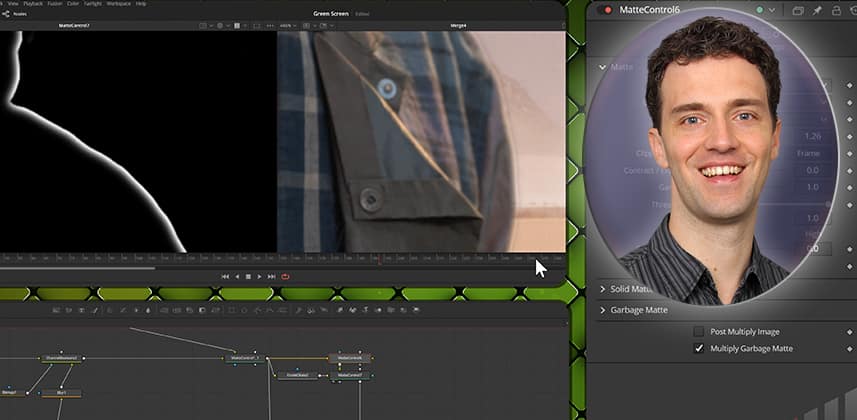
One of the most important aspects of any chroma keying operation – for ‘selling’ the image as ‘real’ – is how you manage the edges between the keyed foreground object and the plate you put behind it.
In this Insight, we continue our Chroma Keying In DaVinci Resolve Fusion series. You learn advanced techniques for improving your chroma-keyed edges. Create and manipulate edge masks to address issues like:
Techniques include:
The goal is to achieve a more seamless and natural compositing result.
Digging Deeper
Why it matters: For the most convincing chroma keying results, we have to carefully evaluate edges. Leftover edge spill, discoloration near the edge, or edges that appear too harsh or too soft can hinder photorealism. So, learning different techniques to specifically target and manipulate your edges will help you create more seamless and polished composites.
How it works: You can create a simple but customizable edge mask from the original key by computing the difference between a blurred version and the original.
The blur radius in the difference operation helps determine the width of the edge mask. The blurred threshold limits (or gain) can strengthen the mask.
If needed, you can combine this edge mask with other masks, like manual roto splines. Once you have the desired edge mask, you can use it directly to mask other color corrections or effects along the edge.
What you learn: In this Insight, we look at three specific edge-related effects that can help in tough keying situations:
Fusion Effects we dive into:
Don’t overdo these techniques: You will not apply every one of these techniques for every shot. Or may not do any of the operations I’ve just described.
You likely get the best results if you use these techniques only lightly for the final polishing of the composite rather than for fixing problems with your chroma key. If you have inaccurate edges or problems with edge spill, you might try to tune the matte creation and despill operations before working with this Insight’s techniques.
Key takeaways from this Insight
By the end of this Insight, you should understand how to:
Download the footage and follow along
In Part 1 of this series, I shared the download link for the footage I’m using so you can follow along and practice. After logging in, any active Mixing Light member has access to the download.
Questions or Comments? Leave a comment!
Has this series helped you? Let me know! Do you still have questions about edge operations or light wrap? Premium and Discover+ members, ask them in the comments!
– Bernd
Member Content
Sorry... the rest of this content is for members only. You'll need to login or Join Now to continue (we hope you do!).
Need more information about our memberships? Click to learn more.
Membership optionsMember Login