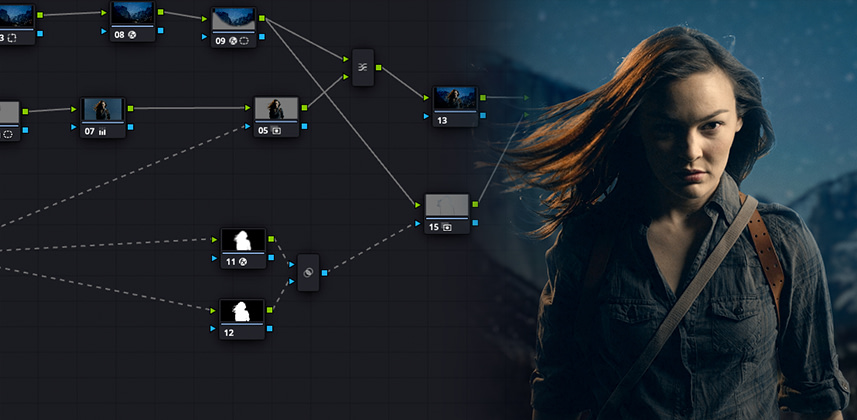
Green Screen Compositing In DaVinci Resolve
Over the years – MixingLight has had a few tutorials on doing green screen composites in Resolve. We’ve covered exporting an alpha from the color page, for compositing on the edit page, and I showed you how to build a green screen key in Fusion, and how to connect mattes from Fusion to the color page.
These are all great techniques – but some projects may require even more flexibility and customizability – and in those cases, jumping from page to page can become a serious slow-down. So in this Insight – I’m going to show you how to composite a green screen key and background entirely in one node tree in the color page.
Why keep it all on the color page? Because it lets you adjust any aspect of the key instantly – and it lets you grade the entire composite shot in a single pass. This is my favorite way to do green screen work.
In the video I’ll explain how to:
- Stabilize a green screen plate to remove camera motion
- Import background plates into your color page node tree
- Adjust depth of field on background images
- Use layer mixers to build the composite with independent control of the foreground and background
- Use key mixers to add a light wrap
- Combine it all together with final color and finishing of the shot
As always – leave me any comments or questions below!
-Joey
Member Content
Sorry... the rest of this content is for members only. You'll need to login or Join Now to continue (we hope you do!).
Need more information about our memberships? Click to learn more.
Membership optionsMember Login


