| Series |
|---|
Day 1: 25 Insights in 25 Days 2019 New Year Marathon!
Different uses for the RGB Mixer tool
I feel the RGB Mixer is rather underrated. There’s a version of it in the Quantel ‘fettle’ curves, or whatever that’s called now days. Premiere Pro has a Channel Mixer effect. I think in Baselight it’s called ‘Colour Matrix’ (please correct me if that’s wrong!). Avid|DS and Symphony called it Channels. The idea in all those platforms is simple: Feed the information from one colour channel into the output of another colour channel. It’s very powerful.
Balancing a tricky shot
Have you ever come across a shot where you simply couldn’t get a good white balance because there was virtually no information in one of the colour channels? Most white-balancing methods rely upon putting varying amounts of gain (and/or lift) into the red, green and blue signals. Cameras do this when white balancing. In post we do it by manipulating the raw data or with primary corrections. But if there’s hardly any signal in a color channel to start with then you may never get a good balance. Or if you do, you get a lot of boosted noise because you had to add gain to a low-level signal.
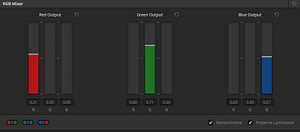
However, chances are good that one of the other colour channels has data which you can use by feeding it into another colour channel’s output. After all, we’re only dealing with three channels of ones and zeros which are destined to drive three different colour pixels on a display. Using the RGB Mixer we’re just sending a proportion of one colour channel to drive pixels of a different colour.
I’ve used this tool for to fix various extreme lighting conditions. I like it especially for murky underwater scenes.


It’s interesting to note that when you use Resolve’s RGB Mixer to create a monochrome image, it actually shows the proportions of each channel used to make the Y-only (luma-only) black and white image as defined by Rec. 709.

While writing this Insight I came across some more useful information about this kind of tool in the Avid|DS manual which is also here on page 111 of the Avid Symphony User Guide (pdf).
Creative uses for the RGB Mixer

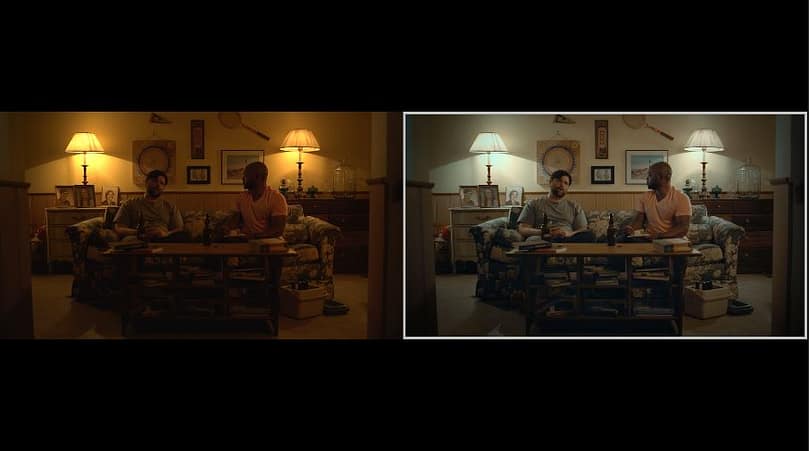
Once you start to get your head around using the RGB Mixer it opens up some creative possibilities. By considering what colour values you have and what colour you want to have, you can start to use the tool to pull the vectorscope and waveform and make overall hue and saturation adjustments. In this example I used it to compress the colour vectors along the skin/cyan axis.
Of course, the RGB Mixer is best used in conjunction with other tools. You may not want to tint neutral highlights or to add overall saturation, both of which can be side effects of using this technique. It’s not necessarily better than doing something similar in the curves menus, it’s different and well worth experimenting with.
(video credits: http://www.multihyphenate.net & http://eggcreativeproductions.com )
Member Content
Sorry... the rest of this content is for members only. You'll need to login or Join Now to continue (we hope you do!).
Need more information about our memberships? Click to learn more.
Membership optionsMember Login


