| Series |
|---|
Focus On The New Blackmagic Resolve Mini Panel
Hi Everyone, it’s Robbie!
As I teased in the last month’s Color Correction Gearhead Insight we have something really great to talk about this month –Blackmagic’s new Resolve Mini Control Surface.
Announced March 6th, 2017 alongside the similarly impressive Resolve Micro Panel, the Mini Panel has garnered a lot of attention as a powerful control panel for the Resolve colorist that inherits many of the features, and design cues of the $30k Resolve Advanced Panel.
While the smaller Micro Panel is a compelling panel designed for, as Blackmagic’s Grant Petty put it, Resolve editors also doing color work – the Mini panel adds two LCD screens, more buttons and a ton of functionality.
For many Resolve colorists who long for the feature set of the Resolve advanced panel, the Mini panel provides a similar feel and design language, at ten percent of the price! But this Insight isn’t about my thoughts on the Resolve Mini Panel, today we introduce a new voice in the Insights Library!
In this installment of our Color Correction Gear Head article, we bring in a brand new contributor Joey D’Anna – a colorist and finishing artist based in the Washington DC area.
I’ve had the pleasure of working with Joey the past few years, and there is no more technically proficient person that I know!
Team MixingLight is looking forward to many more contributions to the Library from Joey! In this Insight, Joey provides a very detailed overview of the Resolve Mini panel along with some fantastic hi-resolution images of the panel and buttons.
This is a first in a series of Insights on the DaVinci Resolve Mini Panel
Overview articles give you a good idea of how a panel is built but it’s a different story once you start working with a panel on client-driven sessions.
In future Insights of this series, Team MixingLight and another new contributor will share their thoughts on using this panel in a professional setting. You’ll learn what we like, don’t like, where this panel excels and how to fill in some gaps of this panel.
So without further delay, we are pleased to present Joey’s overview of the Resolve Mini Panel.
Overview Of Blackmagic’s Colorist Focused Control Surface
Recently, Blackmagic Design released two all-new grading panels designed specifically for DaVinci Resolve. The Micro panel is a smaller, USB powered panel with controls for primary grading. The Micro panel retails for $995.
The Mini panel supplements those primary controls by adding an upper deck with two 5” LCD screens, two additional button groups, and 8 soft buttons and soft knobs to adjust properties in the various menus accessible on the screens.

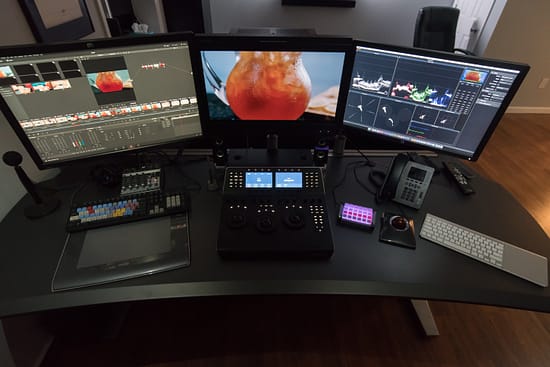
I have been grading primarily on Tangent Elements for the past few years, and I decided to buy the Mini panel as an upgrade for my home suite. Compared to the Elements, the Mini is narrower, but deeper and taller. It fits nicely on my desk, actually giving me back a bit of desk space. The Mini panel retails for $2,995.
First Impressions
The first thing I noticed about the Mini panel is how solidly built it feels. Weighing in at around 20lbs (9 kg) and made mostly of metal, the panel feels very well built. It’s designed to fit inside a 19” rack for field or on-set use, and is approximately 17” wide, 16” deep and 5” tall (43 x 40.5 x 13 cm).
The trackballs are about the same size as those on the Element, so they are a tiny bit smaller than the ones on the advanced panel. They roll smoothly and are extremely precise in use.
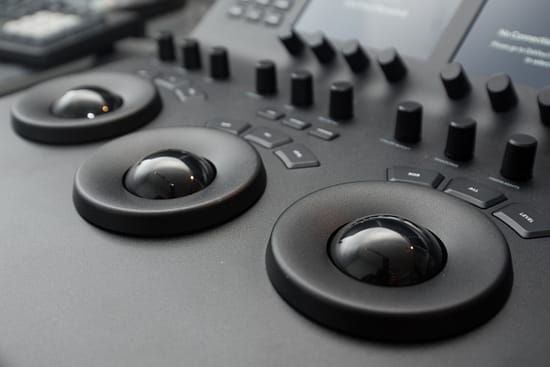
The rings are made of metal and nicely weighted. They have a bit of texturing on them which makes them easy to manipulate, and like the trackballs they are very precise when I’m making adjustments. As with all colorist control panels in DaVinci Resolve, the sensitivity of the rings and balls is adjustable in software.
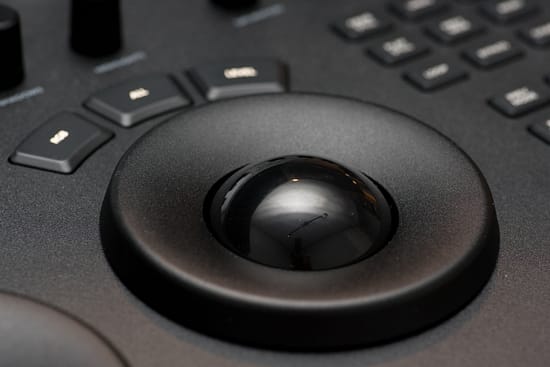
The knobs also rotate smoothly and provide precise control. Any knob-controlled parameter can be reset by pressing the knob.
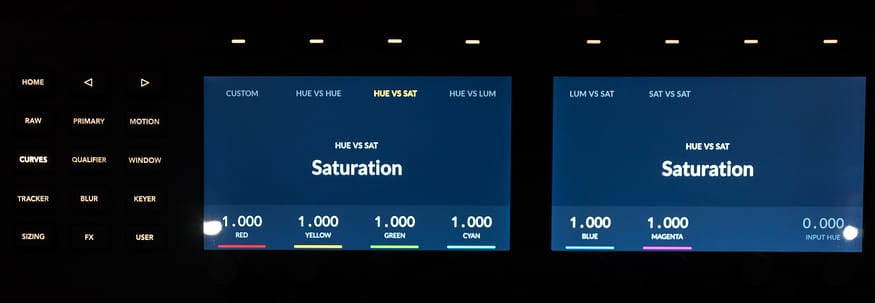
The LCD screens are crisp and respond quickly, displaying changes to values in real-time. Full-color displays are a nice feature because on control pages like Hue vs Hue or Hue vs Sat curves, the on-screen controls are color coded.
Buttons are backlit, and the backlights dim or brighten depending on context. For example, the node disable button is dim by default, but brightens when toggled.
Unlike the Elements and the advanced panel – these buttons have a softer feel, without a hard click when you press them. At first this took a bit of getting used to for me, but they feel high-quality and have a satisfying engagement when you press them. It is very difficult to accidentally activate one by resting your arm on the panel.
Connections
The Mini panel has a standard AC power connection, an XLR 12v DC power connection, USB-C, and two Ethernet ports – one of the Ethernet ports supports power over Ethernet (PoE). The panel cannot be powered solely from USB-C. The only cable the panel comes with is a USB-C to USB-A cable, so be prepared to supply either PoE or your own power cable.
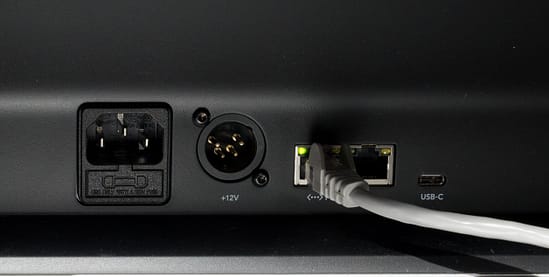
I chose to connect the panel using Ethernet via a PoE-capable switch.
PoE is a great feature because you can connect the panel with a single cable (compared to 4 to connect a full Element set) and since my workstation is in a separate equipment room, Ethernet is easier to extend over long distances than USB.
Functionality – Primary Controls
The primary grading section of the panel has the typical lift/gamma/gain trackballs and rings. Each ring gets individual reset buttons for RGB, level and Reset All. There is also a row of knobs for other primary grading functions.
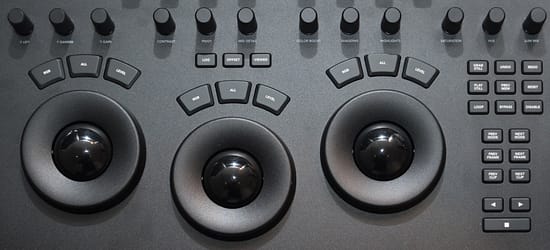
One thing I really like about the Mini panel is that you get dedicated knobs for contrast, pivot, color boost, and midtone detail. On the Elements, these all live in sub-menus. The labels for these knobs are the only thing on the panel that isn’t backlit – so it will take some time to learn the muscle memory to identify them in a dark room.
The trackballs and rings control lift/gamma/gain by default, but above them are buttons that allow you to switch to log and offset modes. When you switch to log or offset, that button’s backlight brightens to show the current mode.
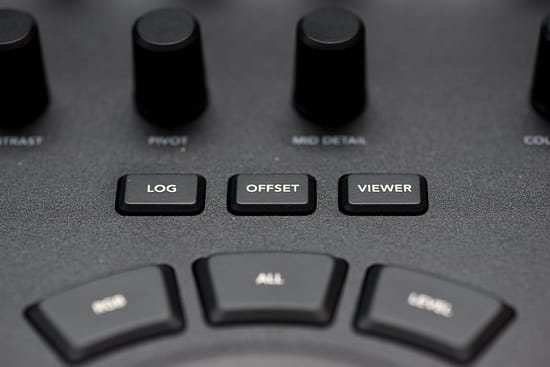
This is a big improvement from the Elements which had log in a submenu but no ability to control offset from the trackball. A nice addition in offset mode: It not only maps the right ball/ring to the offset controls, but also maps the left two rings to color temperature and tint
Functionality – Button Groups
The Mini panel has 3 main button groups. The first, to the right of the balls and rings, controls transport and navigation plus a few other commonly used functions.
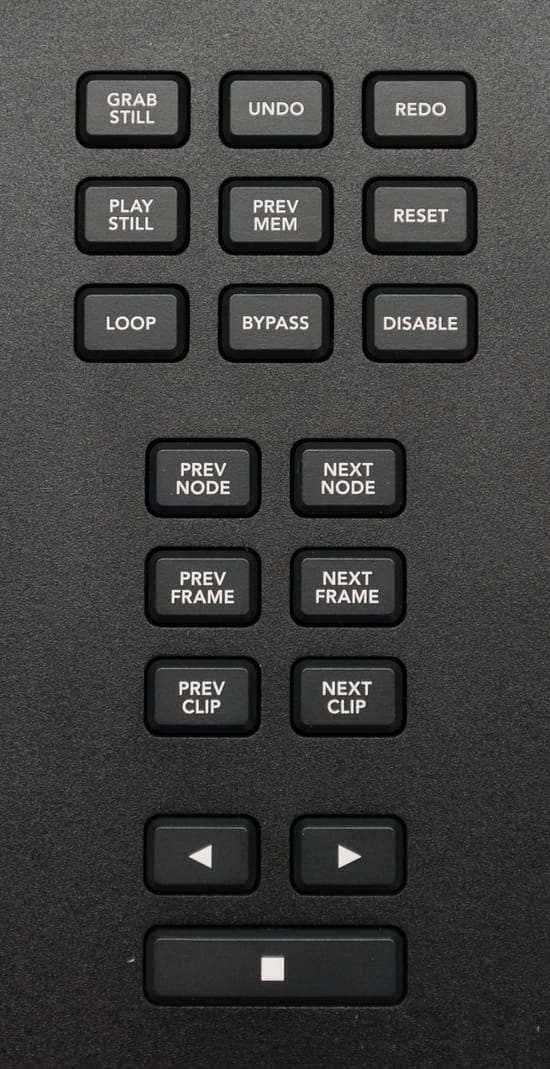
Here you get playback controls, and buttons to select the previous and next node, frame, or clip. Above those you get undo/redo, grab/play still, and controls to toggle looping, bypass, plus node enable, reset and prev mem.
On the top right of the panel, you get the following additional functions:
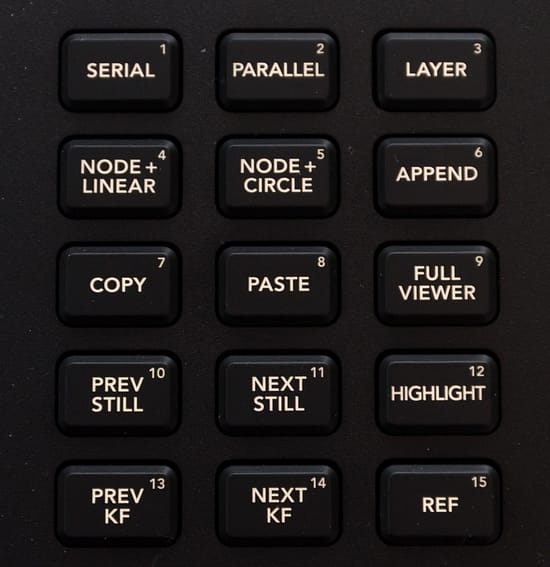
Coming from the Elements, there’s a lot to like here. I’m a fan of having dedicated buttons for adding nodes + windows, appending nodes, and for toggling highlight. Those were all buried in submenus or not available on the Element but on the Mini they are one key press away.
On the top left of the panel, you have buttons which select the various tools that appear on the built-in displays. This is the bulk of the Mini panel’s extended functionality, as each one of these buttons calls up its own entire interface on the screens.
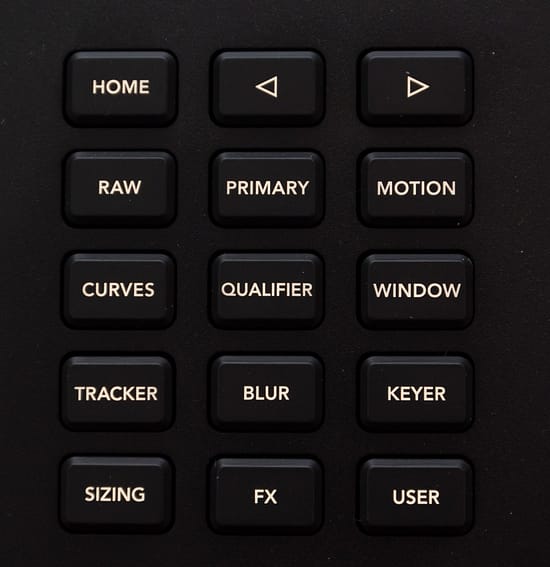
Selecting a function here not only brings it up on the screens, but selects that tool in your Resolve UI. The left and right arrows allow you to page through controls that take up more space than is available on the screens, indicated by the dots in the center of the screen:
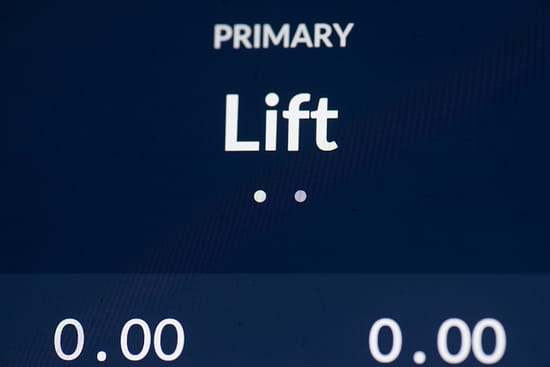
Basically, the entire resolve grading toolset is available on these controls.
Take another look at the button bank for the LCDs. Do you notice the USER button? Currently, this button doesn’t do anything but will in the future. Resolve 12.5.5 ships with a Resolve Panels application that one can assume will allow user mappable functionality via the USER button in the future.
Related, the top right buttons are also numbered and currently don’t correspond to anything, but it’s easy to imagine in future updates these numbers could correspond to memories or stills.
Functionality – Working With The LCDs
Compared to the micro panel the LCDs are obviously a huge funcitionality improvement on the Mini panel and make up a large part of the cost differential between the two panels. For me, having curves on the panel is a huge upgrade from the Elements.
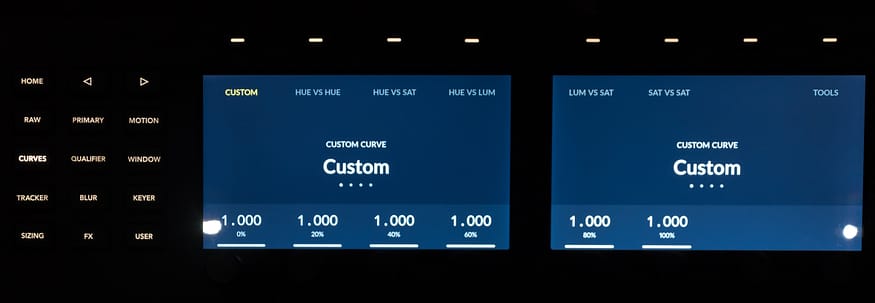
All of Resolve’s curves are available and are extremely quick to interact with. I use Hue vs Hue and Hue vs Sat often, and having them available on the panel is an absolute game changer for me.
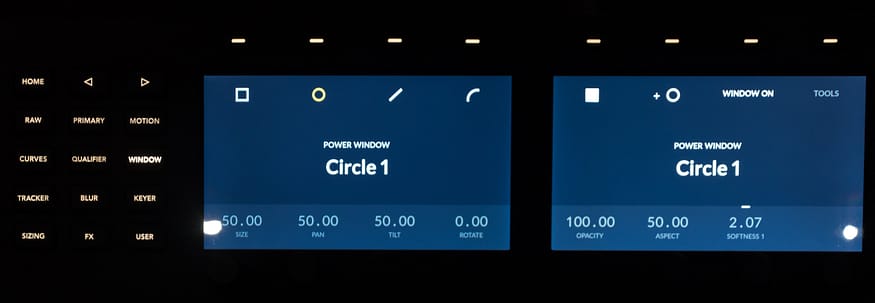
The Mini panel also has great controls for adding and adjusting power windows. The LCDs show icons for the different shapes that match the icons in the software UI.
You get full control of positioning, opacity, and the ability to enable invert and mask. While working with multiple power windows on a single node, the left, and right arrow buttons cycle through the different available windows.
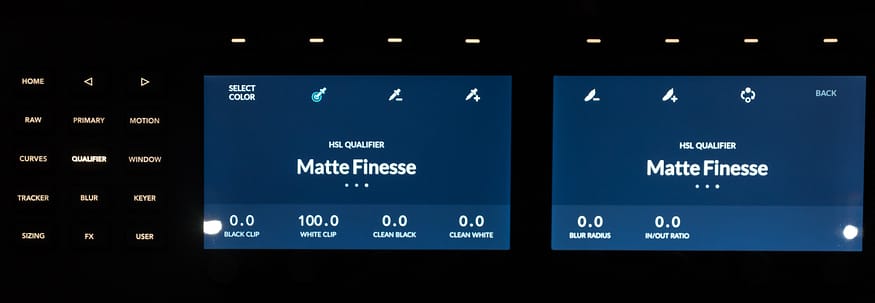
The qualifier controls are also a big improvement from the Elements. With the Elements, I often found myself defaulting to adjusting qualifier parameters using the mouse, but I find them to be much easier on the Mini panel.
Like the power window controls, icons for various functions such as invert and color selection match the icons in the software UI.
Another cool function is the ability to adjust camera raw settings right on the panel – if you work with RAW formats having this functionality right on the panel can save a lot of time.
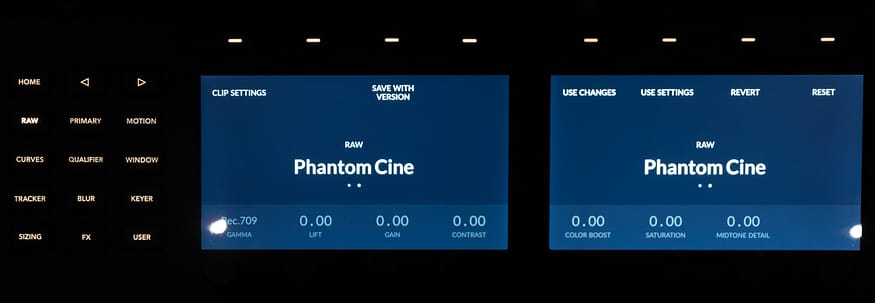
Who doesn’t hate noise? Instead of clicking on the motion tab and adjusting noise reduction there the LCDs allow for direct manipulation of motion parameters like noise reduction and motion interactively:
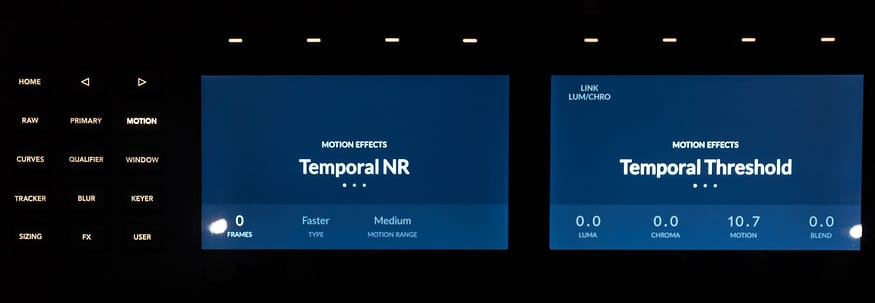
This is just a small sampling of what you can do using the screens and soft buttons and knobs, so I’ve posted pictures of all the Mini panel’s menus for you download as a zipped file.
Conclusions
Since I bought the Mini, just about everyone I’ve talked to about it has asked me the same question:
‘Is the Mini worth it if I already have Elements?’
In my opinion – the answer is yes.
- The build quality and overall feel is excellent.
- Across the board the panel is better integrated with Resolve. This is to be expected, as the Mini is specifically designed for DaVinci Resolve and doesn’t have to work on multiple systems.
- I love having curves on the panel. This is probably my favorite feature on the Mini, and for me it is worth the entire price of admission.
- I also love having offset controllable via trackball.
- Many commonly used controls which were in submenus on the Element are directly available on the Mini.
- Power over ethernet allows for a clean single cable installation.
Please keep in mind, the Mini and Micro panels only work with DaVinci Resolve, which may be important if you regularly need to control other software.
If you grade mostly in Resolve – the new Mini panel offers a compellingly deep amount of functionality for a very low price, with smooth, precise controls and professional build quality.
If you have any questions about the panel please use the comments below – also be sure to check out future Insights about using the Mini Panel on a real-world project.
-Joey

