| Series |
|---|
An OLED, HDR Injector, 12G Router, eGPU Box, and a Computer Remote Control App
Yep, it’s been a while since a Gear Head installment! Partly because the back half of 2017 and early 2018 hasn’t been all that exciting (gear wise) and partly because I’ve been so focused on building a new facility, I’ve been derelict in my duties!
Let’s jump right in. In this installment, we’ll take a look at the 2018 LG C8 OLED, the HD Fury Integral 4k processor/converter, the AJA Kumo 12G 16×16 router, the OWC Mercury HeliosFX eGPU expansion box, and an affordable TeamViewer alternative – Splashtop,
Since it’s been a while – remember, Gear Head articles are not meant to be complete or even close to comprehensive product reviews, but rather quick snapshots of new gear that I’m using and I think you that you might need or want.
If there are specific items that you want me (or others on Team ML) to dig into further, just let us know in the comments below. Speaking of comments, as always, if you have questions or something to add to the conversation, please let me know.
LG C8 (2018) OLED
It’s no secret that I’ve been a fan of LG OLED displays for a long time. In fact, since the EF9500, I’ve owned one or more copies of every generation since. I have them at home and at the office.
It’s my feeling that in the past year or two the LGs (along with other companies using the LG panels) have become so good that at least for SDR you can consider them true reference monitors.
To get the badge of reference monitor, the display must be extremely accurate, and to achieve that, on pre-2018 models, an external LUT box (at least in professional setups) is used; I used an FSI BoxIO.
Well, the big news on the 2018 LG OLEDs (C8 and above) is the ability to access and store 1D and 3D LUTs (33sided) directly on the TV. Thanks in part to the LG made Alpha 9 processors, in the 2018 C8 and above you can now accurately calibrate for both SDR and HDR with no need for an external LUT box.
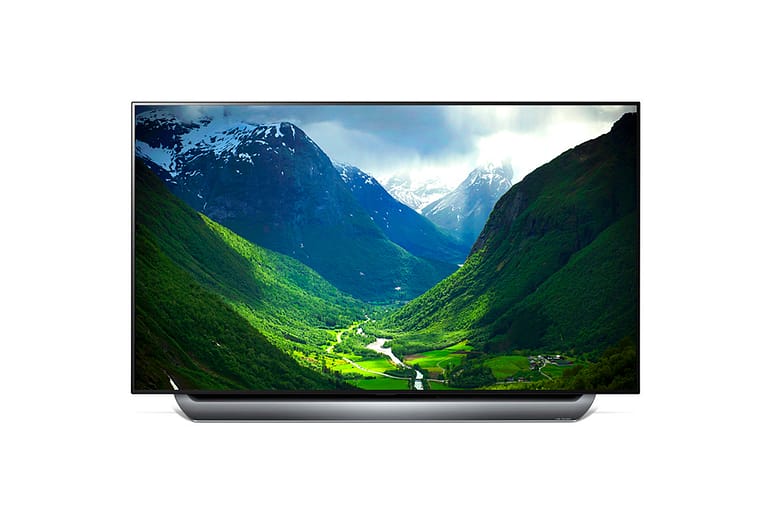
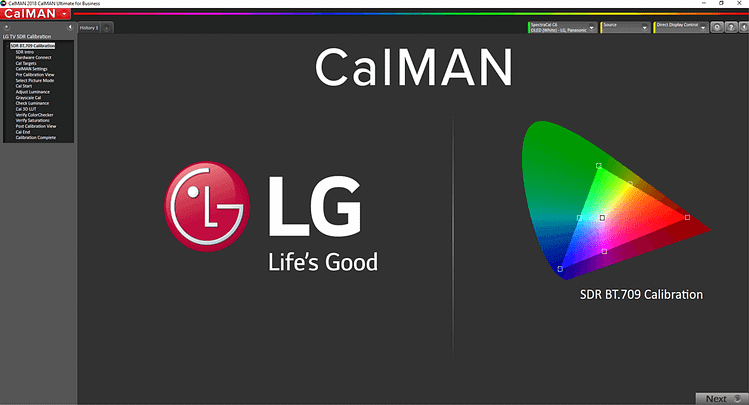
Right now, Spectracal (Calman) has an exclusive relationship with LG for controlling the 2018 sets – what this means is that Calman can control the LG set through a network connection and upload LUTs directly to the display. I’ve done this routine myself a few times and it works extremely well. I’m getting average SDR deltaE values of .6 and HDR values that are higher (and variable – possibly due to panel heat on the Mixing Light CR-100 meter). A value of less than 1 is essentially perfect.
Other improvements – banding out of black seems to be improved over 2017 models with less panel noise (especially when seen in Full Range i.e. black level set to High). Peak white is about 100nits higher than 2017s. My copy hit 831 nits on a 10% window. Oddly, once calibrated my C8 copy did about 95.2% of P3 down from a C7 that did 96.6 in 1931 xy (I remeasured). Not sure how to explain that one.
For most of us, a 4k HDR reference monitor is simply out of the question, but to have near perfect SDR performance and good HDR performance in a 65in or even a 77in size for a fraction of the price of traditional reference monitor is pretty phenomenal.
While it’s hard to deny that the LGs to get the most performance out of them feel like you’re hacking a gov’t installation, the value to performance ratio is hard to deny.
We’ll be doing a new Insight series soon on SDR/HDR calibration, specifically for the new 2018 LG displays.
HDR Fury – Integral 4k
If you’ve been a Mixing Light member for the past year or two, you know that I’m a huge believer in HDR. I’ve invested a ton of money in monitoring and gear to be able to support Dolby Vision and HDR 10 workflows. While I like gear, as I mentioned above in the section on the 2018 LG C8 OLED, getting an HDR reference monitor at home was simply out of the question.
At home, I’m using a 65″ 2017 C7 LG OLED and it’s basically perfect for SDR and pretty darn good for HDR, but as consumer monitor, it has one problem with HDR – it needs to be told (via metadata) to go into HDR (PQ) mode. While there are ways to do this via the service menu – I don’t want to tell you how as it 100% voids your warranty!
Of course you can also do HDR metadata injection from Resolve if you’re connected to it directly via HDMI from a BMD I/O device that has HDMI out – but that’s not always possible, and in my home setup I have a SDI only I/O card.
Enter the HDR Fury Integral 4k (you also can use their even more powerful/expensive Vertex too). Well known by home theater enthusiasts, HD Fury makes products to handle HDMI handshake issues, get around HDCP incompatibility, split HDMI signals and more and the Integral 4k does all of that in addition to injecting HDR metadata into the HDMI signal path and operates at 4k 444 at up to 60p!
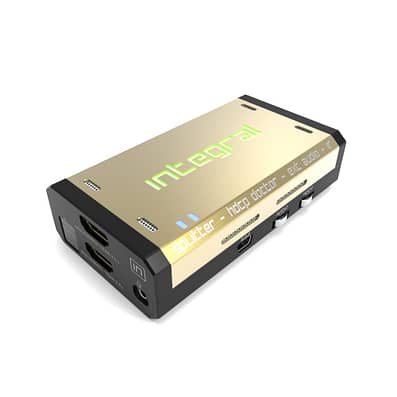
In my home setup, I use a Decklink SDI 4k, which feeds a Teranex 12G SDI to HDMI Converter (and holds a calibration LUT). The HDMI out of the Teranex feeds an input of the Integral 4k and then the Integral 4k feeds the C7.
HDR Fury has an Android/iOS app you can use to connect via Bluetooth to the Integral 4k or you can download a Windows application so you can control the unit over USB (note you need to install USB drivers from HD Fury to properly communicate with the unit).
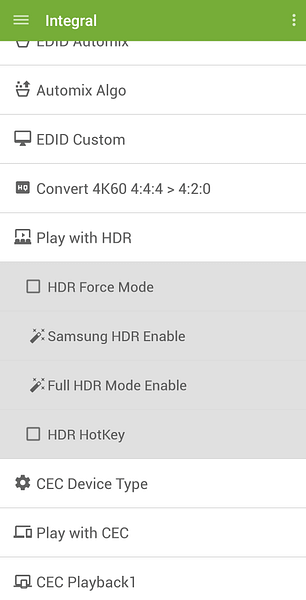
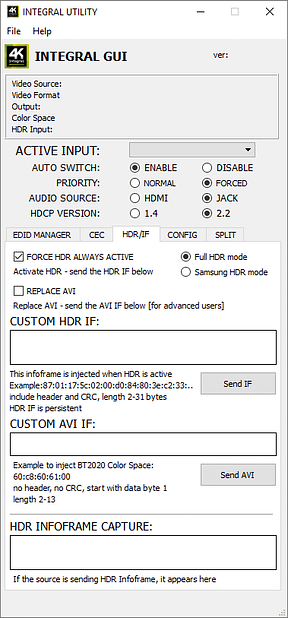
With either method of control, jumping to the HDR tab allows you to force HDR mode on your HDR TV ( you can also use the external button on the device itself).
If you’re just getting into HDR, simply forcing the HDR mode will get you started, but for precise control, you’ll want to be able to control the HDR and AVI info frames. This can be done by manually pasting these Hex values into the Integral Windows app (shown here in the context of using the Integral for Calibration) or with AVTOPs Integral Controller app ($99) which is my preferred tool. HDR guru and owner of AVTOP, Florian Friedrich, gives an overview of this process in this great video.
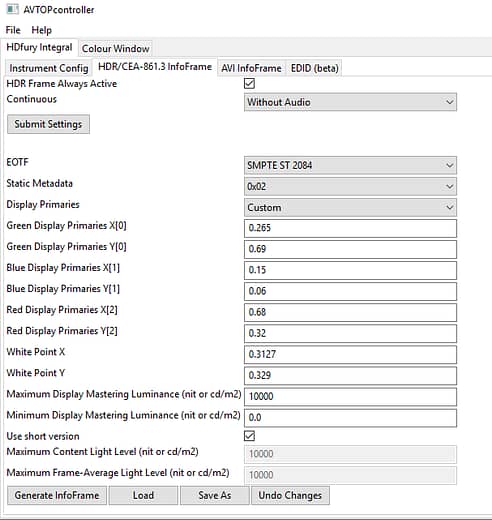
For $179 +$99 for the option AVTOP Integral Controller, you have a complete solution to work with a consumer HDMI HDR monitor for grading.
Note: What about the AJA HI-5 4k?
I’ve previously mentioned the AJA Hi-5 4k in a few different Insights. It’s a great converter ($595) and works fantastically as an HDR metadata injector. But from a cabling perspective, there is a little more involved. The Hi5-4k features quad 3G SDI. So depending on your frame rate, and chroma subsampling needs, for UHD you’ll need either two or four connections from your I/O to the Hi5-4k. I found the combo of the Teranex 12G unit and the HD Fury Integral 4k to be simpler setup.
AJA Kumo 16×16 12G Router
While video routers aren’t considered by most (I’m not most) to be sexy pieces of gear, as you add computers, monitors, virtual decks, etc., to your setup, a router makes it easy to get a signal from one point to another (or to multiple points).
For the past few years, I’ve been using the Blackmagic Smart Video Hub 12×12 which is a 6G router. The BMD unit is a great, easy to use piece of gear, but this summer I’m moving my facility to a new space, while simultaneously opening another location – so I needed another router and one that was a bit bigger.
In addition, as I detailed (and lamented) in the first part of my look at Dolby Vision HDR grading, the Dolby hardware CMU I own is Quad 3G SDI In/Out, which means 8 connections to the router – not ideal with the other gear I had connected to my BMD router. BUT…I could mix quad 3G SDI to a 12G signal and have a single cable connection to the router. Blackmagic actually makes two different units to do this depending on the direction you’re going.
So, I need a slightly larger router, but also one that is 12G to handle the single in/out of the CMU and BMD converters. While I would have loved to stay with the BMD Smart Video Hub line, BMD currently doesn’t offer a 12G router smaller than 40×40 – they make a 20×20, but it’s only 6G and the 40×40 12G was too much for my needs.
This year at NAB, AJA announced two additions to their KUMO line of routers – a 16×16 12g unit and a 32×32 12 Unit.
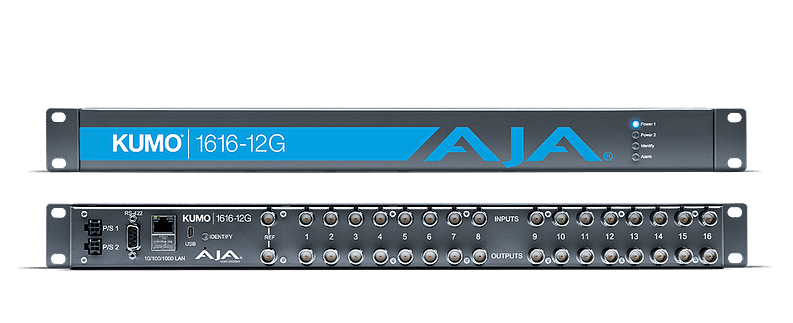
The 16×16 fits my needs perfectly!
With dual power supplies (for redundancy), Ethernet control (the router runs embedded Linux and offers a WEB UI) and the ability to store and run 8 salvos (salvos are like macros – recalling multiple saved sources and making routes to multiple destinations with one click) the KUMO is a powerful router.
While the web app is how most users will operate a KUMO router, there is a control panel available for an additional $595. That is one advantage of the BMD routers – they have the control panel built in, but I can’t imagine not having the front control panel on the AJA will bother me.
I’ve placed my order for my KUMO 16×16 12G. They start shipping in June and list for $2495.00
OWC Mercury HeliosFX
eGPUs are a hot topic these days. E or external GPUs can be used to increase the performance of laptops or other Thunderbolt 3 equipped systems.
Major players like Sonnet, ASUS, Akito, and others have jumped on the eGPU bandwagon making external Thunderbolt 3 chassis to house a GPU of your choice. Support for eGPUs in Windows 10 and now Mac OS (10.13.4) is solid and much less experimental than it was even a few short months ago.
My primary laptop is an HP zBook Studio G3. This workstation class laptop is a beast, but it has 4GB Quadro M1000M GPU that is not all that powerful.
Recently, I was headed out for a family vacation but had a big commercial project I had to finish – the internal GPU was just not going to cut it.
So after negotiating with my wife for a day of the trip to work on this project, I started my search for eGPU boxes (I had a spare GTX 1080TI to use)
I’ve always been a fan of Other World Computing (OWC) and eventually settled on the OWC Mercury HeliosFX.
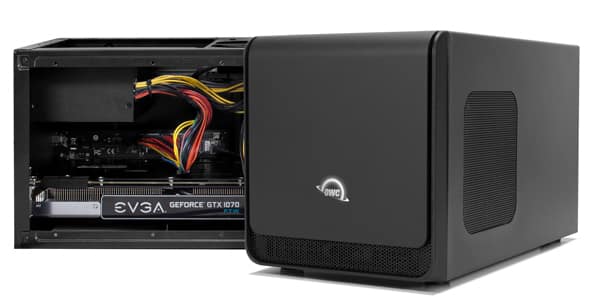
Featuring a single slot that can accommodate double width cards, the Mercury Helios FX features a 375watt power supply to handle even demanding cards from Nvidia and AMD.
With a single power switch and one Thunderbolt 3 port on the rear of the box, all you have to is connect a single TB 3 cable to your system to start utilizing the external GPU (enabling this differs slightly between Windows and Mac)
So how’s the performance? Pretty darn good.
On the commercial project with the internal GPU and a complicated grade, I was getting about 8-9fps in Resolve. With the external GPU that increased to a full 23.98. Just keep in mind even using a beefy card like the 1080 TI, the performance using an eGPU is going to be about 15-20% less (or more depending on the operation) than if the card was installed in a dedicated x16 PCIe slot in your computer. The x4 PCIe 3.0 slot in the HeliosFX (or any of the eGPU boxes) is only 32Gbps and TB 3 is 40Gbps vs. an x16 PCI slot which can do 126 Gbps.
Also, I’ve found that TB cables matter – there are some cables that are Thunderbolt 3, but at longer lengths can’t do the full 40Gbps of TB3. For optimal results, use shorter cables that are rated at the full TB3 bandwidth.
I guess you could call the Mercury HeliosFX portable, but its a pretty big box. If you’re a freelance colorist going from shop to shop, and you want to work off a laptop it could come with you, but short of dedicated bag or case for it, it’ll be a bit awkward to transport.
The OWC Mercury HeliosFX is available from OWC for $319.
Splashtop
I’ll be the first to admit that I have too many computers!
Between three different color suites, remote render boxes, FTP, Streambox, laptops and home computers, I’m often connecting them for various reasons at all hours of the day.
For the past several years, I’ve used TeamViewer to connect from one computer to another and it has worked well. But here’s the thing…
I was absolutely using the free version of TeamViewer for commercial purposes (a no-no) and with a lot of computers, I knew I was risking my workflows by getting caught by Team Viewer (your honor, guilty as charged)!
Recently, when adding yet another computer to my list, I got a message from TeamViewer saying that my account was suspected of commercial use – they were right – the jig was up.
Asking IT friends what they’re using for remote control applications, almost all of them said TeamViewer, but a couple told me to take a look at Splashtop – I’m glad I did.

At only $60.00 per user (your likely to have one user – you) for a business account, you can control up to 10 different computers.
Unlike Team Viewer where there is one app to install on computers, Splashtop Business requires two applications. The first is called Splashtop Streamer which gets installed on any computer you want to control. To manage and control those computers, you’ll need to download the Splashtop Business Access application.
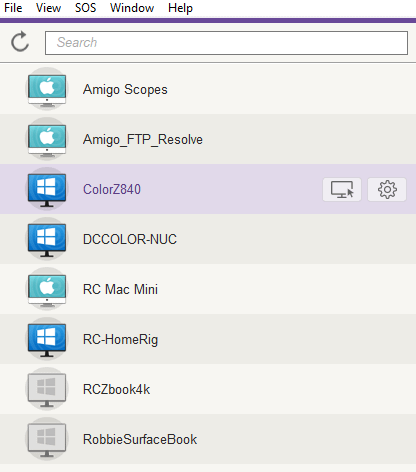
Once installed, Splashtop works how you’d expect – double-click on a computer to control it (you can password protect access to any machine on your list). Remote printing, file copy, keyboard shortcuts, etc., all work and the quality of the stream is fantastic. Only thing that’s a bummer is Splashtop only supports Ubantu Linux distro – I’ve yet to get to work on Centos, which I run Resolve on my main workstation.
At a fraction of the cost of TeamViewer, Splashtop is worth checking out – especially if you have a lot of computers in your facility or your house like I do.
Need Some Gear?
If there is a technological need that you have in your color suite, let me know! I’d love to know what pain points other colorists are having. Chances are I can find a solution, and if I do, sharing that solution will help all of our members. So please let me know!
-Robbie


