| Series |
|---|
Day 5: 24 Insights In 24 Days – 2020 New Year Marathon!
A New Facility: A Lot Of Products For Gear Head Articles!
Happy New Year Mixing Light members!
2019 was here and then and it was gone. For me personally, 2019 was one of the most stressful in my career and almost all of this stress was caused by the fact that after 11 years in the same space, my partner Ott House Audio and my company DC Color decided to build a new brand new facility from scratch (starting out with the space down to the studs).
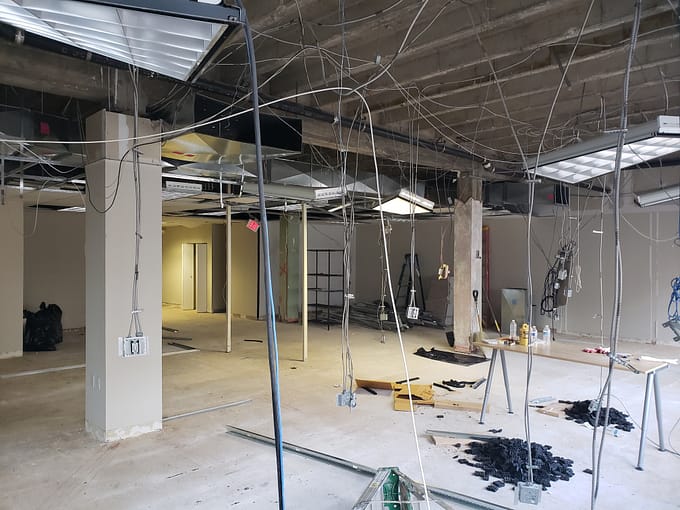
In many ways, the facility project was super exciting – our hero color room grew by nearly 3x the size, and our new Dolby Atmos hero suite is one of the largest near field/Dolby Home reference suites on the East Coast. But as with any major construction project, there were setbacks, delays, and cost overages, etc., (building Audio rooms is a giant PIA!).
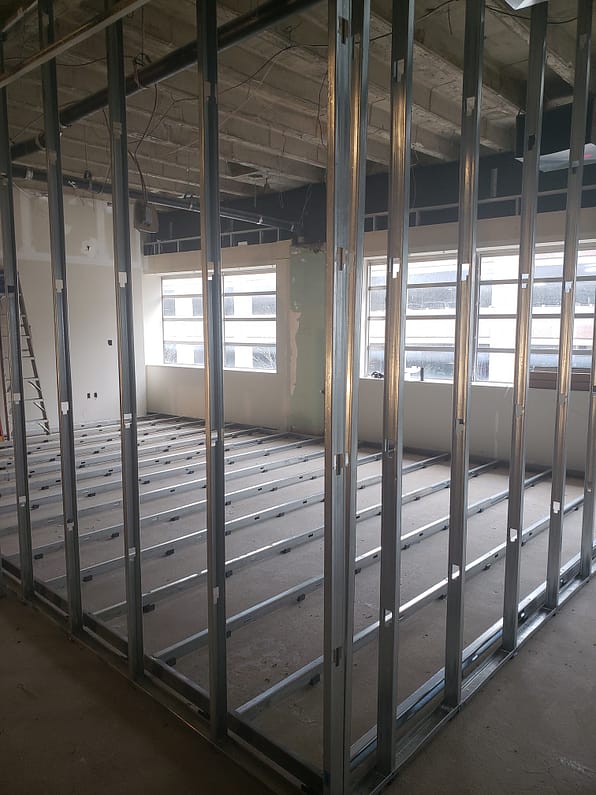
Even though I was utilizing lots of new gear for the new facility, I didn’t have the time to write about those pieces in 2019. Now that the facility is up and running and I’ve had a chance to see what works, and what doesn’t and make adjustments, I have lots to talk about gear wise in 2020.
In this installment of Color Correction Gear Head, I’d to take a look at some of the small things that went into my new facility. In future Gear head articles this year, we’ll move on to bigger pieces of kit.
Shhhh! Keeping Things Quiet
Building acoustically sound rooms is a subject not just for an Insight, but a whole book – and there are books on the subject!
When we were planning the new space, we knew we were going to go all out with the audio rooms – building floating rooms (a room within a room) with no expense spared for isolation and acoustical turning. In the 11 years since the last time we built rooms, there are a lot more commercial acoustical products on the market and most of them are way cheaper than they used to be.
As we looked at the plans coming together, we thought why not just make the whole facility as acoustically sound as possible? The conference room, of course, didn’t need the same treatment as an Atmos Mix room but there were probably ways to sure things up, right?
Indeed. Before I tell you about some cool products this is where things can get very expensive. Despite what you might have heard on the Internet, the only real way to make something ‘soundproof’ is mass and using that mass in combination with physical design (layers, air barriers etc) This usually means lots and lots of drywall which adds up – quickly.
For example, our Atmos suites have 2 layers of 5/8in drywall on the inside room (the floating, decoupled part), 1/2in of air, two more layers of 5/8th drywall, 1/2in gap filled with recycled denim insulation (it’s very dense) and then another two layers of 5/8 drywall! Yes, it’s intense and expensive. And obviously overkill for a color room or other parts of the facility but those rooms sound great! Here are some products we used:
- QuietRock 510 & 530 – For drywall, we went with two different products from QuietRock. Their 530 drywall panels are 5/8ths and we used these for the audio rooms. For all other drywall, we used the 1/2in QuietRock 510.
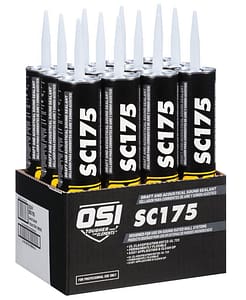
- OSI SC175 – minimizing sound leakage at joints or gaps in drywall is a must. OSI SC175 is perfect for the job. It’s amazing how well this stuff seals.
- QuietPutty – of course in any room there is going to be ingress – from cable drops, to electrical lines. While it’s important to use sealant around low voltage boxes, what about the inner part of box? That’s where acoustical putty like Quiet Putty comes in. It’s pliable and can be removed if needed and should be used anywhere there is ingress.
- Acoustimac – We use too many Acoustimac products around the facility to single out just one, but their premade panels, bass traps, acoustically transparent fabric, and other products are in high use. Remember, acoustical panels like those from Acoustimac are not soundproofing – rather they’re used to ‘tune’ a room.
One more note on keeping things quiet – doors are important. In our audio rooms we have super heavy/dense acoustical doors – but these cost as much as a used car. For all of our other rooms, we chose solid core doors and use foam sealing around doors (including the bottom). This dramatically helps with sound transmission.
Building Cables
I’m so happy that it’s 2020 and not 1998! I remember vividly the facility I first I worked at about 2 weeks after getting hired embarked on a massive facility redo and when it came to cables that meant a bushel of them to each room – multiple component video runs, multiple AES and analog audio bundles, SDI, ethernet and usually backups for everything going in and out of the room!
Let’s put it this way I got really good at making cables!
These days we need a lot fewer cables, but instead of buying premade cables which would inevitably mean I’d have runs a bit too long or a bit too short. For the bulk of cabling in the facility, we made our own. Here are some of the products I prefer:
Ethernet
Every ethernet run in the new facility is Cat 6a so I have the ability for 10GBe speeds everywhere. I’ve found Monoprice is one of my go-to places for cables in general and this also true for bulk cable.
Monoprice Entegrade Cat 6A Bulk cable is plenum rated and comes in a variety of colors. It’s available in 1000ft spools. If you’re going to run cable in the ceiling above drop ceiling or in conduit then you need plenum rated cable – it’s a little more expensive than non-plenum, but trust me, you don’t want a fire marshall telling you that you have pullout all the cable you just installed because it’s non-plenum (fire-rated). At $340 per spool, this cable is very price competitive and works great.
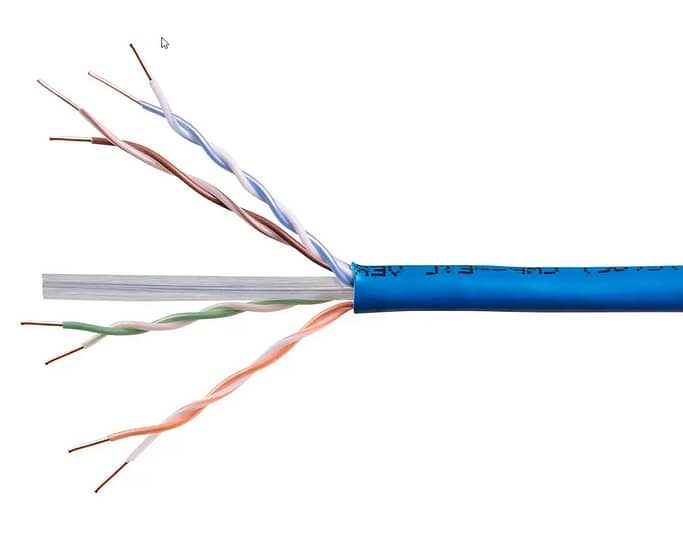
When it comes to terminating Cat 6A cables and especially when you have a ton to build, I highly recommend these pass-through connectors. A pass-through connector lets you feed the separated twisted pairs of the Cat6A cable through the connector so it’s much easier to make sure you have the order correct.
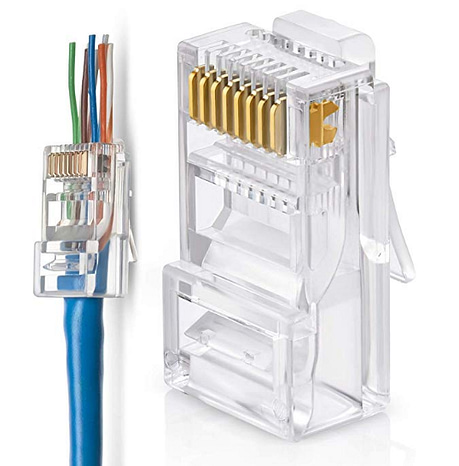
With a pass-through connector, the only thing is you’ll need a crimp tool compatible with pass-through connectors – a standard crimp tool might not work, you specifically need one for pass-through connectors to ensure things are trimmed correctly at the connector.
If you plan on having ethernet outlets in walls for easy connectivity to your various wired networks you’ll need some punch down keystone jacks. I really like these ones from Monoprice. Because you can get them in different colors, it’s also easy to identify different networks via the color of the keystone. For example, we use Red to identify 10GBe, Yellow for non-public private internal network (1GBe), and White for our regular public wired network (1GBe). Just make sure you get a quality punch down tool.
SDI
If you need to run SDI these days, there is no reason not to run 12G SDI. A single cable can handle up to 2160p60 and in quad bundles can handle 8k (it’s coming!).
For longer runs, especially bundled with lots of other cables Belden 4794r 16AWG 12G cable is the gold standard due to its durability and superior shielding. This cable is the 12G successor to the ubiquitous Belden 1694A 3G cable. Remember, if you’re running in drop ceiling or conduit you’ll need the plenum version which is, unfortunately, quite a bit more expensive.

The one downside of 4794r is that at 16AWG it’s thick and not all that pliable. I use it for long runs because I’m OCD about shielding and cable protection, but you might also consider Belden 4855r 23AWG (also available in plenum). I’m a Blenden guy, but there are similar products from Canare and Laird and others.
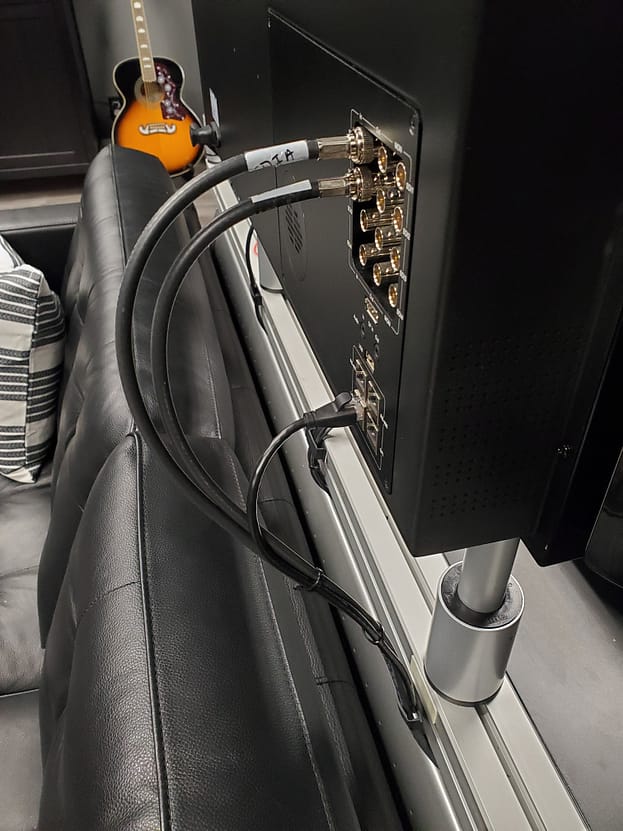
When it comes to SDI BNC connectors, any standard 75ohm BNC should work, but I prefer connectors that have been frequency swept for 12G like these Amphenol ones for 4794R cable or these for 4855R.
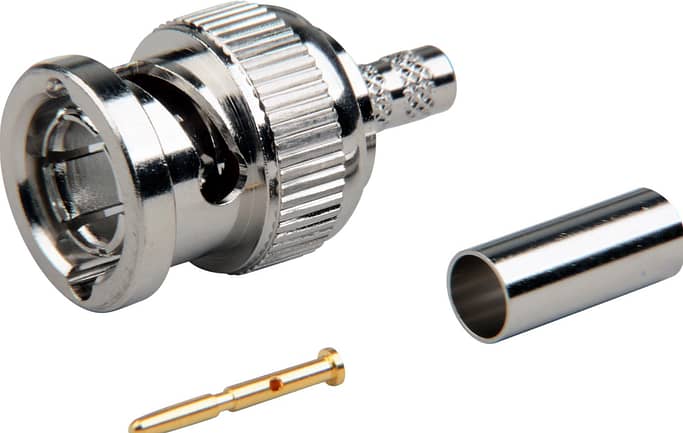
Just like with making Ethernet cables, you’ll want to make sure you invest in a high-quality crimp tool for RG6 or RG59 and perhaps more importantly for SDI cables a professional cable stripper.
Audio
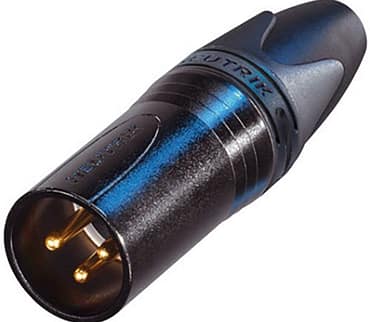
When it comes to line-level audio cable, Belden 9451 22AWG cable is my go-to. It’s also available in Plenum. Our Atmos audio rooms are 7.1.4 and my color suite is 7.1 so we needed a lot of 9451! For XLR connectors Neutrik’s are the way to go. As a personal preference, I like the Black/Gold NC3MXX.
Old People Tools
I’ll admit I’m getting old. Plus, my fat fingers make building dozens and dozens of cables of a major chore. If you’re in a similar boat, don’t worry – here are a couple of tools to help you build cables faster!
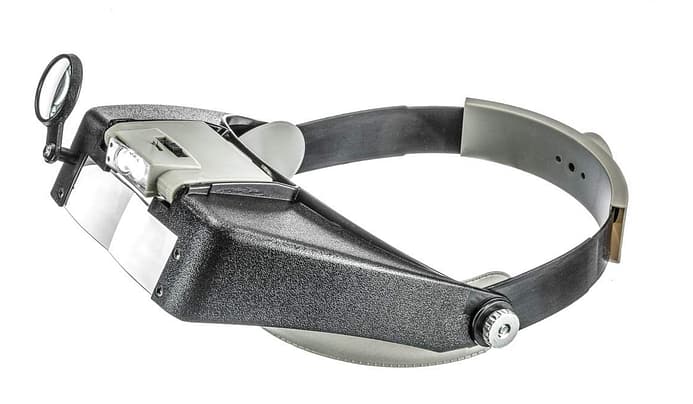
First up, swallow your pride and put on one of these amazing Dual Lens Head Magnifiers! Yes, you will look very dorky, but it makes it so much easier to see small twisted pairs of a Cat 6a cable up close for example.
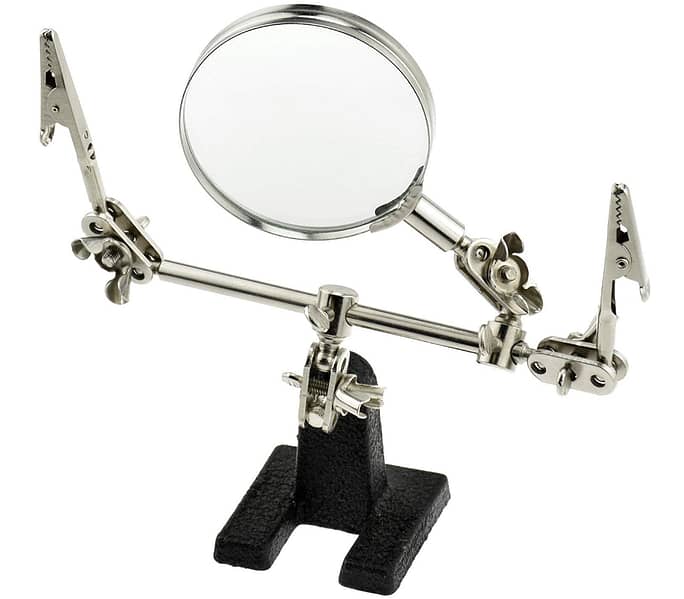
A related product that I’ll often use when soldering XLR cables or for other delicate work is this set of helping hands – it can even be screwed down onto a workbench.
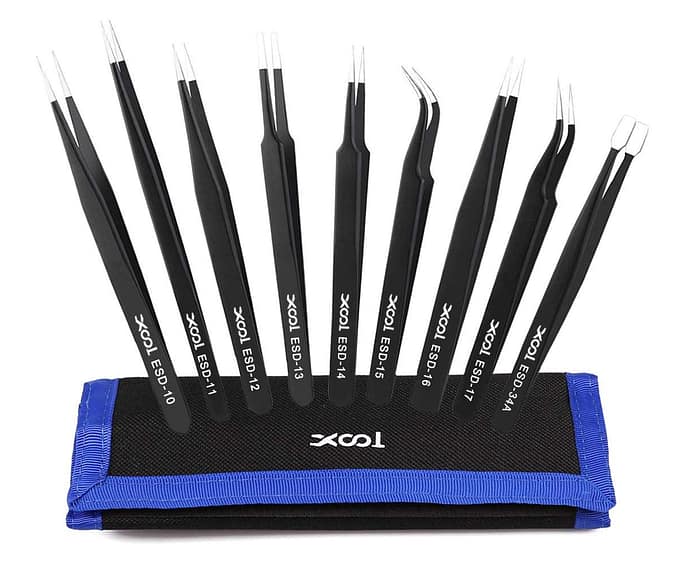
Small wires can be hard to grab and manipulate. I’d recommend a small set of antistatic tweezers like this kit.
Member Content
Sorry... the rest of this content is for members only. You'll need to login or Join Now to continue (we hope you do!).
Need more information about our memberships? Click to learn more.
Membership optionsMember Login


