| Series |
|---|
Patrick Continues Experimenting with Peripherals
If you own a big DaVinci Resolve Colorist Control Surface (like the one pictured below), when it comes to color correction ergonomics – 80% of choices are already made for you. Even the keyboard is built into the Resolve surface. After purchasing this piece of gear (for $30,000), your main ergonomic choices are how high to set the desktop, where to place your displays and the proper color of your walls.

But if you’ve got a more modest setup, like the day-to-day arrangement I’m using now—with a Tangent Element, as you’ll see in this video—you’ve got a ton more choices to make.
A recent podcast had me re-making my room, for better ergonomics.
In a Fitness In Post podcast about the proper ergonomics for an edit suite, a couple of suggestions grabbed my attention. I decided to implement some changes to my room and so far, the results are promising.
I’ve been suffering from shoulder pain the last few months
Diet changes definitely helped reduce inflammation but my left shoulder still keeps me up at night. The Fitness In Post podcast helped me realize my desk setup wasn’t helping the situation and I decided to change some key components:
- I ditched the large Wacom tablet: It took up too much space on the desk. Also – I’m finding most post-production software isn’t optimized for pen inputs, and I was fighting the tablet as much as I liked it.
- I ditched the full-sized keyboard: For 25+ years I’ve been using keyboards with numeric inputs. When I was editing full-time, it was a necessity (I did lots of timecode inputting and frame trimming from the keyboard). As a full-time colorist? Not so much. As you’ll see in the video, by going with a smaller keyboard – it’s really helped me reduce my desktop footprint and keep my arms in a much more natural position.
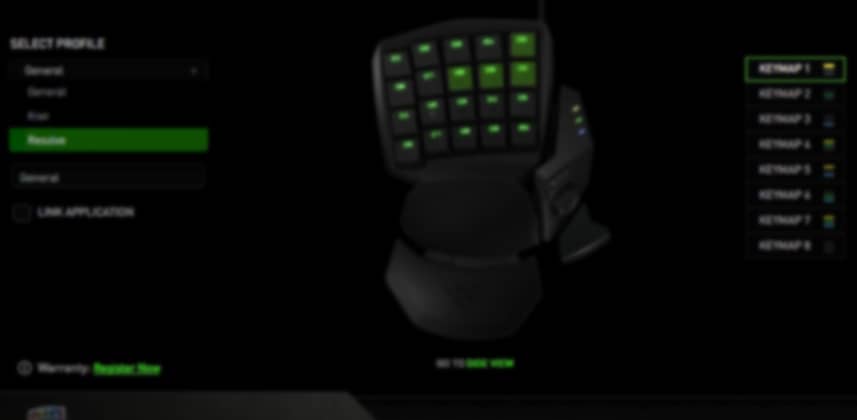
- I added a gaming keypad (as a replacement to the X-Keys): We’ve had several Insights about how adding an X-Keys (or similar) keypad can really boost your speed and productivity. I wanted to try a gaming keypad (which includes a wrist-pad and thumb controls) to see if I could notch up my efficiency.
- I replaced the Wacom with a vertical mouse: As you’ll see in the video, this one change alone has practically eradicated the carpal tunnel I’d get in my right wrist. For me, this vertical mouse style was a stunning revelation.
- I changed the orientation of the Tangent Element: I’ve never been happy with its downward slope of that panel and I found plastic feet that seem to fix the problem for me. But I’ll need a few weeks to decide if I want to run with the Tangent full-time in this new position.
In this Insight, we dig into the details of the how and why of these changes.
It’s too soon for me to offer up any definitive conclusions about what I do or do not like (though I *really* like my initial efforts with the gaming keypad), but I’ll be doing a follow-up or two. I plan on testing the Logitech G13 keypad device, based on Mixing Light member comments. I’ll be comparing specifically to the Razer Orbweaver you see me demo in this video.
-pi
Member Content
Sorry... the rest of this content is for members only. You'll need to login or Join Now to continue (we hope you do!).
Need more information about our memberships? Click to learn more.
Membership optionsMember Login


