Series |
---|
Land the leap from Media Composer to DaVinci Resolve with the right project settings
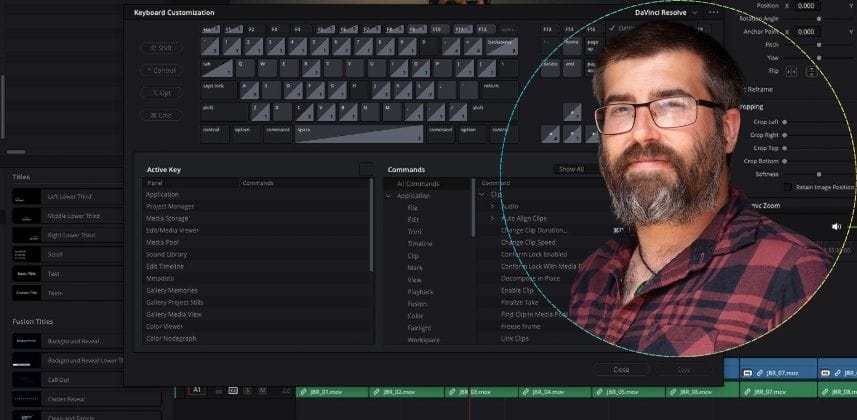
This Insight is the first in a new series designed to help experienced Avid Media Composer users working in Picture Finishing transition smoothly to working in DaVinci Resolve.
While this Insight will build on your existing expertise, it also highlights key differences between the Project Settings of the two applications, including how to set up independent timeline settings in DaVinci Resolve.
Subtle differences matter
Sometimes, it’s the little things that can trip you up most, and while there are a lot of commonalities between the two applications, there are some subtle differences to be aware of.
Two small examples:
Shape this new series
In this first installment, we take a close look at Resolve’s project settings — the crucial foundation for ensuring smooth workflows — and compare them to similar settings in Avid Media Composer.
As this series grows, we’ll continue to explore other essential tools, workflows, and tips to make the shift from Media Composer as straightforward as possible.
Whether you’re tackling color grading, online editing, or VFX, the goal is to create a valuable resource for anyone embracing Resolve and looking to build confidence in their new workflow.
Key takeaways from this Insight
By the end of this Insight, you should understand:
Related Mixing Light Insights
Chapters
Questions or comments? Leave a comment!
Are you an Avid Media Composer user moving over to DaVinci Resolve? What are your biggest problems or learning gaps? Let us know, and we can answer your questions as the series unfolds! So be sure to hit the comments and let me know what you’d like me to cover next.
– Zeb
Member Content
Sorry... the rest of this content is for members only. You'll need to login or Join Now to continue (we hope you do!).
Need more information about our memberships? Click to learn more.
Membership optionsMember Login