| Series |
|---|
Day 14: 25 Insights in 25 Days New Year Marathon
Premiere Pro Detective: How Your Scaling Settings Are Killing DaVinci Resolve ‘Roundtrips’
Part 1: Why The ‘Frame Size’ Options Matter More Than You Think
DaVinci Resolve has become a very popular finishing tool in Premiere Pro CC workflows. Especially after Adobe killed SpeedGrade CC in 2016 and removed the ‘Send to SpeedGrade’ menu command from Premiere. This left DaVinci Resolve as the go-to dedicated digital video color grading app for Adobe users. There are two methods for sending a timeline to DaVinci Resolve: Either render out a single self-contained movie for Resolve to ‘cut up’ and color grade or send an XML and let Resolve recreate your timeline. If you use the latter method then there’s a good chance you’ve found your resizes don’t always survive. For some inexplicable reason, sometimes your Pan & Scans work. Sometimes they don’t. This 3-part series explores the main culprit: The ‘Frame Size’ options in Premiere Pro and a mismatch in Resolve’s ‘Input Sizing’ project settings.
In roundtrip workflows with DaVinci Resolve, using ‘Scale to Frame Size’ can be a huge mistake
If you think there’s a chance you are sending your timeline (via FCP XML export) to DaVinci Resolve then you need to learn why ‘Scale to Frame Size’ can be a nightmare. There’s a non-obvious reason for this, owing to a peculiarity of Premiere Pro’s X/Y coordinate system and its Anchor Point. This peculiarity makes it difficult for DaVinci Resolve to perfectly recreate your resizes after you’ve enabled ‘Scale to Frame Sizing’.
In Part 1 of this series, you learn the problem with ‘Scale to Frame Size’
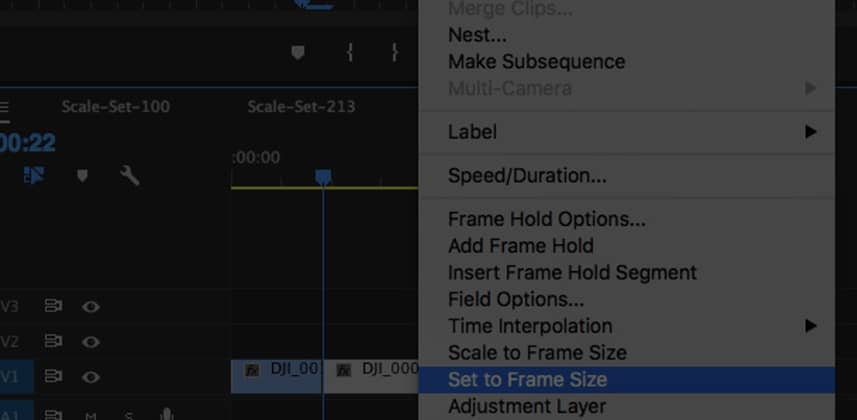
The ‘Scale to’ feature is designed to let underpowered CPUs take very large source frames (say, UHD frame sizes) and fit them into a 1080 HD (or any other sized) timeline without taxing the computer. Enabling ‘Scale to’ takes any oversized frame, throws away all the extra pixels, and treats the footage like it is recorded at the frame size of the timeline. Since your computer doesn’t have to process the excess pixels, it speeds up the responsiveness of under-powered computers.
And since ‘Scale to Frame Size’ is so useful, there’s a default that let you enable ‘Scale to Frame Size’ on footage imported into your Project bins.
Unfortunately, with mixed Frame Size timelines, ‘Scale to Frame Size’ causes all sorts of problems in DaVinci Resolve
And if you enable ‘Scale to Frame Size’ in your preferences, you’re setting yourself up for a world of hurt in DaVinci Resolve since every shot you import has this setting applied. And to add even more problems, Premiere Pro doesn’t have an alternative default method for forcing oversized images to properly scale to the timeline frame size using the far more reliable ‘Set To Frame Size’ option.
Premiere’s ‘Set to Frame Size’ works terrifically with DaVinci Resolve
Well… almost terrifically. If you use ‘Set to Frame Size’ in Premiere and export into Resolve then there is a project setting you need to change.
The complexity of this workflow is why I’m breaking this Insight into multiple parts
- Part 1: We learn the nuances between ‘Scale to Frame Size’ and ‘Set to Frame Size’. These nuances go beyond the surface differences normally explained between these two features.
- Part 2: We bounce between DaVinci Resolve and Premiere Pro looking at how these different settings get interpreted.
- Part 3: We devise a solid ‘rule of thumb’ that you can easily replicate on all your jobs going forward. You’ll ensure you never waste time, energy or money matching your resizes. We also do a quick reconform of the ‘In the Shadow of Giants’ timeline and see how this little ‘rule of thumb’ completely changes the nature of that Conform process.
Shout out to Mixing Light member Jon Howard!
The inspiration for this series came from a comment of Mixing Light member Jon Howard on Part 4 of the Conforming Giants series. He mentioned that some of the problems I was having were due to the ‘Scale to Frame Size’ option. It turned out, my problem was from a lack of understanding of how Premiere Pro CC handles resizes. His comment set me on a full day exploring proper settings for both DaVinci Resolve and Premiere Pro… and now all of us have him to thank for this detailed breakdown.
As always, use the Comments to share your experiences, insights or ask a question.
You never know when the smallest comment blows up into a 3-part series 🙂
Enjoy!
-pi


