| Series |
|---|
Day 3: 25 Insights in 25 Days 2019 New Year Marathon!
Part 1: Creating a simple text animation using the Text+ generator
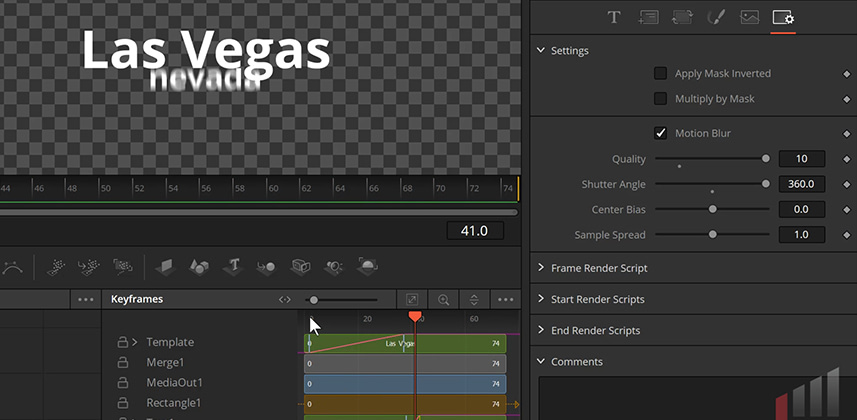
On Mixing Light we’ve been working hard, providing Resolve Fusion Insights to help you get a handle on this new tool. Fusion is freely available starting with DaVinci Resolve 15. But it’s a mature product with a steep learning curve and it never hurts to get back to basics. And one of the basics in Resolve 15 is learning the big benefit of the new Title+ generator: The ability to create sophisticated text animations. And one of the keys to that sophistication? Putting motion blur on moving text elements!
Motion Blur: The #1 reason to start using the Title+ generator
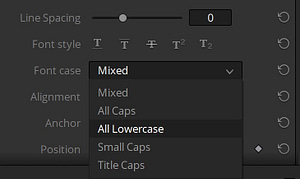
One of my favorite features in the default Resolve Text generator is the ‘Font Face’ pulldown. Essentially, you write all your text in normal case and use the pulldown to select how you want capitalization to work. It’s brilliant if you’re in a client-driven session, with a client who’s trying to work out how they want their text to look!

But the moment you need to animate text – or any other element you drop onto your timeline on the Edit page – the lack of motion blur is a killer.
Resolve 15’s Title+ generator is a Fusion template. It exposes almost the entire set of Fusion text controls on the Edit page, including motion blur! It’s much more sophisticated than the default Text generator – but does not have the Font case pulldown, unfortunately.
In this video Insight: Animating text in the Edit page and on the Fusion page
This Insight shows you how to activate the Text+ motion blur in the Edit page. We then open the animation we’ve built on the Edit page in the Fusion page – and add a new Text+ node for a simple-yet-sophisticated animation. You’ll learn how to:
- Individually kern letters
- Mask your text to create a very simple reveal effect
- Modify your keyframes
Coming Up in Part 2: Workflow tips & breaking down Fusion title effects
Here in Part 1, the solution I’ve provided isn’t the most robust. Not when it comes to client revisions. If you start thinking like a compositor then you’ll build your text animations with more granularity. And Fusion is a granular toolset – so modifying our current animation is a good introduction to working in Fusion.
In Part 2, we will also explore how to break down the Fusion title animations that ship with DaVinci Resolve. And maybe, we’ll use a few of the tricks we learn to spice up our main animation?
Comments? Questions?
I love hearing from you! Use the comments below and talk back to me and the rest of Team Mixing light!
NOTE: I apologize that the audio is more ‘roomy’ than normal. My headset mic wasn’t properly recorded so I had to go to my backup shotgun. 🙂
-pi
Member Content
Sorry... the rest of this content is for members only. You'll need to login or Join Now to continue (we hope you do!).
Need more information about our memberships? Click to learn more.
Membership optionsMember Login


