| Series |
|---|
Day 25: 25 Insights in 25 Days Holiday Marathon
Avoiding problems & exploring the remaining Lumetri Color Tools
The Basic Correction tools in the new Lumetri Color tools are the clearest evidence of the design philosophy of how this new Premiere Pro feature was developed. Specifically, it’s designed to let editors make quick corrections to their images while minimizing their opportunities to damage those images.
It’s a terrific goal for non-linear editing software that wants to give editors a color correction toolset.
In this Insight we’ll dig through the rest of Lumetri Color Tools
For the most part, as you watch the video below you’ll notice that Lumetri isn’t a fan of really big corrections. It wants to limit your ‘range of motion’.
The one place where Lumetri allows big corrections, is the one place it gets into trouble
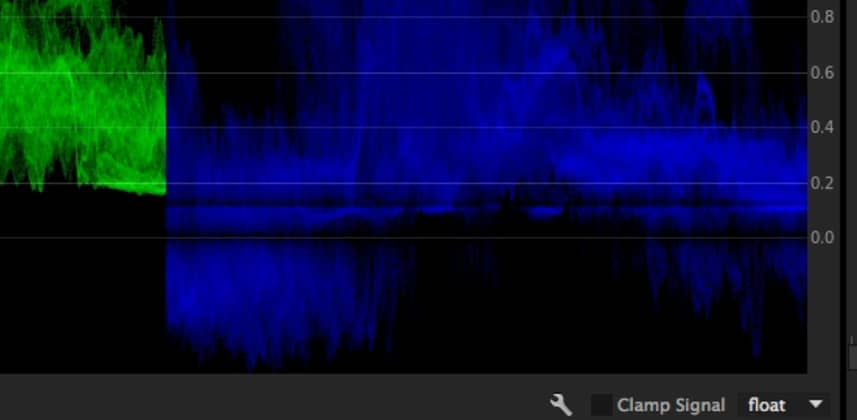
As you’ll see, excessive saturation seems to induce errors – especially if the excessive saturation is followed by a lift operation of the shadows.
-pat
Member Content
Sorry... the rest of this content is for members only. You'll need to login or Join Now to continue (we hope you do!).
Need more information about our memberships? Click to learn more.
Membership optionsMember Login


