| Series |
|---|
Day 23: 25 Insights in 25 Days Holiday Marathon
Exploring the ‘Basic Corrections’ Toolset
If you notice that your car is eating up your oil very quickly and you’ve got white smoke pouring out of your exhaust then one likely conclusion is that the engine has excessive wear. As a fix, your mechanic may suggest tearing down the engine, cleaning it up and replacing worn gaskets and bearings. In other words, one possible fix may be to rebuild the engine.
The problem of doing a full engine rebuild is the cost and the time it takes. Sometimes, it’s easier to just swap out your worn engine and replace it with a newer one.
Premiere Pro CC 2015’s Lumetri Color Panel is the automotive equivalent of swapping out a worn engine
As we’ve seen in my previous two Insights in the Premiere Pro Desert Island Challenge, all the problems you’ve learned about were the digital equivalent of Premiere spewing white smoke from its exhaust. They are signs of a color correction engine in desperate need of a rebuild.
But, with ‘digital mechanics’ from SpeedGrade working in-house, Adobe decided to swap out and replace the color correction engine—rather than re-build the old broken default color correction plug-ins.
Plus, with the new Lumetri Color Panel engine, you get a performance enhancement
Rather than add to the scrolling list of color correction plug-ins in the Effects Browser, the Lumetri Color Panel organizes a dozen different effects into a single performance-enhancing toolset. The Lumetri Panel literally removes dozens of clicks per hour, simply by putting all these controls into a single interface.
Nice upgrade.
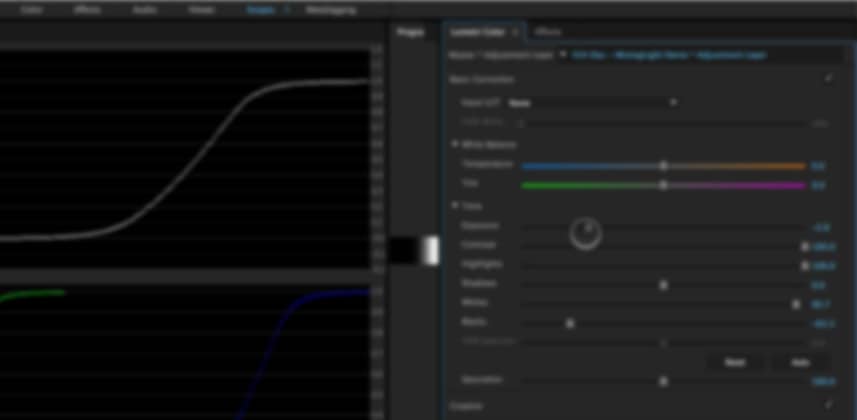
In this Insight, learn how the ‘Basic Corrections’ affect your images
Since the Lumetri Color Panel has so many tools, I’ve broken our exploration of this toolset into two Insights. We’ll start by looking at all the ‘Basic Correction’ sliders since it’s not clear how a few of these sliders differ from each other. We’re going to bypass the ‘LUT’ pulldown for now, and deal with that in its own Insight—and Robbie has already done one Insight on adding LUTs to Lumetri, so you may want to watch that Insight.
As you watch this Insight, pay attention to these details:
- Extreme corrections are difficult to make: Notice how its almost impossible to push your highlights above 100IRE or below 0IRE. This is a major take-away that Premiere Pro CC colorists need to internalize. It’ll have major implications for us as we develop a workflow, especially when color correcting Log- or Flat-recorded images.
- Highlights and shadows roll, they don’t clip: To keep your highlights and shadows from clipping, Premiere rolls off the two ends of the grayscale. Again, this needs to stay front-of-mind when color correcting—a topic we’ll discuss in detail as this Premiere Pro Desert Island Challenge progresses.
Coming up: Creative Corrections, Curves and Color Wheels
In Part 2, we’ll explore the rest of the Lumetri Color Panels tools (except the LUT controls). You’ll see how much easier they are to use than the old color correction effects… and you’ll also learn the one slider that you need to be careful with or it may break your images.
-pat
Member Content
Sorry... the rest of this content is for members only. You'll need to login or Join Now to continue (we hope you do!).
Need more information about our memberships? Click to learn more.
Membership optionsMember Login


