| Series |
|---|
This is a free preview!
We hope you enjoy this free preview of our continuing education content for post production professionals. We can make this tutorial free thanks to the 1,200+ Mixing Light members who pay our Contributors to create this content. Our Contributors are working professionals whose Insights reflect decades of client-tested workflows and techniques – that you can trust will work for you.
If you like this content, please share the link to this Insight with your friends, peers, and on your social networks.
To explore our full Insights Library,
check out our membership options, including a $5 one-week Test Drive.
Ensure your DaVinci Resolve Exports Look Correct when Delivering to YouTube
In this Insight, we will discuss the difficulties of delivering a consistent-looking image from DaVinci Resolve when working on a Mac. Then, you’ll learn how to solve those difficulties.
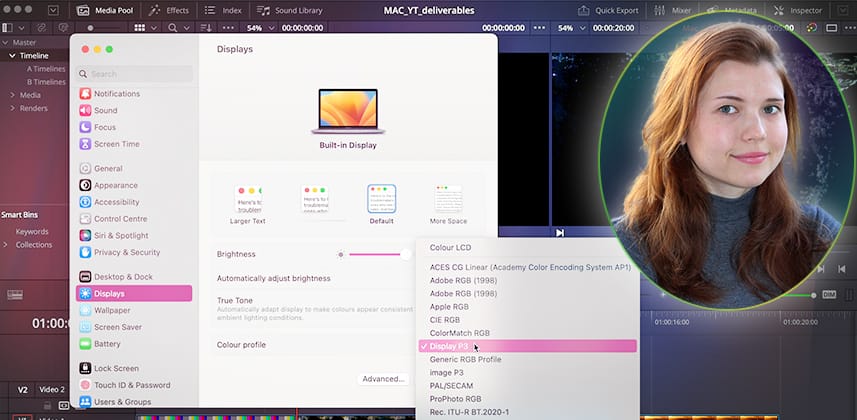
By looking at an exhaustive variety of solutions that take into account Apple’s internal color management, your display’s color profile, and the project’s output color space, you’ll be able to set up and deliver projects that look identical in Quicktime and YouTube as they do in DaVinci Resolve’s viewers, plus make sensible color pipeline choices to future-proof your work.
Defeating the Mac Gamma Shift
As a post-production workflow developer and color management adviser, one of the most common questions I receive is about the ‘gamma shift’ Mac users experience when rendering projects out of DaVinci Resolve. This shift is primarily due to two factors: Apple’s internal color management system (‘Colorsync’) and Apple’s interpretation of the BT.709 Gamma.
In this Insight, we will set up a project in DaVinci Resolve and regulate its color management to deliver to YouTube without any chroma or gamma shifts.
The first half of the solution will focus on solving the first two factors using DaVinci Resolve’s internal settings.
In the second half, we will also factor in the Display P3 color profile, allowing us to future-proof consistent-looking projects for deliverables beyond YouTube.
Key takeaways from this Insight
By the end of this Insight, you should understand how to:
- Define the Gamma Shift problem
- Use your Mac display’s color profile in DaVinci Resolve’s viewers.
- Correctly tag your edit on a render, timeline, and project basis to remove the gamma shift.
- Choose between simply tagging or using different color space outputs.
- Work accurately on a Display P3 monitor to future-proof your projects.
- Review the remaining causes of chroma and gamma shifting of the image.
External Links
- Matching Color: DaVinci Resolve’s Viewer & Mac P3 Displays – Article describing Apple’s color management system and the gamma shift it produces – as mentioned in the comments below.
- A Deeper Look at Consistent Color with QuickTime Tags – This detailed article discusses using QuickTime tags and working in wide gamut Mac monitors.
- Patterns™ for Mac Tutorial (YouTube) – If you’re not using a modern Apple Cinema display, check out this overview for a Mac-only app that will help you calibrate your display. It’s from Portrait Displays, who make the CalMan professional calibration software.
Related Mixing Light Insights
- How To Maximize The Quality Of YouTube Videos (using Resolve) – Set up DaVinci Resolve’s color management when delivering to YouTube and modify the default preset for better quality.
- Understanding H264 for YouTube and Vimeo (podcast) – Jeff Greenberg gives Mixing Light members a set of resources and tips for understanding and maximizing the quality of H.264 renders.
Questions or Comments? Leave a comment!
If you found this Insight helpful, let us know! Mixing Light is all about community discussions, so if you have something to add or have more questions, hit the comments.
– Daria


