| Series |
|---|
Custom ACES and multiple deliverables
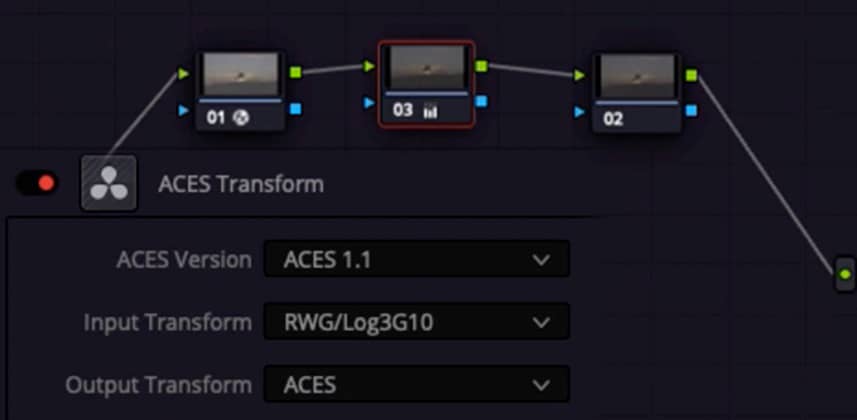
In Part 1 and Part 2 of this series, I showed you the fundamentals of building your own ACES pipeline in the Resolve node tree. Then we took it to the next level by using a complex, fixed node structure designed specifically to make the best of this workflow’s advantages.
But we all know – the job isn’t done until the files are delivered in all the different specs and formats needed (and the client is happy!). This is another huge advantage of this workflow – it makes changing colorspaces for output way easier.
Let the ODT do the work!
Because the grade always happens in ACEScct space, the ODT does the heavy lifting for outputting various colorspaces, allowing you to use your original grade as a starting point, and easily do shot by shot trims after switching ODTs. It even makes it easier to go from SDR and HDR.
In this insight I’ll show you:
- The pros/cons of adjustment clips vs timeline nodes for ODTs
- How to easily switch ODTs
- How to use ripple to switch between shot by shot trims for different ODTs
- Different settings and precautions when using ripple
- How to take a grade from SDR to HDR, and even into Dolby Vision
As always – leave any comments or questions below. I would love to hear how this workflow is working out for you!
Joey
Member Content
Sorry... the rest of this content is for members only. You'll need to login or Join Now to continue (we hope you do!).
Need more information about our memberships? Click to learn more.
Membership optionsMember Login


