
| Series |
|---|
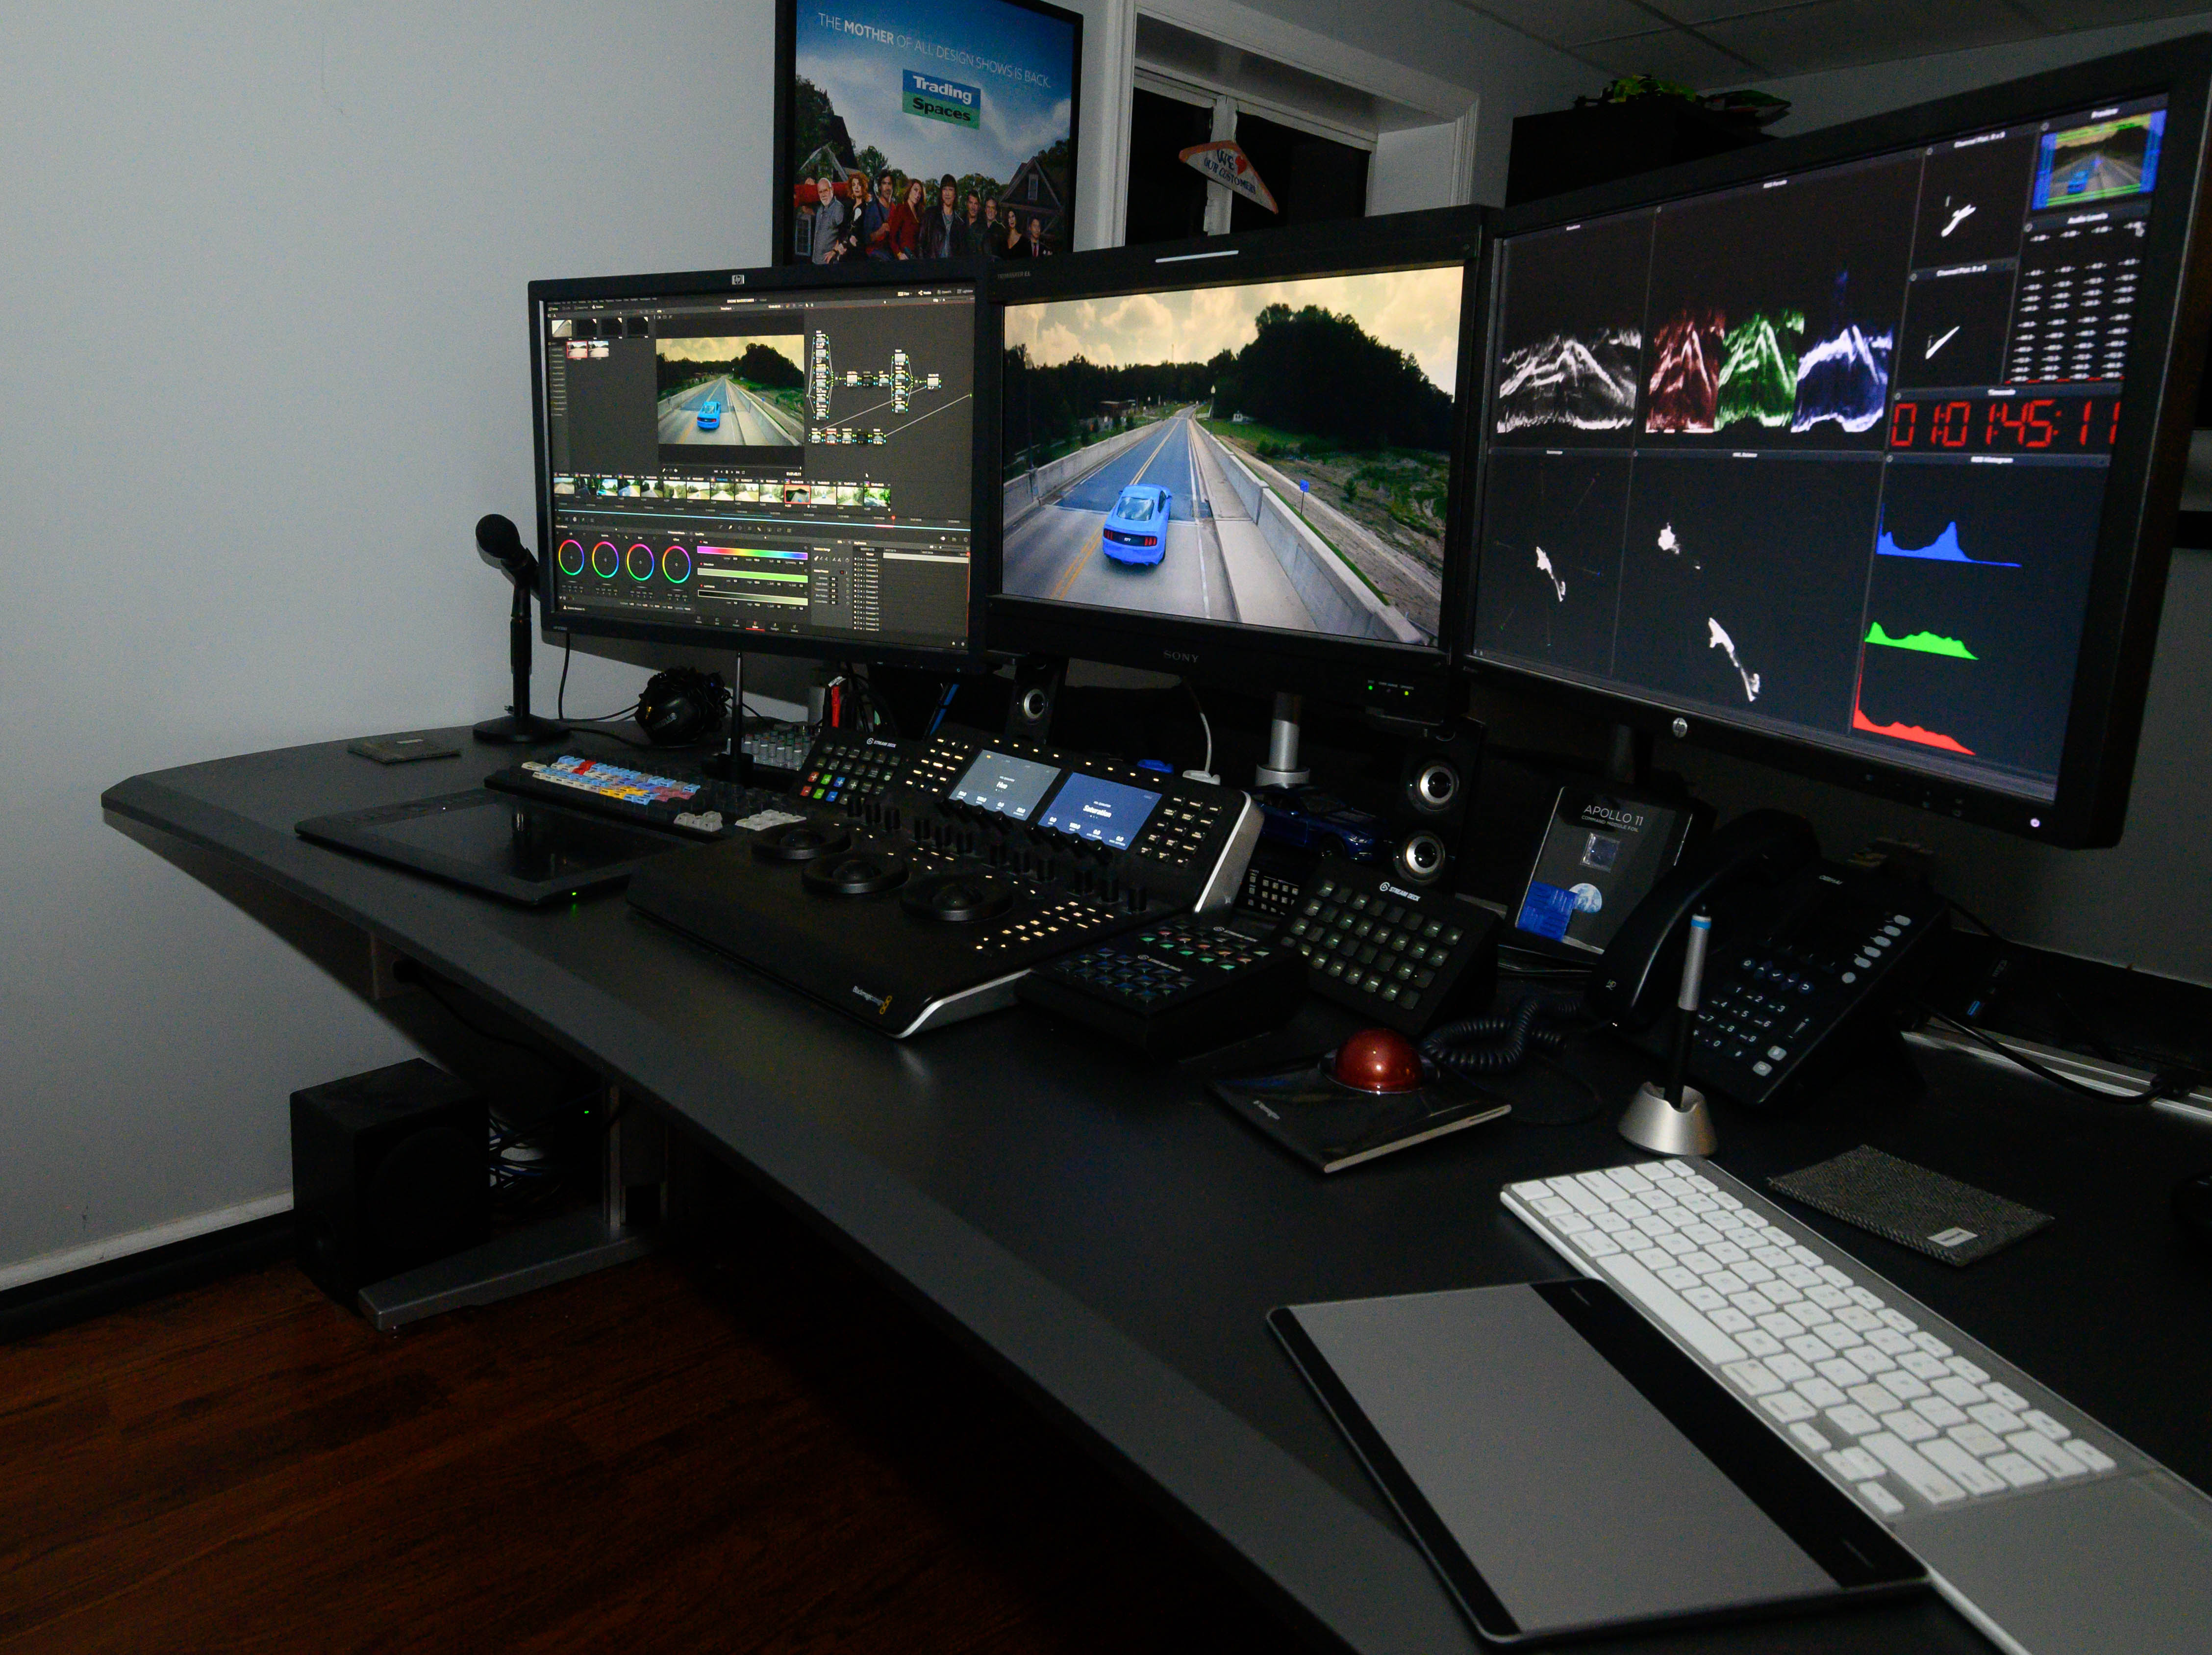
Revising My Grading Suite’s Design After 2 Years
It’s been almost 2 years since I published this Insight showing my suite design, and explaining some of the reasoning behind my layout, product and ergonomic choices. I still absolutely love working in this suite – but my workflows, techniques, and some of the technology available have dramatically evolved in those 2 short years.
So in this Insight, I want to write a bit about what worked, what didn’t work, and how I’ve improved my suite and workflow. I also want to review a new product that is really helping me work faster and more ergonomically.
What Didn’t Change?
A lot of things in my suite haven’t changed. I’m still using a TBC console, Blackmagic mini panel, and the same monitor configuration. I still use an Aeron chair, and the overall layout hasn’t changed. I’m also still using Divergent Media’s amazing Scopebox software for my scopes, on a mac that doubles as a both my scopes and a machine for email/internet/etc.

Hardware changes
Originally my Scopebox machine was an older mac laptop, and while it worked well, while running Scopebox and a few other apps it really buckled under the CPU/GPU load. So I’ve replaced it with a new, top spec Mac Mini – and a AMD Vega64 GPU in an eGPU chassis.
The eGPU is connected as the mac’s only display output. This means the internal mac mini GPU is totally idle, the display for the mac is driven right off the Vega64. I had some worries that this may pose a problem, but it’s worked completely smoothly. The Mac doesn’t care at all that nothing is connected to the internal GPU, and software recognizes and uses the Vega just fine.

With this upgrade in hardware – my Scopebox machine now also doubles as an assist station, and is great for ProRes remote rendering. To increase its functionality, I added a BMD UltraStudio HD Mini – which gives me both SDI input for Scopebox, and output for other software. I’ve also added a nice USB hub for connecting client drives right on my desk.

Finally, I’ve added a 2-way USB switch, and a serial controllable HD-SDI switch, connected to the mac with a USB to serial adaptor. To control the SDI switch, I just need to use the built-in screen command in the Mac console. Running
screen /dev/tty.usbserial
In a terminal window, this allows me to switch up to 4 SDI sources, just by typing the number of the source and hitting enter.
This means if my main HP box is occupied rendering, I can switch both my mini panel and my SDI monitoring to the Mac Mini – and work in Resolve with a real SDI output. I’ve also moved all Adobe/Avid/etc software that I use for conforming and preparing client projects to this Mac Mini, keeping my main workstation dedicated to only Resolve.
From X-Keys, to Stream Deck, to a lot of Stream Decks
When I first built my suite – I relied on an X-Keys macro keyboard. However if you’ve seen Robbie and I’s Insights on the Elgato Stream Deck (Part 1 and Part 2) – you know I’ve become a huge fan of the device.
I started with a single unit, then when the software allowed for multiple units – I started adding more and more. Today I have 4 Stream Decks on my desk, and an additional one on my couch.
Member Content
Sorry... the rest of this content is for members only. You'll need to login or Join Now to continue (your career will thank you!).
Need more information about our memberships? Click to learn more.
Get Answers, Join Now!Member Login
Additional Downloads
Sorry... downloads are available for Premium Members only.
Become a Premium Member-
Working Life as an Independent Freelance Film Colorist
-
Building a Professional Custom Color Grading Suite from Scratch
-
Updating A Color Grading Suite 2 Years Later
-
Design Essentials: Another Perspective On Suite Design
-
The Ergonomics of Keyboards, Keypads and Computer Displays
-
How To Neatly Wire Your Sit-To-Stand Desk
-
How To Design An Ergonomic Desk
-
Anatomy Of Grading Suite: Additional Technical Setup
View All
