Day 24: 24 Insights in 24 Days – 2018 New Year Marathon
The story of the 3 DIT Carts (or why you always need alternatives)
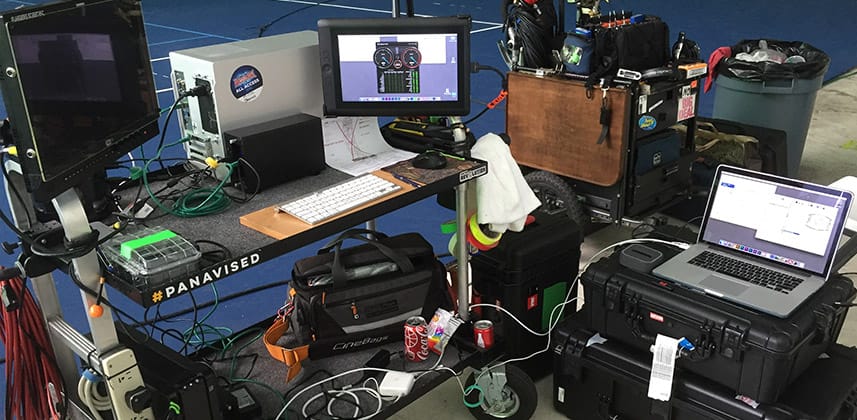
Last spring Patrick and I did a series of insights starting with the most basic of tools for the DIT, the DIT Cart. Whether you are just starting out, working steadily as a Data Manager/Downloader, or are an experienced DIT then having a well thought out DIT cart can make the difference between a successful day or a day you want to forget. A lot of time goes into tweaking and refining your cart until it not only serves your needs but those of your department; with extra plugs for charging camera batteries or a place for the director or client to charge their phone.

When we recorded those previous Insights I had spent the better part of a year dialing in my cart and I was happy with it. I recently had a good run working some high-end commercials and everything flowed like clockwork. Then I had the opportunity to switch things up during my traditional slow time. Here in Florida, production tends to die off during the summer months. No one really wants to shoot when it’s super hot and the threat of rain daily plays havoc with the shooting schedule. So when the opportunity to work for 7 weeks on a TV series during the hot & rainy months was offered, I took it! Little did I know that series kicked off a sequence of jobs where my well-tuned DIT Cart became a liability.
Same Job yet completely different smaller
An this series I was the DIT of two Red Dragons shooting 5K and I was:
- Managing their media offloads
- Building LUTs with the DoP for the different scenes
- Applying those LUTs to transcoded ProRes footage for the offline edit
- Creating 720p dailies to be placed in DropBox for the above-the-line team (or “adults” as we sometimes call them) to follow along with the production.
In other words, this job was completely normal. It was nothing I haven’t done a hundred times before except…
The location. The next several weeks were spent in Miami’s ‘Little Haiti’ neighborhood. Little Haiti is a beautiful community full of colors and textures that add character to your story without even trying. It’s an old, proud neighborhood. And as in many old neighborhoods the homes are small. And the rooms inside those homes are really small (the ‘open concept architecture’ was decades away from being in vogue).
For the next 7 weeks, we were shooting in rooms barely three times the size of my cart. The hallways were so narrow I could not turn into a doorway. And the staircases required me to dismantle the cart to have it carried to the next floor.
Somehow my dependable, optimized, perfectly tuned DIT Cart become an obvious liability.
Being a DIT requires you know how to adapt
On the Little Haiti location, I needed to adapt to my new narrow, vertical environment. But my adaptation didn’t end there. A short time later I had to completely abandon using ANY cart. Finally, a few jobs later I needed a solution that was sea-worthy (and power-deprived). This Insight is about sharing my research in solving three different DIT problems – that can’t be fixed by simply modifying your default go-to cart.
Options for going vertical with your DIT Cart
My current cart is called a Magline Jr and it’s a medium size, two shelves each 24 x 36″, but it just wasn’t working in those small Little Haiti homes – not for several weeks of shooting. I hit the DIT blogs and then started looking at carts used by other departments. I decided that a vertical cart, like many audio techs, would fit my needs. You will notice that all these carts have large rear wheels making them able to turn 360 degrees practically on the same spot. These large wheels also allow you to easily make your way up and down stairs, even if you are solo with no help available. Finding such carts are harder than you think so I decided to share with you some of these non-traditional DIT options.
Deploy Gen3 Split Cart

Deploy Gen3 Split Cart
What I like about the Deploy Gen 3 Cart is how it was thought through in terms of ‘deployment’. In fact, it can be split in half without the need of tools. The casters are removable for easy repair or maintenance. But my favorite is the Matthews style risers for monitors or other items with the added crossbar kit and the 3rd riser mount for holding a floppy or umbrella. These features are all examples of a company with field experience designing this cart.
After shopping around, I think my next cart will be the Deploy Gen3 Split Cart:
- Two-piece cart for easy loading and transport
- Front 17U (7U Top, 10U Bottom)
- Back 20U (7U Top, 13U Bottom)
- Removable square tube riser system with baby-pin adapters
- Fold out wings for expanded workspace
- Genuine USA made Skyway 20″ rear wheels
- Quick-release caster plates for easier tire maintenance
- Multi-use riser mounts for both square tube risers and Matthews style risers.
- 3/8″ mount points for optional lift/loading handles
Starting price around $2,200.00
Studio Carts Studio Sound Cart Model SOU-101
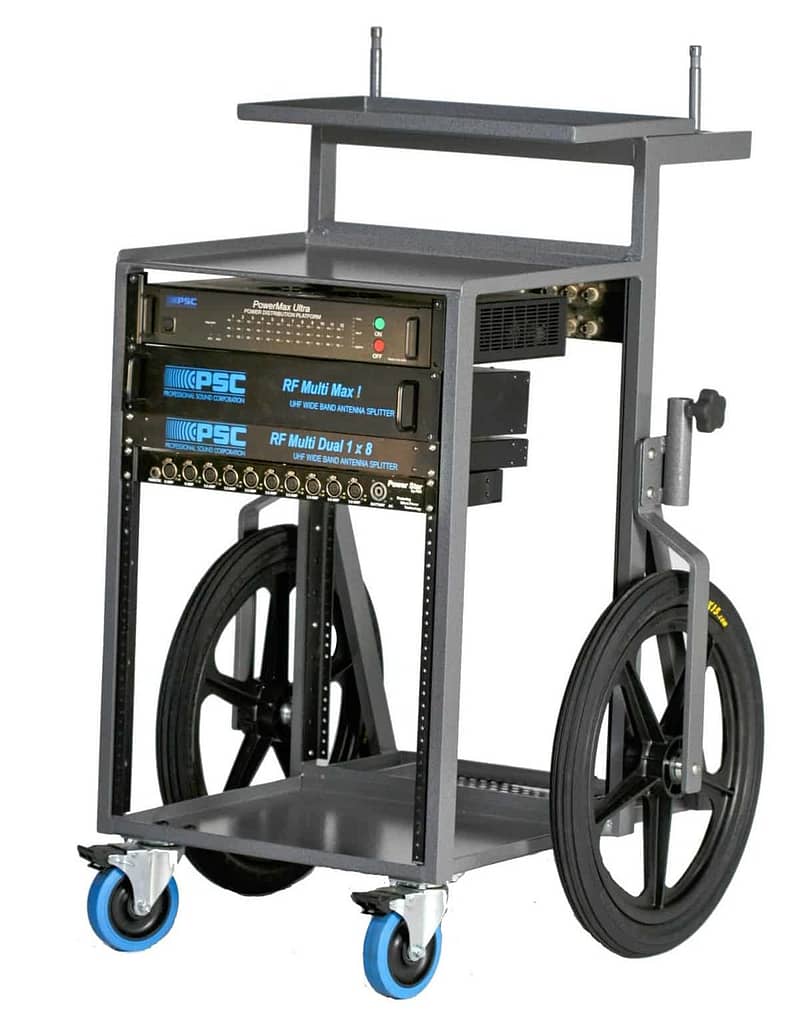
Although the Studio Carts Sound Cart was originally designed for audio techs, it’s conversion to a DIT cart is a simple one. Like the Deploy cart, these are made from scratch as you order them allowing for a certain level of customization. The Deploy Cart does have more options for breaking down to travel and better front wheels, but the Studio Carts Sound Cart is priced almost a $1000 less than the Deploy:
- Top Shelf (L20.50” x W11.75” x H0.75”)
- Mid Shelf (L20.50” x W19” x H0.75”)
- Bottom Front Tray (L19” x W17” x H0.75”)
- Rear Battery Tray (L13” x W8.50” x H0.75”)
- Rack Space (L28” x W19”)
- (2) Jr. Receiver Side Attachment w/Knob
- (2) Baby Pins 5/8” H4.50”
- (2) 20” Rigid BMX Wheels
- (2) 5” Swivel Casters w/Brakes
- L28.75” x W31” x H47” 55 lbs.
Starting price around $1,490.00
PSC SC-4 Mobile Sound Equipment Cart
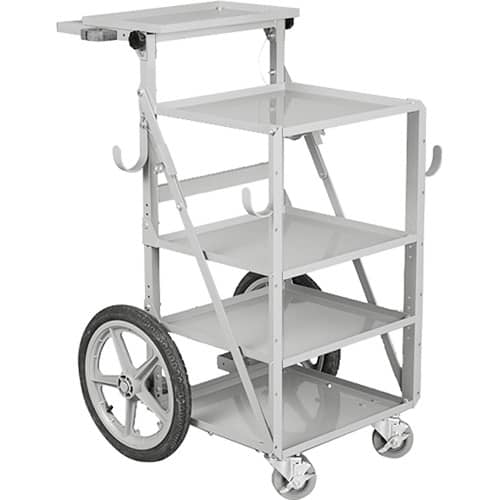
With a far more traditional style for audio technicians, the PSC SC-4 Sound Cart has many options available to allow you to custom tailor the cart to your specific needs. But the starting design of this cart fills the basic need of having a smaller footprint and being highly mobile. Other options include:
- Full-length rack rails
- 2, 3 and 4 space rack drawers
- Removable side shelves
- Auxiliary top shelve
- Additional cable hooks, headphone hangers, shelf carpet, molding, umbrella/sunshield and more.
- The PSC SC-4 Sound Cart is equally compatible when used with video equipment.
- Its five-way adjustable shelves fold up for shipping and storage.
Starting price around $1,750.00
Custom Built 80/20 Inc
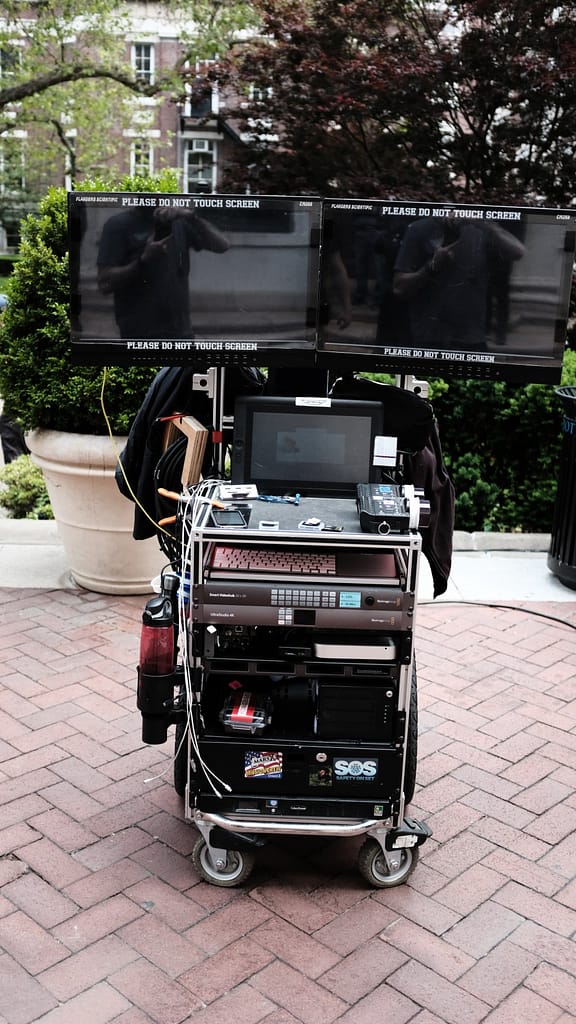
Another option you: Follow in the steps of DIT Charlie Anderson and custom build your cart. It’s not cheap but it’ll be everything you want it to be. You can read about his cart on his blog Dork In A Tent.
The ‘cart-less’ option you can almost always execute
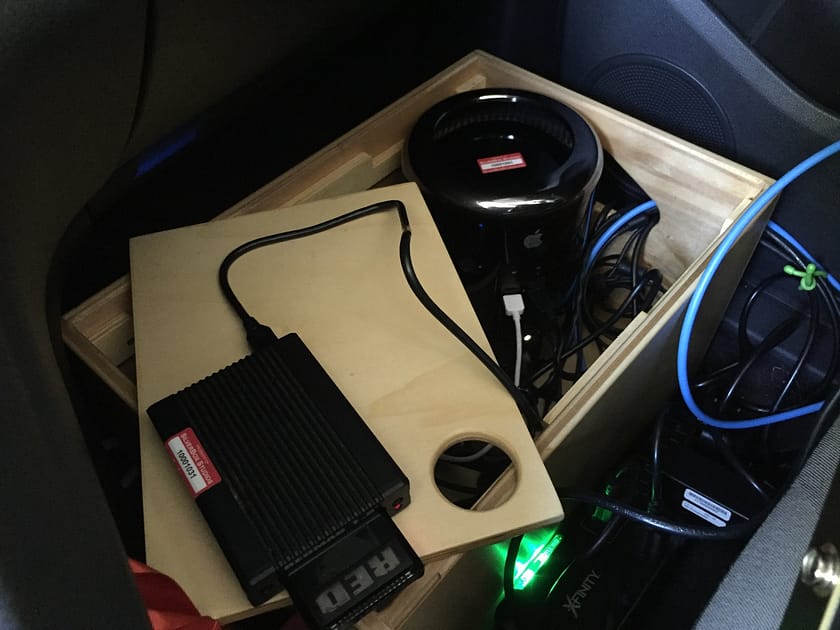
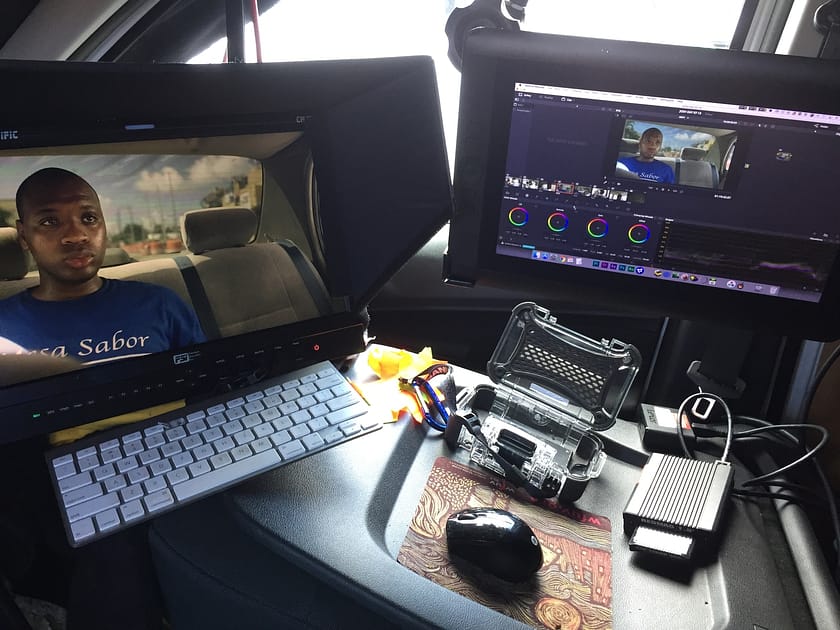
One of the other issues I ran into during the ‘Little Haiti’ production was Miami’s mid-summer heat. One location had us shooting in a junkyard. I was set up in a tent on a side street. The tent protected me from the sun and rain which happen simultaneously (thank you, Miami) and we had fans blowing to keep a constant airflow over the hard drives. Even with this protection, my Disk Drill software was warning me that the temperatures were reaching 65 degrees Celsius and climbing. It wasn’t even 10 am yet so this setup was not working. After discussing options with production I broke my system down to a milk crate and turned my van into a DIT cart! I placed the milk crate in the front passengers’ foot area where I could direct my van’s air conditioning to keep the temps down. I placed my monitors on the seatback and dashboard. I worked that way for the next few days.
Be prepared to go really small
Sometimes there is barely enough room for your computer – let alone a cart! Case in point, a recent job took place entirely on a 35’ pontoon boat. I had a few, but simple, concerns:
- A complete lack of shade
- A complete lack of power
- Lot’s of heat
- Salt water. Everywhere.
My solution? Take precisely what I need and leave the rest behind. But pre-planning was essential to my success.
Member Content
Sorry... the rest of this content is for members only. You'll need to login or Join Now to continue (we hope you do!).
Need more information about our memberships? Click to learn more.
Membership optionsMember Login

