| Series |
|---|
Team Mixing Light welcomes colorist Peder Morgenthaler as our newest Contributor to the website! He’s kicking off a two-part series on using ACES in an indie film workflow. Please say hi to Peder in the comments! Don’t forget; you can read his bio on the About Us page.
HOAX: A Look at ACES Color Management for an Indie Film
When you think about your dream project as a colorist, what does it look like? A lot of people respond with a specific type of project, like a music video, high-end television commercial, or feature film. If you’re like me, it might have more to do with the quality of the production rather than the format. I love working with well-shot high bit rate RAW or log footage, using all the available dynamic range to craft a beautiful image. It’s a huge bonus when a production asks for my input on their camera settings and workflow before the cameras start recording. That input allows me to use my expertise to influence the footage I’m ultimately color grading while helping the production avoid potential pitfalls along the way.
But – it hardly ever works that way. As colorists, our involvement in projects sometimes feels like an afterthought. If we’re lucky, we get scheduled on a big project with decent advance notice. Other times, its a last-minute call from a producer realizing that, yes, their project needs more color work than their editor can provide, and can we please fit them in this week? Either way, we’re stuck working on the show in whatever shape it arrives at our doorstep, with little input into how it was acquired.
It is rare when the colorist gets invited during pre-production and production.
But why not? Creating a comprehensive plan for the handling of the image throughout the entire production process is key to obtaining a high-quality end product. An experienced colorist, with their knowledge of image science and aesthetics, is well-positioned to guide the production team through the intricacies and pitfalls of modern workflows. Studios and big productions know this. Feature films and series often employ senior colorists & color scientists during pre-production to work with directors, DPs and VFX vendors on establishing show looks and color management pipelines, with impressive results.
For years, I’d been promoting such an approach to filmmaking at the indie level here in Colorado. The techniques and technology are readily available and accessible. All it requires is forethought and a willingness to try a new workflow. Well, imagine my surprise when a filmmaker gave me the chance to put my money where my mouth was!

The deep blue night look was created in the grade, taking cues from the look of the classic horror films of the 70s and 80s.
HOAX & ACES: Workflow Genesis
In early 2016, director Matt Allen was prepping his debut feature, a throwback horror thriller called HOAX. We’d known each other for a few years through some mutual friends in the Colorado filmmaking community, and I’d given him feedback on the script during development. It wasn’t a surprise when he asked me to be involved. The extent of his ask was, however, unexpected. He wanted me to take responsibility for the entire post process of the film. He asked me to edit, grade, supervise VFX & audio post, and deliver the film. A tall order, but all roles I’ve filled on various productions over the years. I just never performed them all on the same show. Still, there was no way I could turn down the opportunity to implement the kind of workflow I’d been advocating for so long. The workflow challenge I wanted to try (and thought was a good fit) was this ACES color management system…
How did I decide that ACES was a good fit?
“Hmmm… indie feature with a first-time director, an ambitious script with a ton of low-light night scenes in the dense forest, to be shot on 4 different types of cameras, with 130+ VFX shots? Sounds like a good fit for ACES!”
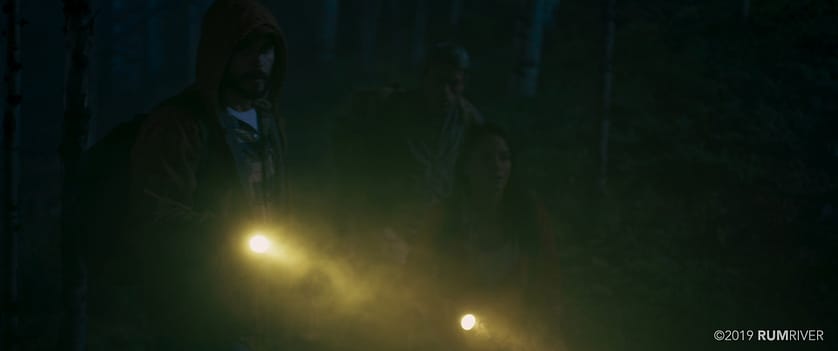
Like a lot of other colorists, I’d been keeping up with the development of ACES but hadn’t used it in any meaningful way. Sure, I’d played around in Resolve, grading test material in ACES space to get a feel for what it could do, but I’d never used it on a paid project. So why, then, would I think to myself, “Hmmm… indie feature with a first-time director, an ambitious script with a ton of low-light night scenes in the dense forest, to be shot on four different types of cameras, with 130+ VFX shots? Sounds like a good fit for ACES!” Great question!
As it turns out, the strengths of ACES specifically address these challenges:
- Low-light night scenes with bright light sources (like flashlights and fire): An ACES workflow helps maintain the full dynamic range of the original camera material, preserving critical shadow and highlight details.
- Multiple different cameras: ACES simplifies camera matching, stripping away camera manufacturers’ looks and unifying the signals in ACES space.
- Managing dozens of VFX shots: ACES provides a turnkey color management “pipeline-in-a-box” that ensures consistent shot exchanges between artists while preserving dynamic range.
The deeper I dug, the more ACES made sense. HOAX was the right project to try it on. And while the ACES workflow had its own set of challenges (more on that later), the final results exceeded everyone’s expectations.
The Colorist’s Job in Preproduction
Building Trust
The job of a colorist in preproduction differs quite a bit from our routine in the color suite. In a lot of ways its more relational than technical, more forward-looking than immediate. Instead of reacting to the images as you receive them, you’re helping to define how those images are going to look before photography begins. You’re making recommendations and creating looks that will directly affect the final image. As such, it’s essential to build rapport with the production team, especially the DP. As the ultimate author of the image, the DP must fully understand the reasoning behind the workflow. There must be a complete buy-in from both a philosophical and technical perspective for the DP to achieve their creative vision.
Of course, building trust is more natural when you have a working history with someone. DP Scott Park and I had worked on several smaller projects together and were already familiar with each others’ skill sets. But he’d never worked on an ACES show before and was unfamiliar with the concept. It required a series of camera tests, taking the footage through the entire process, to get him comfortable in the knowledge that he could achieve his vision using ACES.
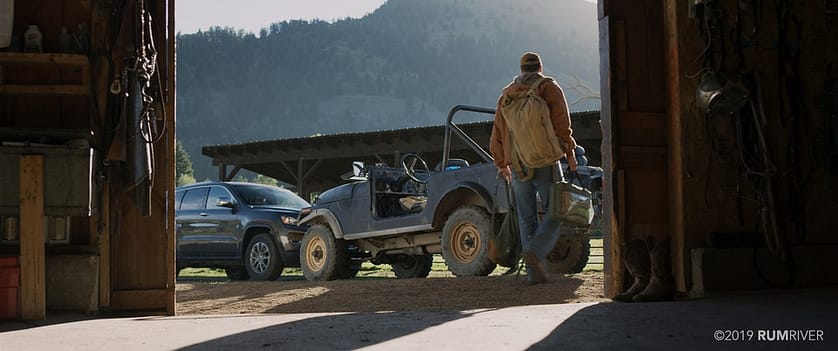
Being an Image “Futurist”
As colorists in preproduction, we have an opportunity to enhance overall production value through our knowledge of trends and developments in imaging technology. The current emergence of HDR content is an excellent example. When we started preproduction on HOAX in 2016, HDR content was relatively uncommon. Having seen some of the original Dolby Pulsar tech demos, however, I realized that HDR was likely to become the next big trend in display technology. Unlike stereo 3D, with its reliance on cumbersome glasses, HDR represented a simple and robust upgrade to the visual experience. And the most straightforward route to an HDR deliverable? ACES. It allows us to produce an HDR version with much less effort compared to re-grading from scratch. Change the output transform, perform a trim pass, we have an HDR master.
Fast-forward 3 years and HDR has become a key selling point on consumer TVs. And with all those HDR-capable sets out there, the demand for HDR content is ramping up. Netflix and Amazon are both investing heavily in HDR shows and films, and Netflix has filled a key role in setting technical standards for the entire industry. In the meantime, HOAX was picked up for distribution, and the distributor is explicitly excited about the sales potential of the HDR version. The buzz is that the Chinese market, in particular, is hungry for as much HDR content as possible. For a small indie film, where profitability often turns on the combination of multiple deals in international territories, this is huge.
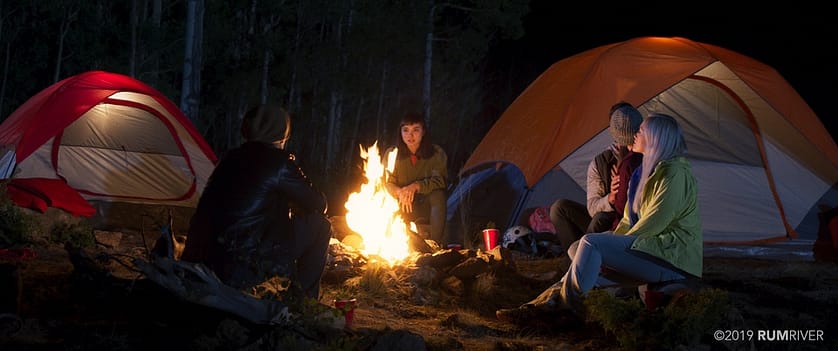
Making the ACES Decision
By the time pre-production started in earnest, I already made up my mind that HOAX would be an ACES show. However, I had to sell that idea to the rest of the production team. None of them knew ACES or had worked with a color-managed workflow, so I needed to spell out the benefits. Here are the points I made:
- First, ACES allows us to leverage studio-grade color science on our small indie feature. ACES development included input from image scientists at all of the major studios in Hollywood, distilling decades of digital color management know-how into a turnkey system. It’s an established and refined workflow, with an active community of users, used on the most popular films on the planet. It’s also available and accessible enough for us to use in a small movie like HOAX.
- Second, ACES provides an advanced pre-built “pipeline-in-a-box” for VFX management. With 130+ planned VFX shots, we needed a consistent way to manage the exchange of assets between our small team of artists. By implementing the OCIO plugin in After Effects, we enable ACES color management inside our artists’ familiar compositing tool, guaranteeing consistency across the entire workflow.
- Third, ACES provides us the foundation of a filmic look. There are many opinions if ACES has a “look” or not, and whether people like that look. In our case, we found that ACES gave us a clean neutral “filmic” foundation on which to build the look for HOAX. Grading in ACES was very similar to color correcting under a film emulation LUT, and both the director and DP liked the tonality it produced.
- Finally, and perhaps most importantly, an ACES workflow provided the most straightforward path to an ultimate HDR deliverable. In 2016 HDR content was starting to come onto the market and I wasn’t sure how to deliver that format. However, I’d seen enough of the HDR demos in whisper suites at NAB and IBC to know that it was going to be a big deal. Could a little indie film like HOAX deliver an HDR master? And would it enhance our distribution prospects? I thought it was worth exploring. And once I’d explained HDR to the producers, they agreed.
Taking all of these points into account, deciding to use ACES on HOAX became pretty easy. The benefits in the workflow, VFX management, and quality of the end product were worth the incremental cost increases associated with using ACES (mostly due to storage requirements). Once we had all agreed that we would implement ACES, it became a matter of figuring out how and where we would use it.
Editing Workflow: Full or Partial ACES?
ACES is a complete color management system, meant to be used on-set to visualize the final look. It became clear to us, however, that implementing ACES on-set would require expensive additional equipment, and would add significant complications to a production working on an aggressive schedule, shooting a lot of hand-held in the forest at night.
Based on a series of camera tests, we decided instead to expose for the widest dynamic range possible in-camera and create the final look primarily in the grading suite. As a result, our first ACES step was the creation of the dailies, which were rendered out of Resolve using the Rec709 output transform. These dailies were used both for production review and as our editorial masters. These provided us a good preview of what the footage was like when processed through ACES.
In Production: 20 Days & 20 Nights of location shooting
HOAX follows the crew of a documentary TV show as they search for a mysterious creature in the backwoods of the Colorado Rocky Mountains. Its takes stylistic cues from classic horror films of the 70s and 80s, such as Friday the 13th, The Fog and Halloween, combining them with a twisted take on the famous Sasquatch legend.
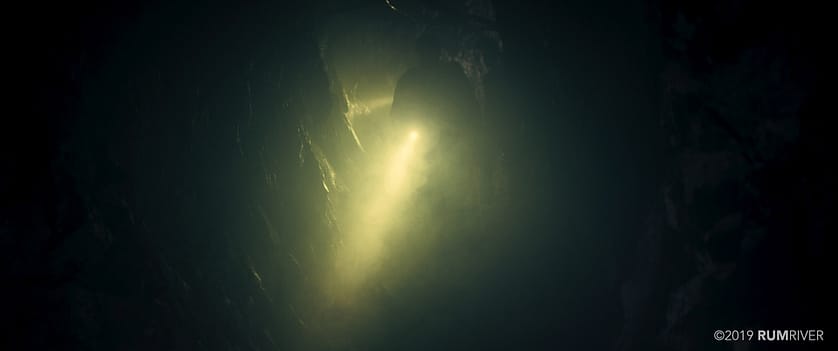
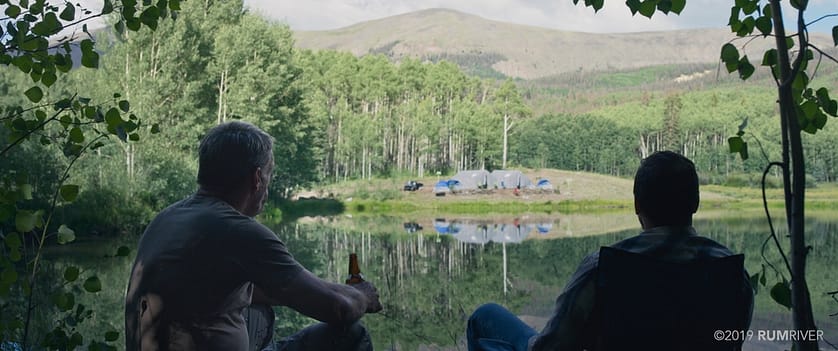
Like many films, the production of HOAX was an exercise in adaptation, problem-solving, and endurance. The production filmed almost entirely on-location in the mountainous backwoods of southwest Colorado. The entire cast and crew were housed in the small town of Lake City, commuting to set each day along challenging 4WD roads. Two-thirds of the film takes place at night, equating to 20 days of overnight shoots. And of course, when you’re shooting outdoors, the weather will likely have some effect. In this case, an unusually stormy summer meant varying levels of cloud cover from shot to shot, innumerable rain delays, some scary high-country thunderstorms, and some miserably long wet nights in the forest. It rained 15 out of the 20 nights.
Cameras & Settings
In the end, with all the pick-ups and reshoots tallied, HOAX shot for 40 days. Forty-one hours of footage was captured, totaling 18.5 TB of raw camera data. DP Scott Park shot primarily on RED Epic Dragon & Weapon cameras, at 6K & 8K resolutions for a 4K final deliverable, using Zeiss Otus spherical prime lenses. He framed for a 2:39:1 DCI Scope aspect ratio inside a 16:9 frame, leaving plenty of room for reframing and stabilization. This extra look-around area proved to be very useful in post due to the frantic, handheld nature of the film. Finally, additional “source” footage included an HD ENG, infrared night vision and FLIR thermal cameras to give the on-screen TV “production” an authentic feel.
Specific Challenges in an ACES Workflow
Now that I’m on the other side of this whole process, I can say that working within ACES was terrific but had its challenges. As it turns out, one of the significant hurdles is just learning the system and then communicating its methodology to your team.
Alphabet Soup
As someone who never worked in a scene-referred linear workflow before, it took me a while to wrap my head around its concepts. Learning the system is exacerbated by the sizable list of acronyms involved in the ACES system: ACEScc, ACEScct, ACEScg, AP0, AP1, IDT, LMT, RRT, OT… The language of ACES is a clunky bowl of alphabet soup.
Thankfully, there are a lot of great resources for learning ACES. You’re on one of them right now. The ACES Flight Path here on Mixing Light is a great place to get started. There’s also the official ACES community, ACES Central, featuring an active forum of ACES users, developers, and a library of excellent primer documentation.
Working with EXR Sequences
The actual logistics of working in ACES is a more significant challenge, requiring careful consideration of your storage capacity and performance. One of the core parts of the ACES workflow is its reliance on EXR image sequences. Specifically, ACES requires any footage exchanged between artists, round-tripped through VFX, or exported as a ACES master file (such as a Graded Archive Master (GAM), which we talk about in Part 2) must be stored as a 16bit half-float EXR image sequence. At our GAM mastering resolution of 4096×2160, each EXR frame is 55 MB, yielding a ~1320MBps stream at 24fps!
At these file sizes, storage capacity becomes a real concern. Our final Graded Archive Master, for example, is a little over 7TB for a 94min film, totaling around 135,000 individual files. Even single VFX plates, only a few seconds long, can run into the 10s of GBs. This file size can be an issue when exchanging files with outside artists. People used to transferring compressed ProRes files might be surprised when they see the 10-second plate you gave them weighs in at 13GB! In many cases, sending data over the internet becomes impractical, requiring the exchange of physical hard drives. I dealt with a few, “Is this really necessary?” questions before everyone settled into the workflow.
The Challenge of EXR Playback
The performance of your storage is another issue. For the VFX artists, who didn’t require real-time playback, it was no problem to work off of slow external drives. They work frame-by-frame on their comps, then render a preview to check their work. But for color grading, where you need real-time playback in your sessions with the director and DP, your storage and system performance are paramount. 1320MBps is a tall order for a lot of external storage solutions. I’m lucky enough to be working off of a sizeable fiber-channel storage array that can handle these speeds easily, but not everyone has access to that kind of system. At the indie level, it’s much more likely to see a desktop Thunderbolt array, which is lucky if it can supply that kind of performance.
Thankfully, there are ways to get around the performance requirements. In Resolve, you can cache the source EXRs to a lighter-weight compressed codec, such as ProRes4444, to enable faster playback. Just make sure to use a 12bit, 444 HDR-capable codec. Otherwise, you’ll have clipped much of the data in the EXR file and will get unexpected results while grading, and especially when you render the final product.
Thankfully, these concerns about EXRs only come into play with VFX shots and the final exports, not the original camera files. Those remain in their native format, R3D RAW files in our case. That makes things a bit more manageable, especially for films with few VFX shots.
Coming Up in Part 2: ACES in Action (with specific details)
Now you know a bit about the production of HOAX, our path to ACES, and how I helped our team understand the benefits of ACES. Next, it’s time to get down to the actual details. The best place to start is an overview of my workflow, but we’re revealing that ‘overview’ in Part 2 since it is an ‘in-depth view’. Here’s a quick taste of the workflows coming up in Part 2:
- Dailies Processing – DaVinci Resolve
- Editorial Workflow – Premiere Pro
- VFX Pipeline – DaVinci Resolve / After Effects
- Color Grading Workflow and Delivery – DaVinci Resolve
In addition to the above, you learn about: My evolving thoughts on using Resolve Color Management; how I used LAB in an ACES workflow (to get the look I wanted); the trickiness of introducing color management to After Effects; and my thoughts on color grading SDR-first vs. HDR-first. As you can see, Part 2 is jam-packed! I’ll see you there soon.
-peder
Additional Links & Resources
As we dig into the ACES workflow, before moving on to Part 2, now might be a good time to catch up on some ACES fundamentals with these resources:
Mixing Light ACES Flightpath – Good place to start when learning ACES
ACES Central – Primary resource for all things ACES-related. Primers, white papers, and community discussions about specific software, techniques, and ongoing development.
Additional Downloads
Sorry... downloads are available for Premium Members only.
Become a Premium Member

