| Series |
|---|
A colour grading exercise
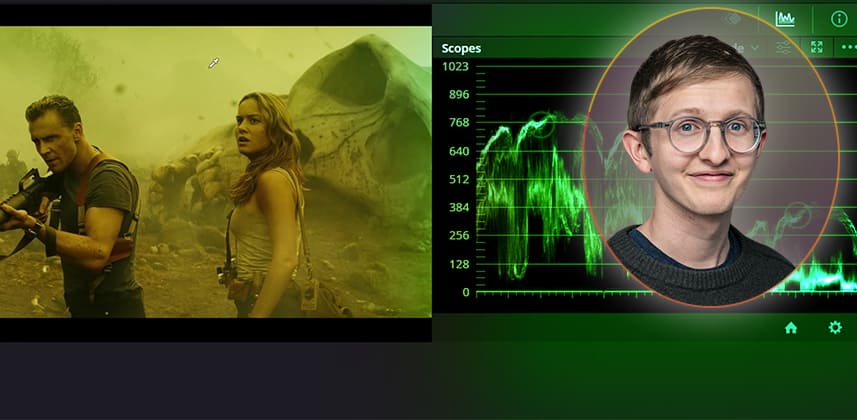
In this Insight, we use a reference still from Kong: Skull Island to build an inspired look that reflects an apocalyptic, toxic landscape. This Insight draws the key elements, emphasising controlling lifted and diffused shadows while managing colour casts so warm they may as well be dichromatic!
Shot by Director of Photography Larry Fong, the look of Kong: Skull Island heavily draws inspiration from Apocalypse Now. Director Jordan Vogt-Roberts captured a classic ‘70s look during principal photography. Combining a few simple serial nodes using straightforward tools like contrast/pivot and the primary corrector allows you to build a flexible and colourful look without worrying about breaking a qualifier or a power window.
Key takeaways from this Insight
By the end of this Insight, you should understand how to:
Mixing Light Premium Members – Download the sample footage and reference image
Premium members, be sure to download the sample footage I’ve provided – for your personal use – to try matching the supplied reference image.
Special thanks: The band Swerve City graciously provided this footage, but it should not be distributed to anyone else or uploaded anywhere else. It’s for your personal use only. Find Air Support on Apple Music or on their YouTube channel.
External Links
Related Mixing Light Insights
Questions or Comments? Leave a comment!
Would you take a different approach to recreating this look on ‘generically captured’ footage? Let me know in the comments! I’m always interested to see how other people work.
– Luke
Member Content
Sorry... the rest of this content is for members only. You'll need to login or Join Now to continue (we hope you do!).
Need more information about our memberships? Click to learn more.
Membership optionsMember Login
Additional Downloads
Sorry... downloads are available for Premium Members only.
Become a Premium Member

