Creating The Film Look and Using Film Grain

Creating The Film Look and Using Film Grain

October 9, 2015

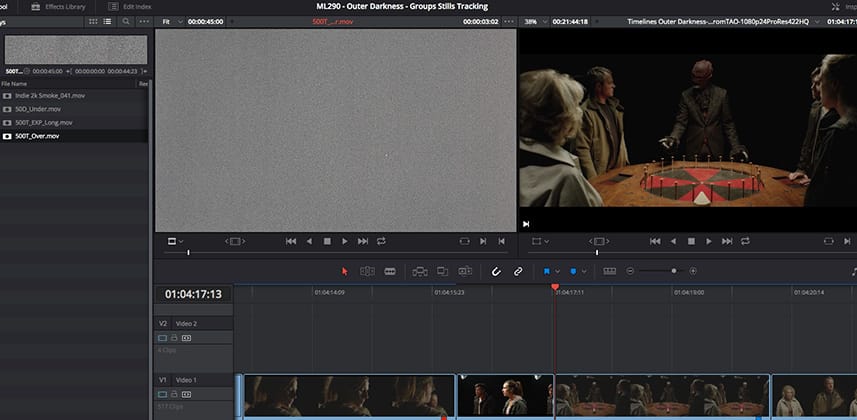
Breaking down the color correction for a 'webisode' and creating a 'Film Look'. Plus, ideas for managing film grain.


Series

Breaking Down ‘The Outer Darkness’: Part 1

Creating a ‘Film Look’ and Managing Film Grain

If we jump into the WABAC Machine, I started a series of Insights on my collaboration workflow for remote clients. Specifically, I broke down that workflow using ‘The Outer Darkness‘ project with the team of BloodyCuts. They’re located in London. I’m located on the east coast of the United States.

At the end of the second Insight, I promised additional Insights into the actual color grading. Now, almost 100 Insights later, let’s follow through on that promise with a 2-part extension of that series.

Let’s start with a breakdown of the Look and how I created a ‘filmic’ feel

We’ll quickly recap my workflow approach when I know I’ll need to create a ‘Look’ for a project. Then you’ll learn one of the essential elements of grading for a ‘film look’ that most people overlook.

You’ll also learn two methods for adding Film Grain

Why did I use two methods in one project? Sometimes, when scenes take place in very different locations and those locations represent very different ‘headspaces’ for the characters – I like to use different tools, even if the end-goal of the final look is the same. It’s often subtle, but it can help the audience’s brain understand that ‘these two things are not the same’.

Enjoy!

-pat

Related Insights

Workflow Breakdown Part 1: Communicating Visually

Rendering Filtered Timelines with the Hero Shots Workflow

Member Content

Sorry... the rest of this content is for members only. You'll need to login or Join Now to continue (we hope you do!).

Need more information about our memberships? Click to learn more.

Membership options
Member Login

Are you using our app? For the best experience, please login using the app's launch screen


Comments

Homepage Forums Creating The Film Look and Using Film Grain

  • Great insight, Pat! Ive been looking forward to this one for a while, being a Bloody cuts fan. Very interesting look, especially using LAB for most of the expansion. The cinegrain with a curve was a very neat trick and seems similar to how other applications act when they state they process grain in “log”, such as fusion. Is there any reason you chose to use the Green channel to create the contrast curv for the grain, as opposed to Y only or another color channel?

    Looking forward to Part 2

  • Great insight Pat, love the filmic look studies!


  • Patrick Inhofer
    Guest

    RE: Green Channel in the ‘L’-only node – No , no reason for grabbing the Green Channel. I suspect it was unlinked when I did the move and didn’t notice.

  • ah okay, the node controlling the grain matte was in LAB mode. When attempting to replicate the contrast curve and the grain, it turned the grain green or magenta, which seemed correct control wise but obviously wasn’t the intended result.

    Very interesting take on applying grain in a “log” like fashion, similar to the log processing in Fusion. Would e curious to know more about that, to step above overlay & screen methods. Many thanks, Pat!

Log in to reply.

1,000+ Tutorials to Explore

Get full access to our entire library of over 1,100+ color tutorials for an entire week!


Start Your Test Drive!
Loading...