Dehancer Film Print Emulation Review – Part 2

August 28, 2023

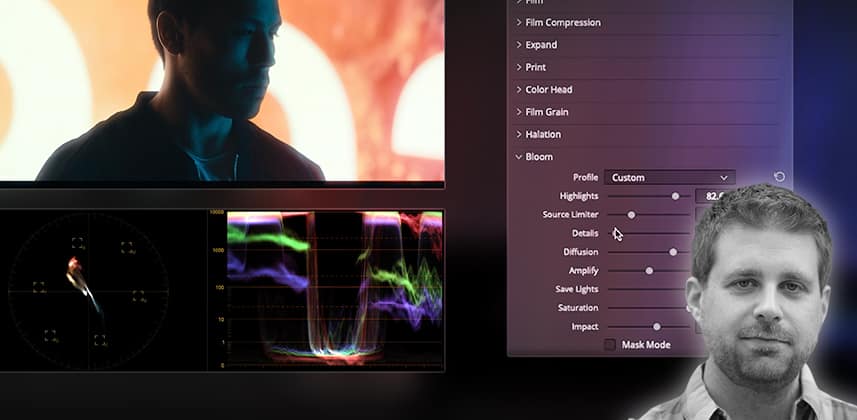
In our Dehancer Pro v7 Part 2 review, colorist Peder Morgenthaler digs into its 'dehancing' tools: Grain, Halation, Bloom, Weave, and more.


Series

How to ‘dehance’ your image using film texture and artifacts

Dehancer is an all-in-one software suite that offers film print emulation. Simulate the aesthetic of vintage film stocks and create your own unique effects with this plug-in for DaVinci Resolve. In Part 1 of our Dehancer Pro v7 review, we looked at its core tools, including:

  • Film Developer
  • Film Compression
  • Color Head sections

Part 2 explores and breaks down the workflow and controls for its remaining settings :

  • Film Grain
  • Halation
  • Bloom
  • Film Damage

While Dehancer Pro’s myriad film profiles are its star feature, its additional tools give users the power to create truly convincing and authentic film looks.  From the cleanest 65mm print looks with fine grain and elegant halation to the grungiest 8mm emulation with hair, dirt, and gate weave, you can create them all with Dehancer Pro.

Key takeaways from this Insight

By the end of this Insight, you should understand how to:

  • Use the Film Grain, Halation, Bloom, Gate Weave, Film Damage, Film Breath, Gate Weave & Vignette tools inside Dehancer Pro to add nuance and detail to your film emulation look
  • Load tool presets or create “Custom” settings
  • Use Dehancer Pro’s additional tools to view clipping, False Color displays, export look LUTs and manage the plugin’s library of film profiles
  • Arrange Dehancer in your DaVinci Resolve node for more flexibility when developing your final look

External Links

Related Mixing Light Insights

Questions or Comments? Leave a comment!

What do you think of Dehancer? How does it stack up to other Film Print Emulation suites? Let us know! Mixing Light is all about community discussions and we’re curious if you found this helpful, if you have something to add, or if you have more questions you need answered.

– Peder


Member Content

Sorry... the rest of this content is for members only. You'll need to login or Join Now to continue (we hope you do!).

Need more information about our memberships? Click to learn more.

Membership options
Member Login

Are you using our app? For the best experience, please login using the app's launch screen


Comments

Homepage Forums Dehancer Film Print Emulation Review – Part 2


  • Marc Wielage
    Member

    Lots of great tips here. I’ve used Dehancer for the past 2-3 years for clients who want film emulation, and my general thing is to turn a whole lotta stuff down. But you really have to go through each and every setting, do some tests, and make sure you’re not going too far. As a general rule, I find a Denhancer setting I like… and then come down a little bit. As a friend of mine calls it: “Taste+1.” I agree with Peder that it’s an annoyance that there’s no way to turn grain down to “0,” and another valid criticism is that Dehancer has gone up to $450 for the “pro” buyout version. It’s a quirky plug-in, but I like the results and it does what I need — I saved 3 or 4 different Dehancer PowerGrades as a way of recalling my own custom setups, which helps cut down on setup time.

    • Thanks Marc. It’s great to hear from people who have been using the plugin for a while. I’m still learning the nuances of Dehancer, but I agree that it’s very easy to over-do the adjustments. I’d love to see them change the ranges of some of the controls to favor granularity in the low end of scale. I feel like it’s rare that you would want to crank things up as high as they go, but having a bit more fine control would be welcome.


  • Jon Dobson
    Member

    One issue I’ve found is that the plug-in isn’t backwards compatible with itself. So if you install a new version and go to a project where you’ve previously used the old plug-in, you either have to manually input all the settings over from a previous version node to the new version node, or you have to remove the license from your current version and re-license the old plug-in.

    This is made even worse if you uninstall a previous version because you then can’t actually see the settings you had and therefore you can’t copy them over.

    Another fun thing I’ve found is that if you grade on a windows system but render from a Mac (to make a ProRes) the plug-in produces visually different results in terms of the look (not the grain). It also produces a different visual result when rendering individual clips rather than a timeline render.

    For me its issues like that which make it a bit worrying to use. I have let Dehancer know about these things so hopefully they’ll iron them out in the future.

    • Thanks for bringing up those issues, Jon. Those are real problems for people using the plugin long-term in real production environments. Maintaining continuity between plugin versions is a common problem, and I often keep legacy versions of plugins installed for that reason. But Dehancer’s license model makes this impossible.

      The differences between Windows and Mac versions are especially concerning. The color science should operate the same regardless of OS, so hopefully the engineers at Dehancer are working on solutions.

Log in to reply.

1,000+ Tutorials to Explore

Get full access to our entire library of over 1,100+ color tutorials for an entire week!


Start Your Test Drive!
Loading...