| Series |
|---|
How to Explore Visual Ideas Using DaVinci Resolve
In Part 1 of this Workflow series, I explained the Hero Shots workflow—specifically as I execute it in DaVinci Resolve 10 & 11. After pulling our Hero Shots, color correcting them and creating several different Looks, I need to render them out. Remember, my client is an ocean away and I can’t just sit him next to me and hit Play. Why?
Hero Shots are a filtered timeline and Resolve doesn’t like rendering filtered timelines
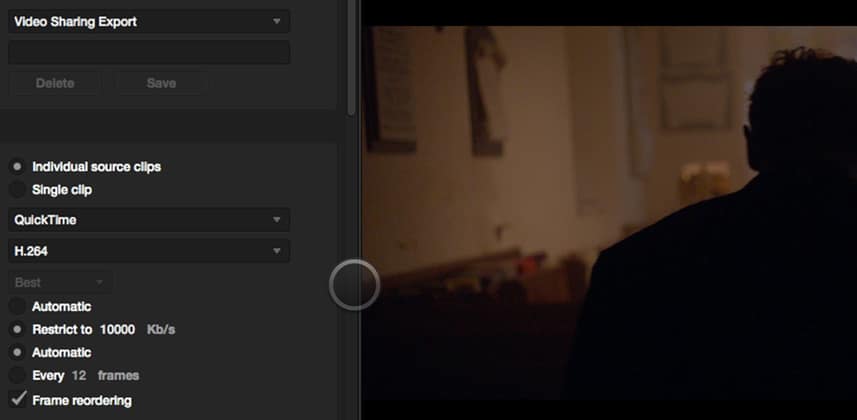
More precisely, DaVinci Resolve doesn’t like rendering filtered timelines as single movies. It wants to render them as individual clips! And since all I want to send my client is a single .h264 to load up on his iPad… how to do I work around this problem in an otherwise terrific workflow?
In this Insight, learn a 2-step process that solves this problem
Yeah – it’s a bit annoying. Yes – it adds an extra bit of time to my day. But the benefits of the Hero Shots workflow so vastly outweigh this drawback—well, here I am showing it to you!
Enjoy!
– pat
Member Content
Sorry... the rest of this content is for members only. You'll need to login or Join Now to continue (we hope you do!).
Need more information about our memberships? Click to learn more.
Membership optionsMember Login
