Series |
---|
Part 4: Node Graph Mastery – Determining Your Order of Operations
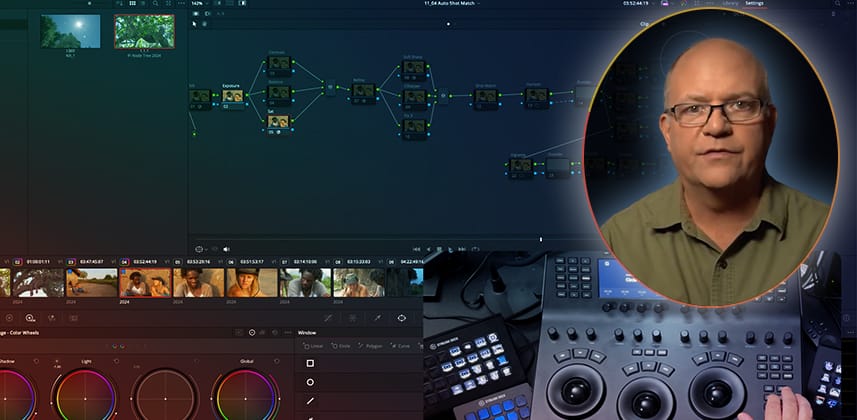
In this Insight, we depart from the legacy Resolve series I’ve been sharing—created a 10 years ago, teaching the Resolve fundamentals that haven’t changed in that time—and bring you up to date on how color grading workflows have evolved over the past decade. Today, we focus on fixed node trees.
At one time, adding additional nodes to the node tree seriously impacted playback performance, even if the node was deactivated! For many years, we avoided adding more nodes than necessary.
But DaVinci Resolve has become increasingly efficient, and computer systems are powerful enough to handle the overhead of empty, disabled node trees. As a result, large, sophisticated node trees are widely used among Resolve colorists – with almost no impact on system performance.
I’ve learned to embrace fixed node trees since they allow me to focus less on the Node Graph and keep my eyes on the image.
It may seem strange – but a large fixed node structure can help you become much faster and work more intuitively. The important takeaway is:
In a fixed node tree, the node structure reflects your preferences. Each node has a specific purpose, and you only enable the node you need when you need it.
My rule-of-thumb for fixed node trees
At one time, a colorist might add additional nodes to add specific tools (like Sharpen/Blur or a Power Window), but I now favor (and teach) having our frequently used tools assigned a specific place in our node tree.
Looking backward before looking forward
This Insight begins by reflecting on an old-school 3-node LUT template. While the node trees have become more complex, the overall principle remains the same. We always begin by adjusting exposure and balancing the primaries.
An unexpected benefit of using fixed node trees on your projects is that it is easier to navigate your own thought process when opening archived projects years into the future. With a consistent approach that is correctly labeled, you will be saving yourself lots of work! You’ll also eliminate confusion when your future self reflects on your prior work. It also reflects well on you as a professional when collaborating with editors, online finishers, and other colorists.
This Insight is a ‘brain dump’ on my approach to fixed node trees
Like other Insights in this series, it’s almost 30 minutes long and shows how I make fixed node trees work – for speed and efficiency. It’s taken a few years to gather all the gear you see me use to make this work. But you can simplify if your budget doesn’t allow
If you’re starting your color grading journey, you don’t need to kit your room as you see mine! Start with the bits you can afford. For me, that means starting with some form of colorist control surface PLUS a StreamDeck (or another button box) with either Keyboard Maestro (Mac) or AutoHotKey (PC) to trigger pre-programmed mouse moves/clicks. Watch this Insight to understand the ‘why’ of this recommendation.
Key takeaways from this Insight
By the end of this Insight, you will understand the ideal node tree placement for:
Premium & All-Access Members: Download Patrick’s fixed tree
Premium and All-Access members can download the fixed node tree featured in this Insight. I’ve provided two versions. You only need to download one of them:
Related Insights
Have I convinced you to start creating (and using) your own standardized node graph?
We’re always making little tweaks to refine our tools and templates. Do you have any tips on your fixed node tree that makes you shout “a-ha!”? Share, let us know, and help someone else begin their journey on fixed node trees!
– Pat
Member Content
Sorry... the rest of this content is for members only. You'll need to login or Join Now to continue (we hope you do!).
Need more information about our memberships? Click to learn more.
Membership optionsMember Login
Additional Downloads
Sorry... downloads are available for Premium Members only.
Become a Premium Member