How to Build a Manual Color Matching Node in DaVinci Resolve, Part 3

How to Build a Manual Color Matching Node in DaVinci Resolve, Part 3

January 13, 2015

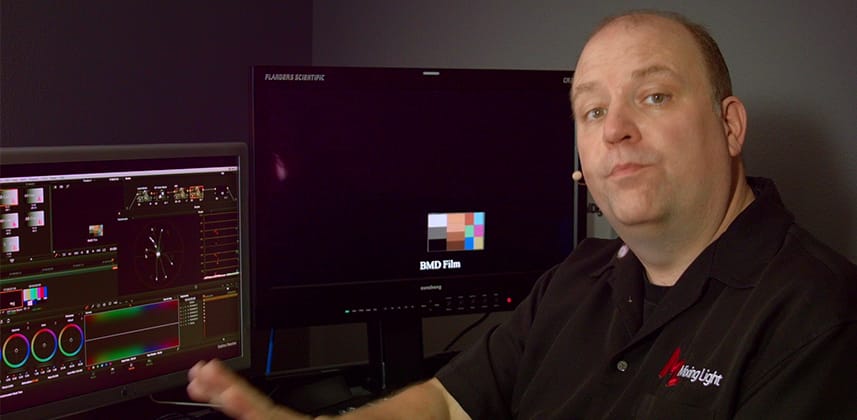
Part 3 of a series on how to use the DaVinci Resolve 11 'Color Match' tool. In this video, learn how to build your own Color Match node.


Series

How to Build Your Own Manual ‘Color Matching’ Node in DaVinci Resolve 11

In previous Insights we’ve explored why using Resolve 11’s Color Match feature is so hard. We then took our conclusions about how that feature works to develop a workflow for more consistent results when using Resolve’s Color Match tool.

Of course, with a basic workflow in place – we can riff ‘variations on a theme’ to further refine our workflow. And why would we do that? Because there are endless variations of cameras, lighting, subject matter, lenses, exposures, recording formats, and bit depths that expecting a single workflow to work every time… it’s totally unrealistic.

When you decide to ‘up your game’ and take color correction seriously – you need to develop workflows that are adaptable. In this Insight, we’re doing just that…

Learn how to adapt by manually replicating the ‘Color Match’ function

This Insight is yet another strategy for both understanding how the Color Match tool works… and riffing on it to adapt your workflow when Resolve’s Color Match feature isn’t working… even if you’ve taken my advice to do a manual Brightness match first.

Yes, the “Brightness First then Color Match” Rule will fail you

It’s inevitable.

The question is: What are you going to do after it fails?

In this Insight, we’ll deepen our understanding of the Resolve’s Color Match tool by bypassing it completely and introduce to you a strategy for building a Manual Color Matching node in DaVinci Resolve 11.

Learn how to skip the Color Match tool

In the process of skipping the Color Match tool – you’ll learn how to build a Manual Color Matching tool that does almost precisely what the Color Match tool does… but is infinitely more adjustable by removing the ‘Black Box’ aspect to that tool. This also means you’ll be able to Color Match using test charts from any manufacturer—not just the ones built into Resolve.

In fact, I wouldn’t be surprised if some of you find this workflow to be much more efficient for color matching than Resolve’s built-in Color Match tool.

Ask questions because I’ll be answering

Quite a few questions have popped up in the comments for this series. Many of them are very Insightful and have suggested variations of the ‘Brightness First Rule’ that are worth exploring.

I’ll wait a week or two before recording the next installment of this Series – so you can ask questions. If you do, there’s a good chance I’ll integrate some of your queries into the ‘Answering Member Questions’ portion of this DaVinci Resolve 11 ‘Color Match’ Series.

– pat

Member Content

Sorry... the rest of this content is for members only. You'll need to login or Join Now to continue (we hope you do!).

Need more information about our memberships? Click to learn more.

Membership options
Member Login

Are you using our app? For the best experience, please login using the app's launch screen


Comments

Homepage Forums How to Build a Manual Color Matching Node in DaVinci Resolve, Part 3

  • I’m curious why you choose to sample the swatch and remove the points vs using the color presets at the bottom on the hue vs hue?


  • Marc Wielage
    Member

    Good job, Patrick. One minute into the thing, I said, “hey, why not just increase overall sat and then adjust sat on each vector in hue vs. sat…” and 12 minutes later, that’s exactly what you did — pulling back red to compensate. This was a standard dailies trick we did for years. I just wish more DPs shot charts.


  • Patrick Inhofer
    Guest

    Because I want to manipulate the actual color points the camera recorded for each of those colors. If I used the presets I would have been manipulating where they *should* be vs. where they *actually* are. Make sense?


  • Patrick Inhofer
    Guest

    Marc – While recording I was asking myself… would it make more sense to kick up Saturation first, then adjust the vectors? Probably, it would result in less back and forth.


  • Patrick Inhofer
    Guest

    Marc – did you find it was cleaner doing the overall saturation move and then pulling back the vectors where needed? Or did you do the overall saturation move because it was easier when aligning the hue vectors?

  • yeh thanks

  • you could also zoom the vector scope and align the sats up then after add a LAB sat to you taste

  • To Marc’s comment ” I just wish more DPs shot charts.” It would be great to have a discussion on a colorist’s perfect world scenario from pre -> post production including in set coloring and requiring charts. Including maybe hardware strategies like supplying wireless transmitters to pipe a live feed though a resolve live session to video village.


  • Marc Wielage
    Member

    Yes, just for speed we’d kick up Sat first, since typically we’re under the gun in those situations. In the film days, you had to be careful because the blue layer tended to kick up the highest, being on the top. I still see film negative shows on today where the blues are way too intense, showing that even film did not have uniform saturation, even in Rec709.


  • Patrick Inhofer
    Guest

    RE: Zooming the Vectorscope – remember, the test chart we’re using in this example is specifically designed to put saturation at 50% distance from the targets. So a 2x zoom is a precise amount we want to zoom that sets not only the Hue Vectors but also the precise amount of Saturation that the OneShot is designed for. Any other zoom amount won’t set the saturation properly (though it will help with aligning the Hue vectors).

    RE: LAB – Certainly, using a LAB node to expand contrast could work as well. That’s the beauty of grading… something as simple as aligning a test chart can be done a dozen different ways to achieve similar results.


  • Patrick Inhofer
    Guest

    Well, I think the request I’m hearing from you is having Insights on DIT work and on-set rigging? If so – we’ll put that on our To-Do and find the right person to handle that specialty and offer up those kinds of Insights. But like all things, it’s not enough to find a good DIT. We need to find a good DIT who is aware of their workflow choices and is willing to share and not hold anything back… so it might take a while.

  • I was more interested in a discussion about the role of colorist(s) in a perfect world scenario from pre – post production including a little discussion of on set lut creation with resolve live. I wasn’t looking for gear specifics as much as a general discussion.

  • True, also we saw that adding saturation potentially changes a points hue as well. So you might get in a situation where at 2x you set you matched your targets then when you go to reduce the saturation and your targets could be off axis. If you set you desired saturation first then zoom to balance your hues/color saturations to the targets at least you know where you left off is correct. The zoom remains constant between shots unless you change it so then you can match the other shots to you zoomed targets.


  • Marc Wielage
    Member

    Very good idea, and not one I would have thought of. Excellent tip, Patrick.

Log in to reply.

1,000+ Tutorials to Explore

Get full access to our entire library of over 1,100+ color tutorials for an entire week!


Start Your Test Drive!
Loading...