How To White Balance Shots Using Common Color Correction Tools

October 18, 2016

Watch how to White Balance (or Color Balance) digital video images. You'll explore 4 different tools and learn their differences.


Series

Part 1: Using Color Wheels, Offset, Curves and Auto-Balance

What is White Balance?

White Balance (often called Color Balance) is an adjustment to images assuring the colors are rendered accurately. Color rendition gets skewed when the camera mismatches the color temperature of the primary illuminant in the scene. This gives the recorded images an overall ‘tint’ or ‘color wash’. For instance, setting the camera for daylight but shooting under tungsten results in a heavy color wash that skews all the colors. If the balance is way off, the image looks almost monochromatic.

The Color Balance adjustment is one of the first two moves you’ll make when color correcting images

Typically, you’ll first set the overall contrast for the image then you’ll tweak your Color Balance. But on extremely unbalanced images, you may need to fix the White Balance first. Then, you can make informed contrast adjustments.

In digital color correction, you’ll usually adjust the Red, Green and Blue channels to remove the overall ‘color wash’ and ‘normalize’ the image. The concept is simple: Neutral colors (grays, shadows and (sometimes) highlights) should have no apparent tinting. If you can adjust the Color Balance to remove tints from grays and shadows then the rest of the image will line up. It’ll loos as if the image had been recorded with the proper White Balance in the first place.

In this Insight, learn how to use four common digital color correction tools to manipulate White Balance

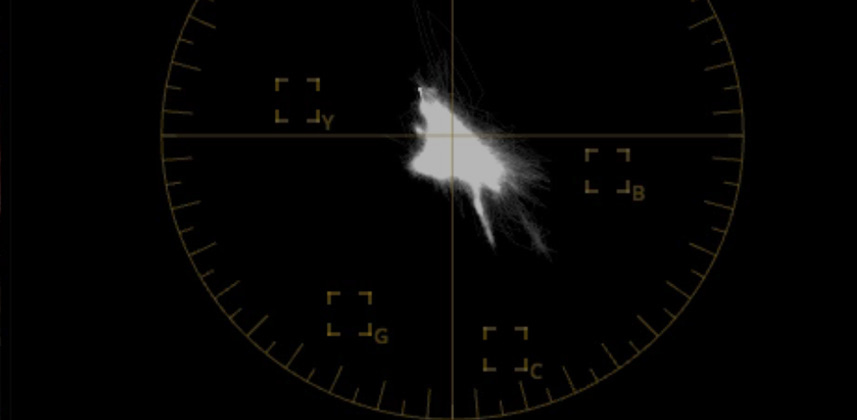
More importantly, see how there are different types of Color Balance problems. And depending on the nature of the problem you’re solving, learn which tool will have the best effect (they are all different). This Insight will also cover some basic concepts about using an RGB Parade and Vectorscope for diagnosing and correcting White Balance issues.

Enjoy!

-pi

Member Content

Sorry... the rest of this content is for members only. You'll need to login or Join Now to continue (we hope you do!).

Need more information about our memberships? Click to learn more.

Membership options
Member Login

Are you using our app? For the best experience, please login using the app's launch screen


Comments

Homepage Forums How To White Balance Shots Using Common Color Correction Tools

  • Fantastic insight!! Look forward to the next part on this topic.

  • I really love using the printer lights for the offset adjustments its so fast.
    The 7+6 keys to warm and the 4+9 keys to cool.
    Patrick did you add negative midtone detail to your face?


  • R.NeilHaugen
    Guest

    Neutralizing with images with (relatively) similar content in shadows to highlights is a good starting place, and I look forward to your practice with temp/tint also. But … how about throwing in an image that is very asymmetric across the channels? Maybe say there’s red wall behind the subject or a color wash to the lighting. What to key on there can take a bit of practice or discernment … and I’d love to see your method to analyze that sort of situation.


  • Unknown Member
    Deleted User

    Ah…I have a pretty silly question. The ‘show picker RGB value; I have never really used that. When I click on on it nothing really happens. Is this something to do with the fact that your cursor is a circle and mine is an arrow or is it something totally unrelated?


  • Patrick Inhofer
    Guest

    Greg – yes, I did the Negative Midtone Detail thing. I overexposed the shot a bit and probably went too far if you’re commenting on it. Nothing worse than trying to grade your own mug 🙂


  • Patrick Inhofer
    Guest

    Honestly – I always start with the main subject of the image, neutralize the color cast and get it looking about correct… then I deal with the collateral damage in the rest of the image. I’ll see if I can hunt down a shot that shows this.


  • Patrick Inhofer
    Administrator

    I artifically change my pointer in my Screen Capture software since I think it’s easier to see than a tiny mouse pointer.

    In your case, after enabling the ‘show RGB value’ you need to make sure you’ve enabled the ‘Qualifier’ pulldown at the bottom of the Viewer. Only with the Qualifier selected will see you the RGB readouts.

Log in to reply.

1,000+ Tutorials to Explore

Get full access to our entire library of over 1,100+ color tutorials for an entire week!


Start Your Test Drive!
Loading...