| Series |
|---|
One of the superpowers of LAB, is how the brightness channel is distinctly separate from the color channels. In Part 1, we explored how to add color to an image by increasing the contrast in the A and B channels while working in Photoshop.
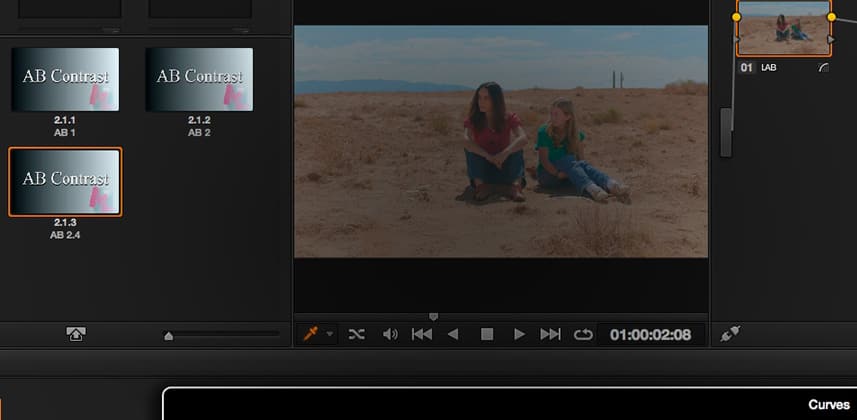
Working Curves in DaVinci Resolve
One reason I started this series in Photoshop, is because curves in DaVinci Resolve work distinctly differently. Frankly, Resolve’s curves interface fights against us so I wanted you to see how Curves should work. In this Insight, I’ll show you how we have to work around Resolve’s more limited curves interface.
Adding Contrast to the L Channel… and RGB
By the end of this Insight, we’ll be doing a full initial contrast expansion to this shot… in both RGB and LAB colorspaces.We’ll also add additional Saturation in the RGB color space and you’ll see distinct differences between the two.
And this brings up an important point…
Grading in LAB doesn’t mean we abandon RGB.
In fact, the more I grade the LAB the more I appreciate fine-tuning the image in RGB. I’ve started adding a node before and after my LAB node(s). But… that’s getting ahead of ourselves—it’s just something to keep in the back of your mind as you watch this series progress.
Members: Download the DaVinci Resolve 11 PowerGrades from this Insight.
[S3FILE file=’bonuses/mixinglight-bonus-ML0237-LAB-contrast.zip’ bucket=”ml-downloads” anchor=’Click this link to download the LAB PowerGrades’] you see in this Insight – for import into DaVinci Resolve 11 or later. I recommend creating a new PowerGrade folder dedicated to LAB, and importing the .drx files in that folder. As this series progresses I’ll share further refinements for you to experiment with.
Enjoy this Insight!
– pat
Member Content
Sorry... the rest of this content is for members only. You'll need to login or Join Now to continue (we hope you do!).
Need more information about our memberships? Click to learn more.
Membership optionsMember Login


