| Series |
|---|
Glows Part 3: Modifying Resolve’s Diffraction Effect to Create Custom Glows
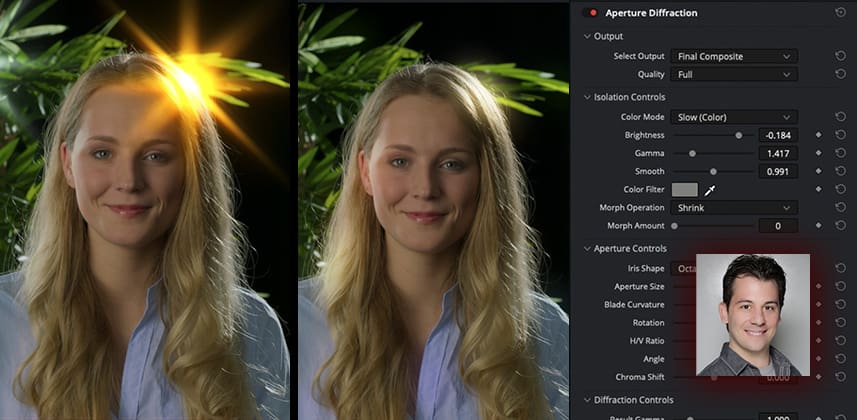
For artists not used to diving deep into effects, the Aperture Diffraction ResolveFX can feel a bit intimidating. It’s totally acceptable to feel that right off the bat when approaching this tool for the first time. In this Insight, you’ll watch a detailed walkthrough of the Aperture Diffraction effect and I’ll highlight some of the important (aka most useful) controls that will help you get the most out of this underrated effect.
Key takeaways from this Insight
By the end of this Insight, you should:
- Understand that the “Brightness” control acts similar to the threshold control in other Glow effects in this series (in that it sets the range in which the highlights are isolated to be “glowed”).
- Know that glows can be colored using the color mode option for unique effects and creative looks possibilities.
- Be able to use the “Aperture Controls” tools for adjusting the shape and texture of the glow, by emulating a “virtual” iris. By adjusting the properties of that “virtual” iris via its shape, size, rotation, etc, you will understand how to get unique, physically realistic adjustments to the glow.
Related Mixing Light Insights
- Finding Opportunities when Color Correcting: How do you stay creative when you’re not feeling creative? Learn how one professional is always finding opportunities when color correcting.
External Links
- You can find more details about the Aperture Diffraction effect in the July 2022 Resolve 18 manual. Chapter 157, Page 3318
Member Content
Sorry... the rest of this content is for members only. You'll need to login or Join Now to continue (we hope you do!).
Need more information about our memberships? Click to learn more.
Membership optionsMember Login


