| Series |
|---|
Day 1: 24 Insights in 24 Days New Year Marathon
HDR Pallete 101 Part 2 – Digging Deeper Into The Toolset (in a YRGB Workflow)
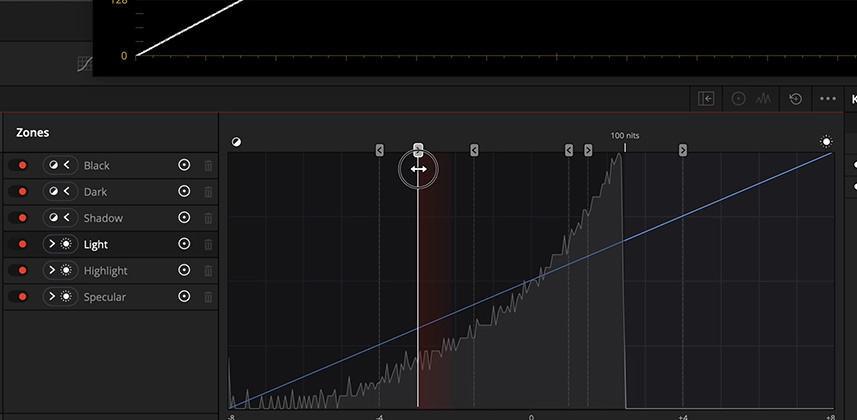
In Part 1 of this series, we spent time exploring how Resolve’s traditional Primaries Palette differs between Lift/Gamma/Gain, the Log wheels, and the Offset controls. We also compared those tools to the HDR Palette’s Zone controls. We simplified our task by exploring how a single Zone works. We also looked at ‘shadow-facing’ and ‘light-facing’ Zones and how their math combines together.
In Part 2 we are digging deeper but continue to focus on understanding how the HDR Palette is different from the Primaries Palette.
Why am I’m focusing on these differences so much at the start of this series (as opposed to running through all features of the HDR Palette)? I’m compelled to understand WHY Blackmagic spent time developing this workflow. What problem are they solving? What were the weak points in the traditional toolset? Should I consider the HDR Palette a replacement to the Primaries Palette or a supplement?
The New Features Guide that ships with every download of Resolve 17 Beta is a terrific starting point. It explains the theory of the HDR Tool and Resolve Color Management 2.0. It provides the roadmap of where to look. But if you’re interested in mastery then you’ve got to test the theory.
That’s what I’m doing in parts 1 & 2 of this series.
This is a long Insight.
The remaining Insights will be much much shorter. But I wanted to get these thoughts out and I didn’t want to string this series out. But I am providing a Table of Contents, should you come back here to find a specific explanation/discussion.
Important: This Insight Covers the HDR Palette in the default DaVinci YRGB Color Science Workflow
In Parts 1 & 2, this series is using the DaVinci Resolve default YRGB workflow. Some of the behaviors explored in this Insight will change when we move to a color-managed workflow. Keep this in mind as the series progresses. My hope is this exploration will allow you to make an informed decision if a color-managed workflow is appropriate for you (or not).
Questions? Comments? Confusions? Additional Thoughts?
Use the Comments section below! I guarantee you, other Mixing Light members will find what you have to say very interesting. Please do share!
Enjoy!
-pi
Table Of Contents
- Start – Introduction
- 2:00 – Quick recap: Single Zone
- 3:35 – Using a Shadow Zone to offset a Light Zone correction
- 4:25 – Using a second Light Zone correction to control the influence of another Light Zone correction
- 6:00 – Using the ‘2 Zone Technique’ for a custom Log Wheels result
- 7:30 – Using HDR Zone Presets to create custom, reusable Zone settings
- 8:45 – Exploring a few Presets I created for both utility and creative purposes
- 10:44 – Using the ‘Timeline Color Space’ preference to make the HDR Zone defaults much more useful in a default DaVinci YRGB workflow
- 12:50 – About ‘DaVinci Resolve Wide Gamut/Intermediate’ color space
- 13:55 – ‘Gain Up’ & ‘Offset Down’, recreating the Global control in the Primaries Palette
- 17:49 – How Contrast behaves differently between the Primaries and HDR palettes
- 20:59 – How brightness changes influence saturation, depending on the palette you’re using
- 21:55 – Example of how Primaries can shift hue, when brightening, but HDR Palette doesn’t
- 24:14 – Using the Highlight Mode to preview which pixels a Zone will influence
- 24:58 – Closing thoughts that include some tips on how to learn to use the HDR Palette
Member Content
Sorry... the rest of this content is for members only. You'll need to login or Join Now to continue (we hope you do!).
Need more information about our memberships? Click to learn more.
Membership optionsMember Login


