| Series |
|---|
Day 6: 24 Insights in 24 Days New Year Marathon
HDR Palette 101 Part 3 – Enabling RCM 2.0 + The HDR Contrast Tool
In the first two parts of this series, we’ve explored how the HDR Palette works differently than the Primary Palette using the Lift/Gamma/Gain, Offset, and Log controls. We’ve done all this in Resolve’s default color management setting: Resolve YRGB.
Resolve YRGB is an unmanaged color workflow.
This means the user (you) is in total control of the image. You color grade the image, guided by your eyes, intuition, and a known calibrated reference display. You may add color management by using Look Up Tables (LUTs) or using the ResolveFX Color Space Transform plugin (see Joey D’Anna’s series on this subject). You can also use 3rd party plugins for this purpose.
But in an unmanaged workflow, DaVinci Resolve – at the project level – has no understanding of your source footage nor how you want it delivered.
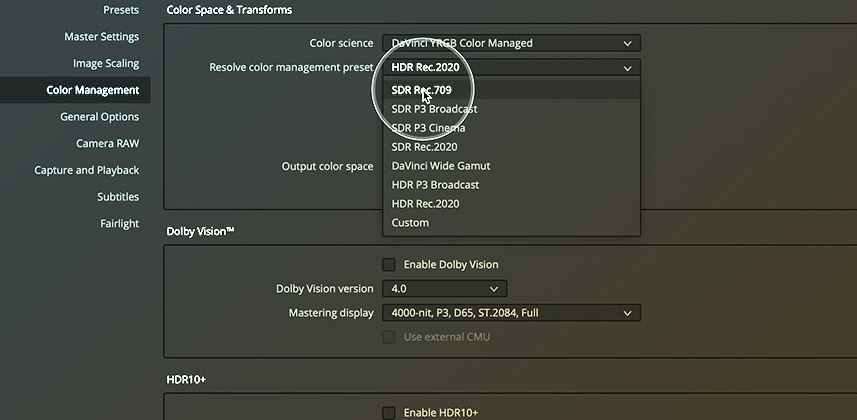
A color-managed workflow is very different. With Resolve 17, Blackmagic has updated its Resolve YRGB Color Managed underpinnings. They are calling this: ‘RCM 2.0’
Resolve YRGB Color Managed projects allow the software to handle complex image transforms for you.
You don’t need to rely on LUTs or plugins or ResolveFX. The software can transform your image from its recording color space and gamma to the display color space and gamma, with not further interaction on your part. Your job, is to handle the creative side of things (including shot matching and Look management).
If you have multiple deliverables (streaming, cinema, HDR, SDR) then the software can take your original color-graded footage and retarget your renders to fit the viewing specifications of that deliverable. Of course, best practices dictate you do rely 100% on the software to do that. You’ll need to re-evaluate your grades for those alternative deliverable platforms and do a ‘trim pass’ to fix any problems you find. But the key is you don’t need to re-grade from scratch. You build upon your existing work, rather than throw it away and start over.
But color-managed workflows require that you understand your source footage.
To work effectively in a Resolve Color Managed workflow (or ACES, an alternative approach in Resolve) you need to know enough details to tag your footage with the appropriate Input Color Space, as shown below.

Once all your footage is tagged (RAW clips don’t need to be tagged, Resolve automatically knows what to do with that footage) you can then take advantage of the flexibility of DaVinci Resolve’s native color management toolset.
In this Insight you’ll learn the basics of Resolve Color Management 2.0
The HDR Palette comes into its own in a color-managed project. But the benefits of Resolve YRGB Color Management flow to the entire toolset. Even the Primaries Palette works differently with color management enabled.
In this Insight, you see the simplest way to work in this mode. ANY project can take advantage of this workflow – IF you know the origins of your source footage and can appropriately tag that footage’s Input Color Space.
We also take a slight detour to learn the difference between the Contrast tool in the Primaries and HDR palettes.
Questions? Comments? Observations?
Please feel free to leave a comment below. You can also click on the ‘subscribe’ button to get email updates whenever a comment is left on this Insight.
Enjoy!
-pat
Member Content
Sorry... the rest of this content is for members only. You'll need to login or Join Now to continue (we hope you do!).
Need more information about our memberships? Click to learn more.
Membership optionsMember Login


