| Series |
|---|
Part 2: Refining Our Fusion Animation & Creating A Shareable Edit Page Effect
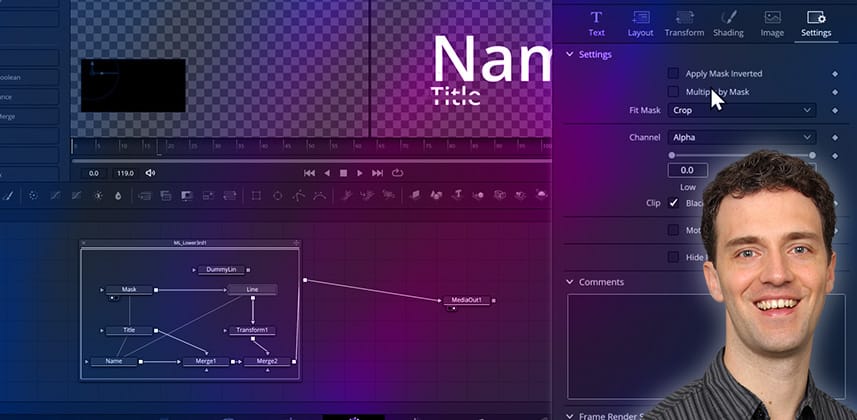
We ended Part One after defining all the principal elements and user controls for our preliminary Fusion macro. In Part 2, you complete the layout by positioning the elements with offsets and additional expressions. Plus, you create a mask for our line element using a shading layer.
But we’re not done yet!
How do you adjust your template to the playback range set in the Edit Page?
At the end of this Insight, you learn how to build intro and outro animations efficiently, so your template will automatically adjust to the overall duration of the render range, as set in the edit page.
Finally, it’s publishing time!
We create a preview icon, test the template in the edit page, and create a *.drfx template package that others can install with a simple double click.
Key takeaways from this Insight
By the end of this Insight you should understand how to:
- Build Masks from Shading Layers
- Use the Keyframe Stretcher for flexible intro and outro animations
- Make your template available in the edit page together with a preview icon with a resize of 104 width by 58 height
- Create an installable *.drfx template package
Additional Downloads
Premium Members can download the:
- .setting file from the end of Part 1, so you can pick up and precisely follow along with Bernd.
- .drfx file at the end of this Insight so you can install and deconstruct Bernd’s final template
Related Insights
- Advanced Keyframe Editing in Fusion – Learn powerful keyframe editing techniques in DaVinci Resolve’s Fusion page, using the built-in spline and keyframe editors.
- Rotoscoping to Replace a Foreground Element in Resolve Fusion – In Part 1 you learned how to remove an object. Now, rotoscope the motion of foreground elements using Polyline masks and keying.
Questions or Comments? Leave a comment!
Are you creating your own templates? Did you learn something you can apply right away in your templates? Let us know! Mixing Light is all about community discussions and we’re curious: Did you found this helpful, do you have something to add, or do you have more questions you need answered?
– Bernd
Member Content
Sorry... the rest of this content is for members only. You'll need to login or Join Now to continue (we hope you do!).
Need more information about our memberships? Click to learn more.
Membership optionsMember Login
Additional Downloads
Sorry... downloads are available for Premium Members only.
Become a Premium Member

