| Series |
|---|
Team Mixing Light Note: We are very excited to welcome Bernd Klimm to Mixing Light’s roster of Contributors. Bernd is going to help us dig deeper into more pure VFX workflows, for those of you that might want to supplement your core color grading or finishing skills with higher-level VFX or motion graphics work.
He kicks us off for an opus of video Insight that digs deep (yes, he breaks our 20-minute barrier in his very first go-around) but somehow doesn’t lose the audience (although a 2nd viewing may be required to fully grasp all the details)!
Please join us in welcoming him to Mixing Light! You can learn more about Bernd by visiting his Mixing Light author landing page.
Part 1: Building out the core elements and user controls
Creating a text title for one-time use is relatively easy in DaVinci Resolve. Creating it in a reusable way that is user-friendly and can still adapt to many situations? That can be hard. But it’s a great skill to have to serve our clients and employers better.
Corporate clients frequently use sets of similar templates for text boxes, lower thirds, center titles, full-screen cards, etc. Sometimes different versions exist for use in different aspect ratios. The ability to design and build these packages can be a very valuable skill to own.
Learn how to build more sophisticated re-usable animations for sharing on the Edit Page
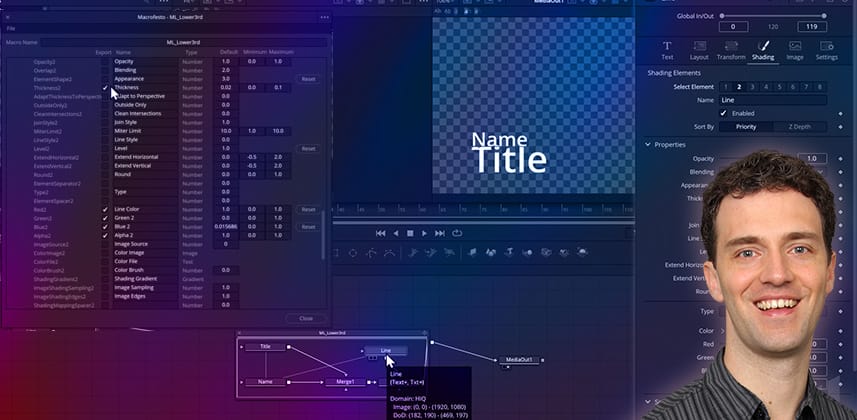
In this insight, you’ll learn how these animations are created by building a solid base template with three main elements:
- One line of primary text
- One line of secondary text
- And one solid line that lengthens and shortens with the text elements
You learn about using both instances and expressions in Fusion to tie parameters together and ensure all elements scale correctly relative to each other – with selective de-instancing being key to our template.
You’ll learn how shading layers give us powerful ways to adjust our elements or even add completely new ones. But shading layers also pose user interface problems that we’ll have to work around.
We begin by keeping things simple with the Fusion Macro Editor.
Rather than trying to create the perfect template immediately at the beginning, you will use the Fusion Macro Editor early in the process to make a first rough version of our template. This allows the instant testing of all user parameters as we refine the template.
At the end of Part One, you will have created a solid foundation for the title template with (almost) all graphic elements in place, and you will see how you can update both the flow inside the template and the user parameters.
I also provide you with a challenge to complete this part of the templating process.
In Part Two, I share my solution to the challenge I share. Then, we fine-tune the layout, add animations, and package the template with a preview icon into an installable *.drfx package that we can ship to our client – or share with the world.
Key takeaways from this Insight
By the end of this Insight, you should understand how to:
- Use the Text+ tool with shading layers
- Choose the right controls to make the template both simple and flexible
- Use Instances and Expressions to link elements together
- Build and update a Macro
- Understand the need for a dummy node for our shader controls
Questions or Comments? Don’t be shy!
Were you able to complete the basic layout of this template by yourself? Great! Share your success with the rest of us! Did you get stuck at a particular point? Describe where things went awry and I’ll try to help you out. In Part 2 of this series, I’ll show you my solution (and finish off the rest of the animation).
– Bernd


