| Series |
|---|
Surface Tracker Part 2: Simplify complex Power Window operations during color grading
In the first part of this series, I showed you how to use the surface tracker in Resolve 18 to build or track masks on moving surfaces. This makes it a powerful tool for color grading, but its VFX functionality can also be used for color tasks.
In this Insight, you’ll learn how to apply a VFX-style workflow to color grading (and replace the tedious operation of tracking multiple power windows independently).
Using the Surface Tracker where qualifiers/keyers fail

At the end of this Insight, we’ll look at a shot where a typical keyer won’t work to isolate an object and where tracking a power window may not work well. The overall process looks like this:
- Apply the Surface Tracker
- Create the ‘bounds’ of your selection
- Generate the ‘mesh’
- Track the mesh
- Copy the node and paste it to a new node
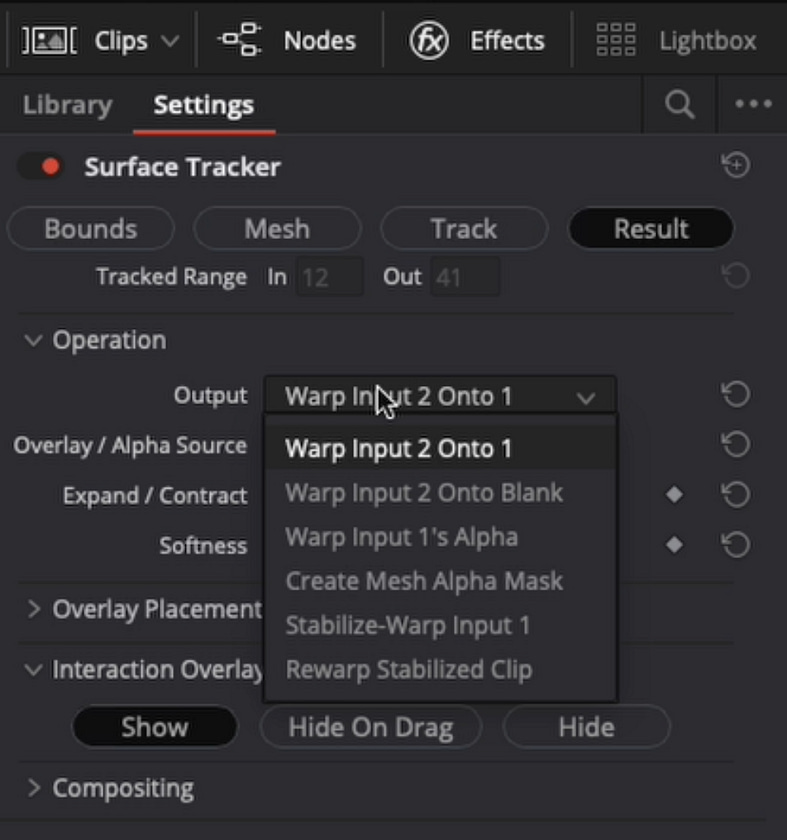
- In the new node, switch the result to ‘Rewarp Stabilized Clip’
- Route the foreground and background properly into the ‘Rewarp’ node
- Perform multiple color operations across multiple nodes between the two Surface Tracker nodes
- View your awesomeness and refine/troubleshoot as necessary
This workflow is great for situations like faces, where you may want to do 3 or 4 individual windows – but have trouble tracking each small feature. Using the surface tracker, you can use all the same tracking information to drive multiple nodes simultaneously.
Remember, you need to route the pipes between nodes properly and make sure the Operation in the Result tab is properly selected on both the Stabilizing Node and the Rewarping Node.
Key takeaways from this Insight
By the end of this Insight, you should understand:
- Why this workflow needs the surface tracker applied to a corrector node and NOT as an OpenFX node (dropped directly on the node tree from the OpenFX Library)
- How to use the surface tracker to stabilize a section of a shot
- Using multiple nodes and power windows on the stabilized section without needing tracking
- Using the surface tracker to re-introduce the original motion on the corrected section of the shot
- How to route the surface tracker node inputs
- How to utilize timing, ensuring your power windows line up where you want them, especially when refining your Power windows
Related Mixing Light Insights
- Digging Into The ResolveFX Surface Tracker (For Retouching) – Resolve 18’s Surface Tracker combines a multiple-point tracker and a warper in one tool. Learn how it works while prepping a retouch job moving between the Color and Fusion pages.
- ResolveFX Surface Tracker Part 2 – Executing Beauty Work Within Fusion – In Part 2, Igor Ridanovic leverages the stabilization work of the new Surface Tracker plugin to execute beauty work on the Fusion page.
Questions or Comments? Leave a comment!
Is this Insight useful to you? Let us know! Mixing Light is all about community discussions, and we’re curious if you found this helpful, if you have something to add, or if you have more questions you need answered?
– Joey
Member Content
Sorry... the rest of this content is for members only. You'll need to login or Join Now to continue (we hope you do!).
Need more information about our memberships? Click to learn more.
Membership optionsMember Login

