| Series |
|---|
How to Use Color Trace in DaVinci Resolve – Part 2
If you haven’t watched it yet, be sure to check out Part 1: Introduction to Color Trace in DaVinci Resolve. In that Insight, I explain the basic workflow of Color Trace and offer up a use-case where this function may be helpful.
In this Insight, I want to take it a step further.
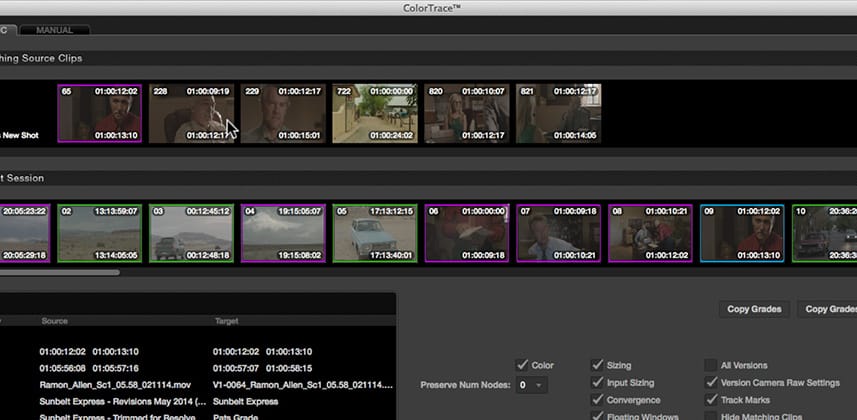
Here in Part 2, we’re going to use Color Trace to copy grades from a 90-minute indie feature to a 5 minute cut down of that timeline. The complication? The full-length feature exists on a completely different database than the 5-minute cutdown.
The problem?
Color Trace only works within a single database. It can’t copy timelines that exist on different databases. In this Insight, I show you the simple fix for this.
Plus, this Insight offers a slightly more complicated examination of using Automatic Color Trace – with many more shots to confuse DaVinci Resolve that requires our manual intervention.
One thing to notice: the key to working with Color Trace are the thumbnails, as is completely obvious in Parts 1 and 2 of this series. You’ll want to have the footage for both timelines on-line and accessible to DaVinci Resolve so that it can draw the thumbnails. Otherwise, if you have a half-dozen empty thumbnails, all with nearly identical starting time codes – Color Trace becomes more trouble than it’s worth. Just an FYI.
In an upcoming Insight, I’ll wrap up my exploration of Color Trace with a demonstration of how and why we might be forced into using Color Trace in Manual mode.
Member Content
Sorry... the rest of this content is for members only. You'll need to login or Join Now to continue (we hope you do!).
Need more information about our memberships? Click to learn more.
Membership optionsMember Login


