| Series |
|---|
How to Manage Key Signals and Alpha Outputs in DaVinci Resolve
Working with key signals in DaVinci Resolve doesn’t have to be complicated – but it’s not intuitive either. And once you get the basics down, you start to realize how Resolve’s handling of key signals allows for some sophisticated secondary corrections.
If you’re new to working with external mattes then you’ll want some quick definitions of the terms I’m using in this 2-part Insight:
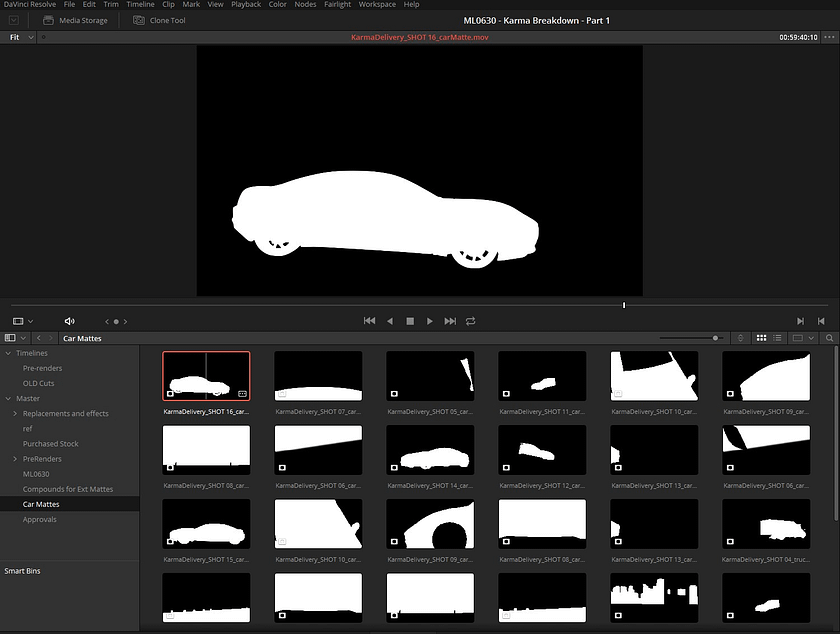
- External Matte – These are video clips of rotoscoped elements generated (usually) from another software package, such as After Effects or Mocha Pro. They are usually rendered as pure grayscale video images (although there are other workflows).


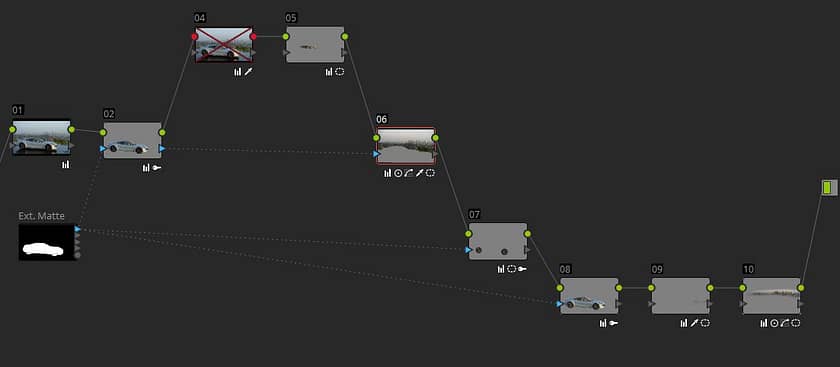
- Key Signal / Matte Channel – The Key Output of a node is what I interchangeably call a Key Signal or the Matte Channel. In DaVinci Resolve, to quickly see the Key Output of a node, just put yourself into Highlight mode. What you see in the Black & White Highlight mode is precisely the Key Output of a node.

- Alpha Output – In DaVinci Resolve, the Alpha Output usually refers to the output of the Node Editor. If you have multiple video tracks, you add an Alpha Output to see lower video tracks below it.

Part 1: Exploring Multiple Uses of Key Signals in DaVinci Resolve
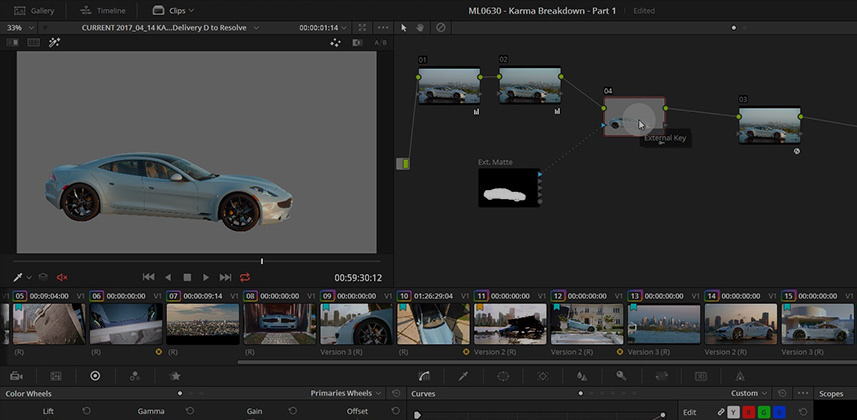
In this Insight I’m breaking down one shot in a car commercial, specifically looking at how I managed these different types of key signals. My goal is for you to start thinking about the different ways of using key signals beyond just ‘punching a hole’.
In Part 2 we explore how to combine key signals to build custom matte channels directly within the Node Editor.
Got questions or comments?
As always, use the comments to share your thoughts and start a conversation.
-pi
Member Content
Sorry... the rest of this content is for members only. You'll need to login or Join Now to continue (we hope you do!).
Need more information about our memberships? Click to learn more.
Membership optionsMember Login


