Using DaVinci Resolve’s Take Selector to work faster, with fewer mistakes
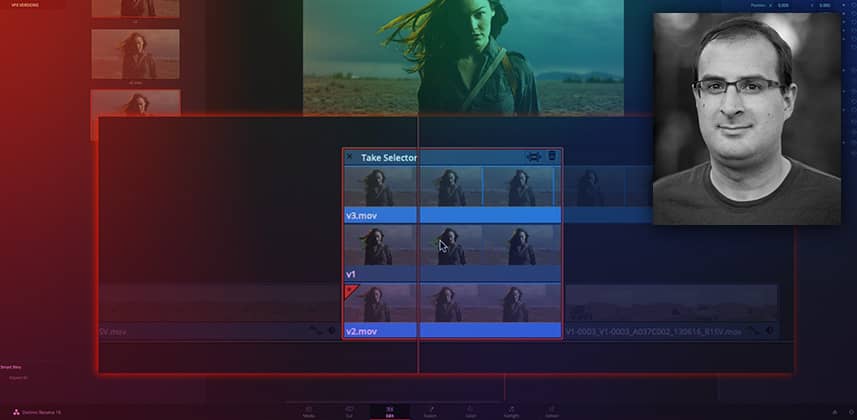
The take selector is one of those little unsung hero features in Resolve. It’s super useful – but not many people know it’s there!
In talking to a few other colorists I found quite a few didn’t even know it existed, or how they could use it to organize and speed up their VFX shot workflows.
The take selector is also a great way to swap between different tags, graphics, or languages.
Key take-aways from this Insight
By then end of this Insight you should understand:
- How to access the take selector
- How to add takes and switch between them to show different VFX versions
- Why the take selector makes it easy to version VFX shots using the same grade
- Adjusting timing and finalizing takes
- An alternate use of the take selector for promo graphics
Questions or Comments? Leave a comment!
Is this Insight useful to you? Let us know! Mixing Light thrives on feedback and we’re curious if you found this helpful or if you have more questions we need to address?
– Joey
Member Content
Sorry... the rest of this content is for members only. You'll need to login or Join Now to continue (we hope you do!).
Need more information about our memberships? Click to learn more.
Membership optionsMember Login


