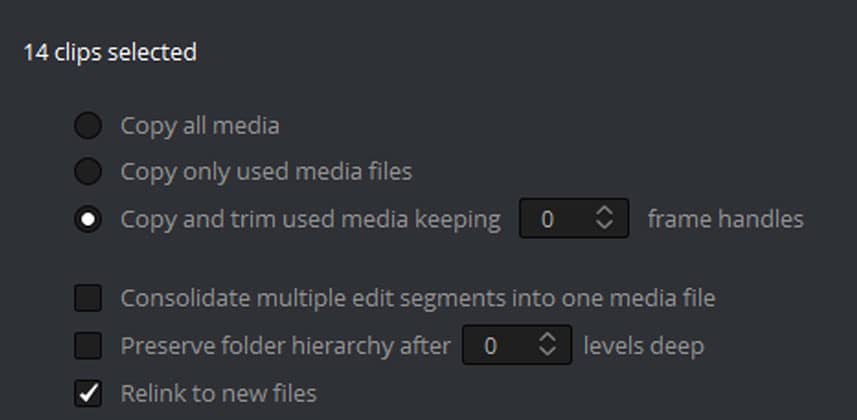
Tapeless acquisition is, of course, awesome – but it has one big problem -people shoot WAY to much! These days its not uncommon for me to get drives from clients that have TB of data on them. Now of course, in many situations I can cut these situations off at the pass by asking clients to media manage or consolidate projects so I don’t have to transfer all of the original footage on to my system even though we’re using just a very small portion of all that media.
However, there are some formats like RED for example, that most editorial applications can’t trim. In the past, I used RED CINE X to trim RED footage but R3D trimming is now built into Resolve and its a feature that many aren’t familiar with.
In this movie, I’ll show you how to use DaVinci Resolve to trim RED footage so that instead of moving TB of data from a client transfer drive you can instead move to your drives only the footage thats needed to conform a sequence you need to grade. If you work with on a lot of RED projects trimming clips is a big time saver.
– Robbie
Member Content
Sorry... the rest of this content is for members only. You'll need to login or Join Now to continue (we hope you do!).
Need more information about our memberships? Click to learn more.
Membership optionsMember Login


