| Series |
|---|
Part 1: Prepping a project to reformat archival interlaced footage
In this series on restoration techniques, we are restoring NTSC footage captured in the early 90s and reformatting it to progressive 4K resolution. In this first Insight, we will properly set up the project by reviewing the footage’s aspect ratio and frame rate. We will learn optimal workflows for importing archived masters of projects captured in older (or obsolete) formats provided to us as a single self-contained movie.
DaVinci Resolve Scene Cut Detection Deep Dive
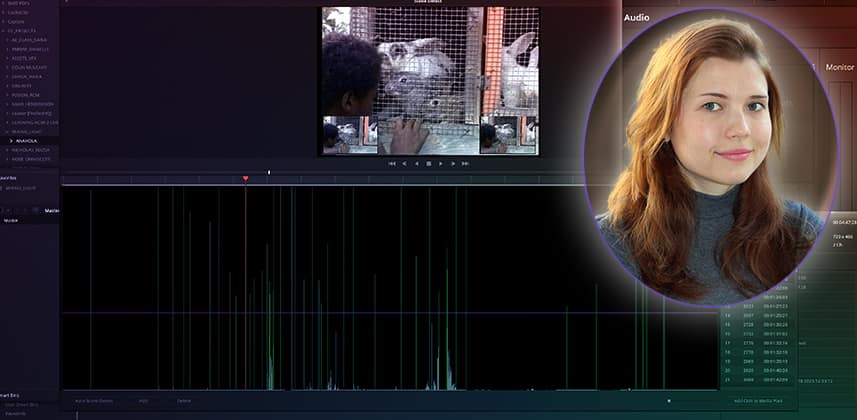
The key to my process is using Scene Cut Detection in DaVinci Resolve to split the single movie into individual clips that can be color-managed independently. In this Insight, you’ll learn all the details you need to know to perform Scene Cut Detection in Resolve. This includes using the Scene Cut Detection modal when importing the footage before it’s added to your Media Pool. You’ll also learn how to perform Scene Cut Detection in Resolve’s Edit page, directly on the timeline.
About this restoration project
Filmmaker Nicholas Rozsa approached me about upscaling and restoring his 1991 documentary, Anahola, about native Hawaiians attempting to reclaim their sovereign lands. The film was shot on Betacam and broadcast as NTSC (525, interlaced). It remained untouched until it was digitized several decades later. Rozsa wished to submit the film to the University of Hawaii’s historical archive – but with a 4K master for prosperity.
Member Content
Sorry... the rest of this content is for members only. You'll need to login or Join Now to continue (we hope you do!).
Need more information about our memberships? Click to learn more.
Membership optionsMember Login


