| Series |
|---|
How to use Photoshop for painting out objects (and exporting for Fusion)
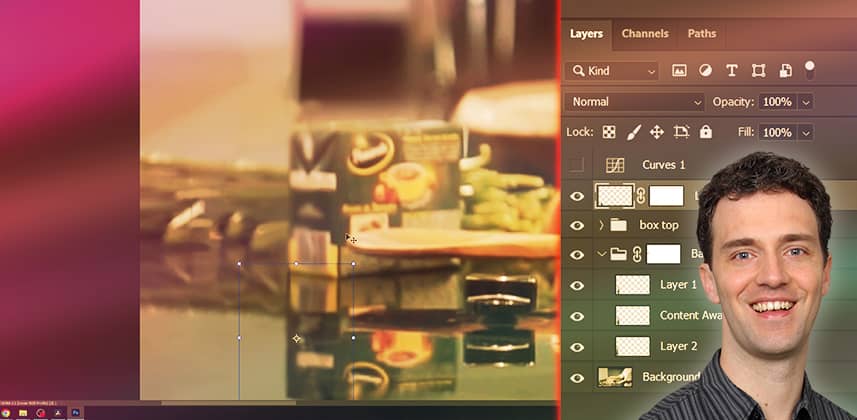
In Part One of this series, you learned how to use a clean plate from Photoshop and track it in Resolve Fusion to remove an object. But we skipped the ‘create a clean plate in Photoshop’ step.
In this Insight, you learn the raster-painting techniques I used to remove that object. We’ll go over a number of color and setup options for your working canvas, and also explore many paint tools and blend modes. This is a full step-by-step walkthrough of my entire process.
Key takeaways from this Insight
By the end of this Insight, you should understand how to:
- Set up a Photoshop project for paint work on a film plate
- Use Photoshop’s content-aware tools, clone, layer copies, and regular paint strokes to paint out an object and fill in missing details, along with many tips and tricks
- Organize layers and know how to export multiple layers for use in Fusion
External Links
- Affinity Photo – A capable and inexpensive Photoshop alternative.
Related Mixing Light Insights
- Mixing Light Search Results: “Object Removal” – Various Mixing Light Insights covering different aspects and tools used for object removal in DaVinci Resolve.
- Series: Object Removal in Resolve Fusion – This series includes an earlier 2-part series on object removal in Fusion by Jamie Dickinson.
Questions or Comments? Leave a comment!
Have you done similar paint tasks before? Have you used other paint software (Affinity, Corel Painter, etc.) and would like to share your experience?
– Bernd
Member Content
Sorry... the rest of this content is for members only. You'll need to login or Join Now to continue (we hope you do!).
Need more information about our memberships? Click to learn more.
Membership optionsMember Login


