A Colorists Guide to the Fusion Node Tree & Workflow
When Blackmagic announced they were fully integrating Fusion into Resolve, I was overjoyed. I worked for years on Avid|DS – so the concept of jumping between an editing, color grading, and node-based compositing with graphics and paint – all in one app, just feels like home to me.
But I know for a lot of colorists – Fusion may have come as a bit of a surprise. Traditionally, color tools have been dedicated to a single task: color grading. If you have never used a node-based compositing application, Fusion may seem a bit strange or foreign to you. While it is node-based, just like the Resolve color page, a lot of other aspects of Fusion don’t work the same way colorists are used to.
Fusion 101

In my second Resolve 15 insight, I want to give colorists who haven’t dived into Fusion yet a good foundation to start really exploring it. This insight is an introduction to Fusion and how it fits into Resolve, so you will understand how to get in and out of the Fusion tab, and how the UI works compared to what you are already used to in Resolve.
In this insight you learn about:
- How to get media into Fusion
- How monitoring works in Fusion (which is different then the rest of Resolve)
- Adding nodes (or, as they are called in Fusion, “Tools”)
- Changing parameters on each tool
- Adding and editing keyframe Animation
- Using the finished Fusion comp in the edit and color pages
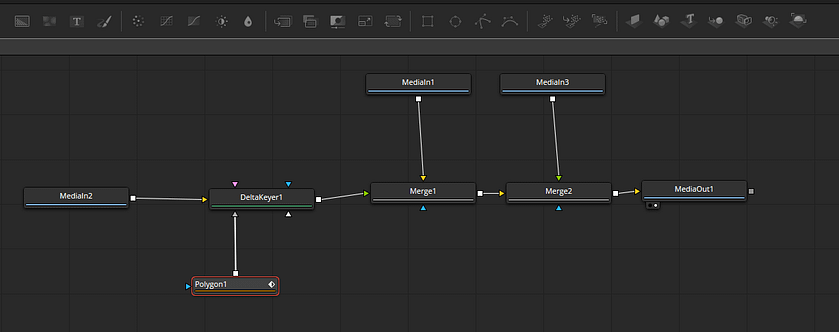
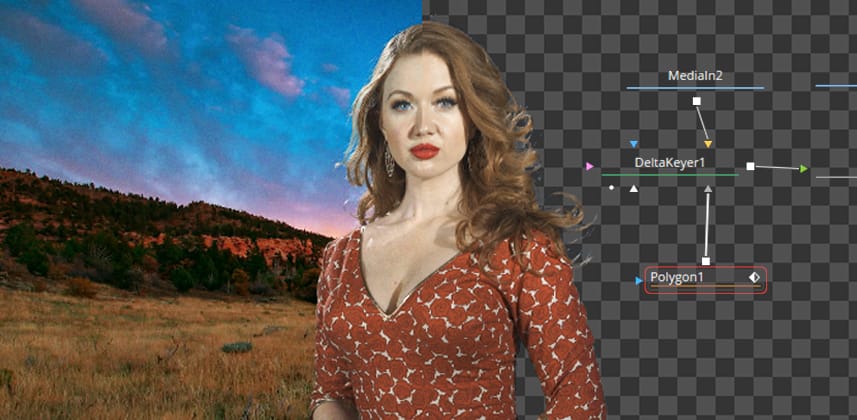
Once we’ve gone over those fundamentals – you learn how to use Fusion to complete a real-world green screen comp. (Green screen shot courtesy of Abba Shapiro www.abbashapiro.com)
After you start exploring Fusion, share your thoughts in the comments section, and happy compositing!
-Joey


