| Series |
|---|
Part 1: Curves, Correctors, Color Space Transforms, and grading in linear
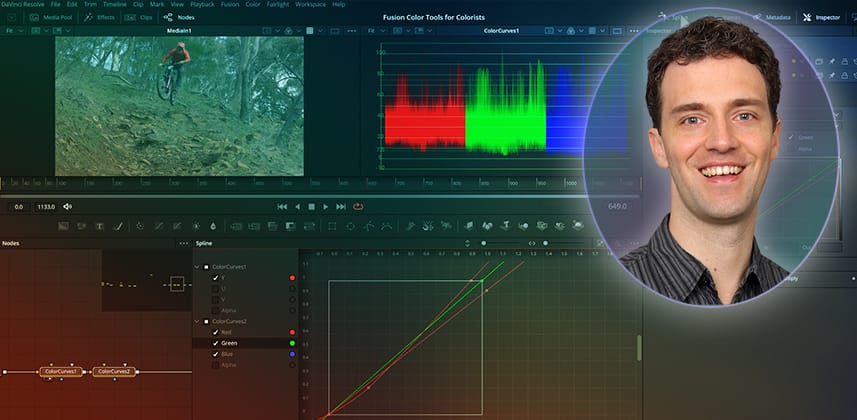
In our new series, we will explore the tools available in Fusion to color-match assets for cleaner composites. Recorded with Colorists in mind, you learn how to A/B footage in the scopes, add targeted hue adjustment curves, and make printer-light style offsets, all within the Fusion page.
Controlling color adjustments at the asset level inside Fusion can lead to fewer steps on the Color page, less masking, fewer artifacts, and an overall more efficient workflow.
In This Insight – Fusion basics for colorists
grading in fusion versus Masking-and-sending-alpha to the color page
We start by looking at a simple test demonstrating why we should perform color correction before compositing rather than relying on masks to make adjustments later on the Color page.
Then, we look at Fusion’s capable color correction tools and the most common scopes for analyzing any image in your node graph. The Fusion Waveform, Parade, Vectorscope, and Histogram all resemble the tools found on the Color page. You can use Fusion View-Buffers or even the Quad View (Shift +Q) to get multiple scopes simultaneously into the Fusion viewer, and you can rely on external tools like Nobe Omniscobe to connect to high-end scopes from anywhere within Fusion.
Linear Color Space Considerations
In compositing (and the Fusion page), we work in linear color space, which can make color correction tools like curves behave in an unfamiliar way. It can also make it harder to adjust the shadows in the (darker) linear image. In this Insight, you learn how to wrap color space transforms or simple gamma adjustments around your color corrections – bringing your footage into a more familiar working range.
Fusion ColorCurves, ColorCorrector, and HueCurves
If you are used to using custom curves on the Color page, the Curve and Hue Curve tools inside Fusion offer much of the same functionality. You can additionally view any curve within the Spline editor to customize the workspace and compare multiple tools.
The primary Color Corrector tool in Fusion is equally feature-rich. However, the Master setting has an unusual tinting behavior that you will want to pay close attention to; it needs some setting adjustments to function in a more predictable way. In addition, you can work with finer controls via the shadow, midtone, and highlight ranges, which can be adjusted to operate on a custom band. Finally, a color suppress option offers a simple alternative to Hue vs Sat curves.
Key takeaways from this Insight
By the end of this Insight, you should understand:
- Why it’s preferable to color grade in the Fusion page when working with masks
- Using Color Space transforms and/or Gamma adjustments, bringing Fusion color tools into a more familiar working space
- Using the Scopes in Fusion’s A/B buffer and the Quad View to reduce mouse clicks
- How to confidently use Brightness & Contrast, Curves, Hue Curves, and the Color Corrector on the Fusion page
External Resources
- Blackmagic Design Footage – Mountain bike sample footage from the Pocket Cinema Camera Gallery is available for download so you can follow along.
Questions or Comments? Leave a comment!
In compositing, we should always aim to match foreground and background elements before publishing. Therefore, we need good color correction tools and practices directly in Fusion. I hope this Insight has been helpful on your compositing journey!
Are there any color correction operations you enjoy on the color page but struggle to do in Fusion? Let me know; we can find a solution!
Stay tuned for our next installments in this series: Building custom color tools in Fusion and color matching in Fusion.
– Bernd
Member Content
Sorry... the rest of this content is for members only. You'll need to login or Join Now to continue (we hope you do!).
Need more information about our memberships? Click to learn more.
Membership optionsMember Login


